partial seam pillow tutorial
 July 14, 2017
  Last year I made this pillow and I've had many requests to do a tutorial, so here you go :)
For a 16" pillow, you will need:
- (16) 2-1/2" squares
- (64) 1-1/2 x 3-1/2 rectangles
- FQ fabric for backing
- (2) 4" x WOF fabric strips for binding
- 18" square of batting
- 16" zipper (optional, for pillow back closure)
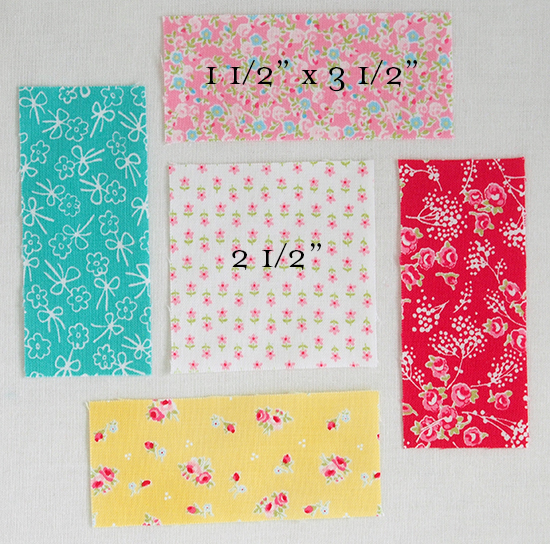
Sew the first rectangle to the square with a partial seam - just sew half way down the side of the square.
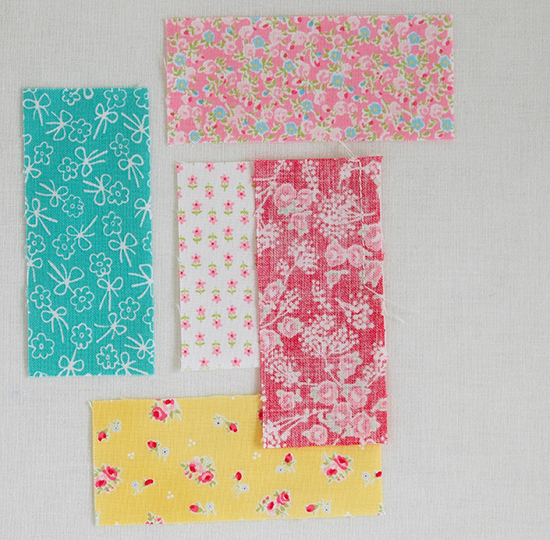
Press seam away from the square. Only press the stitching, not the unsewn portion of the rectangle.
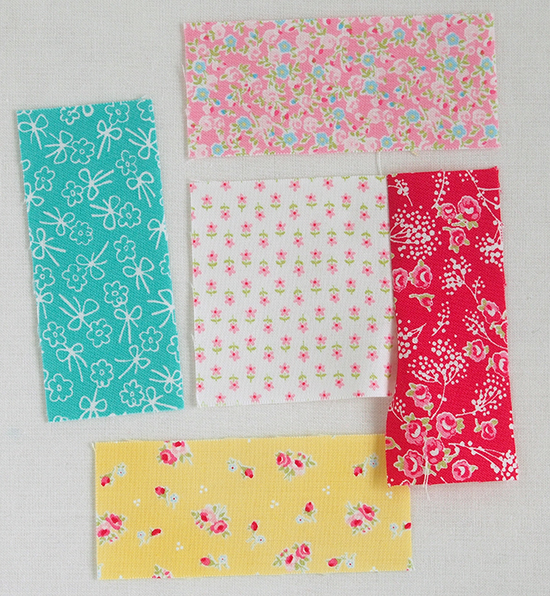
Sew the second rectangle to the square and press seam outward.
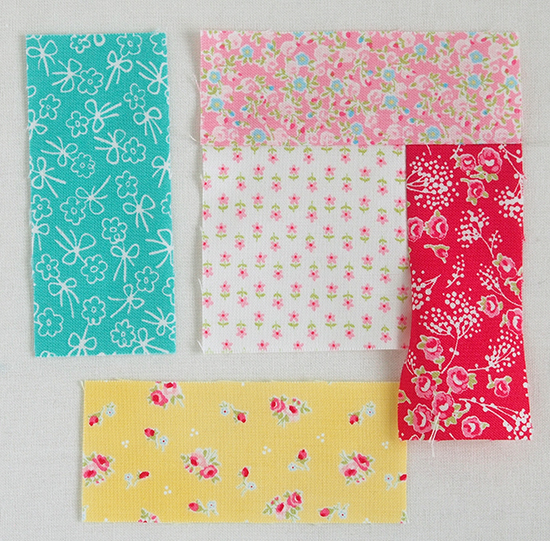
Sew the third rectangle, press seam out.
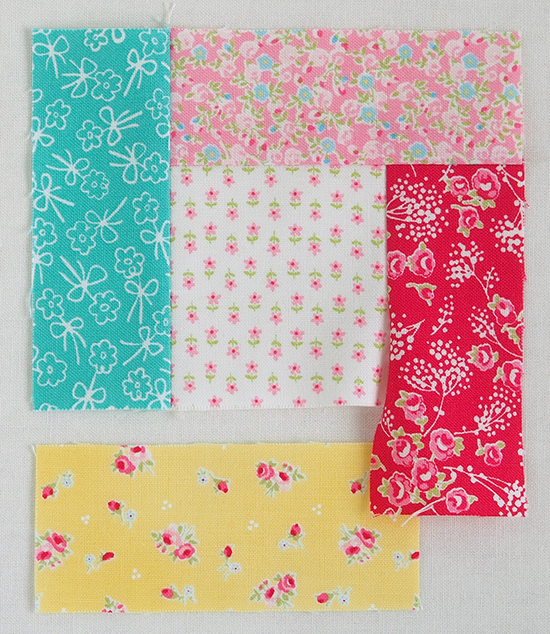
Add the fourth rectangle, again pressing away from the center.
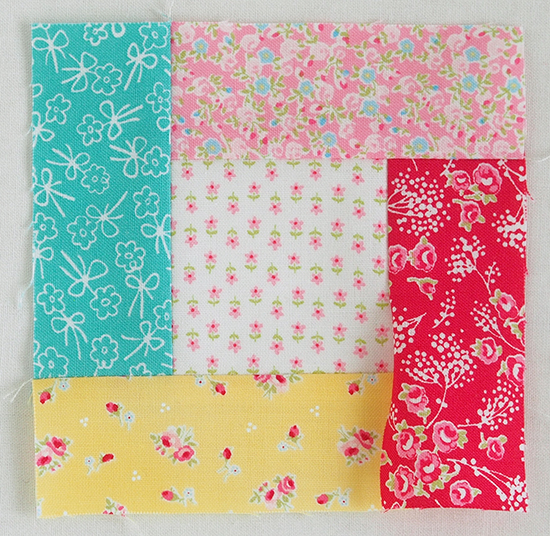
Now finish sewing the first seam and press. Block measures 4-1/2" x 4-1/2".
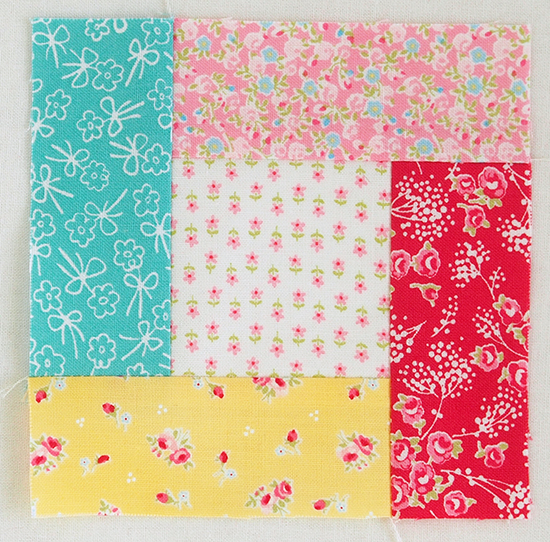
Make 16 blocks. Piece the blocks together into 4 rows of 4 blocks, pressing seams open.
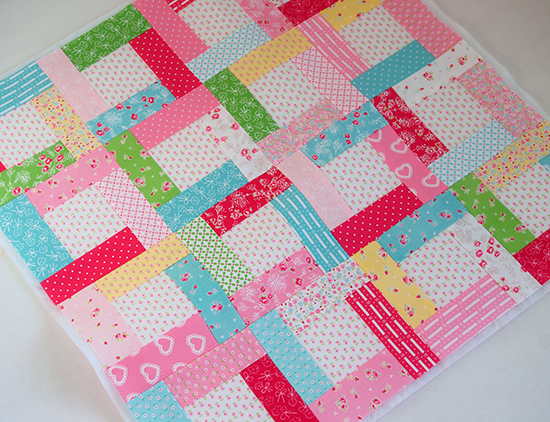
Quilt as desired and trim to measure 17" square (leaving extra batting to make a 1/2" bound edge).
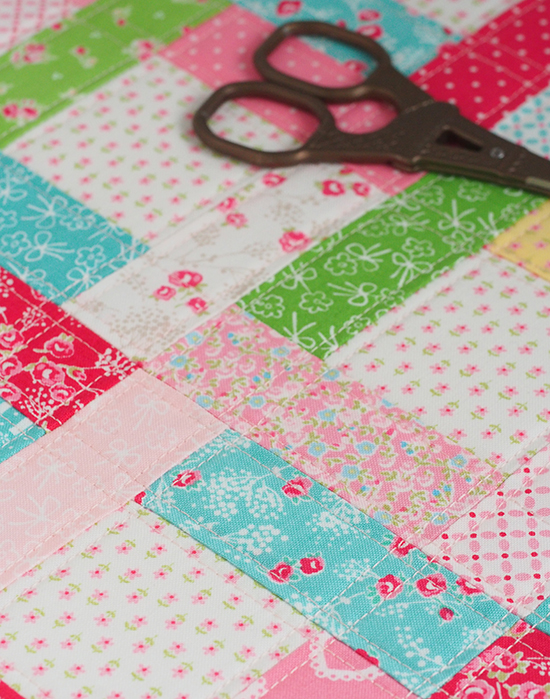
Make the pillow back with opening style of your choice. I like zippers, but you could also do a folded opening, use buttons, or ribbons ...
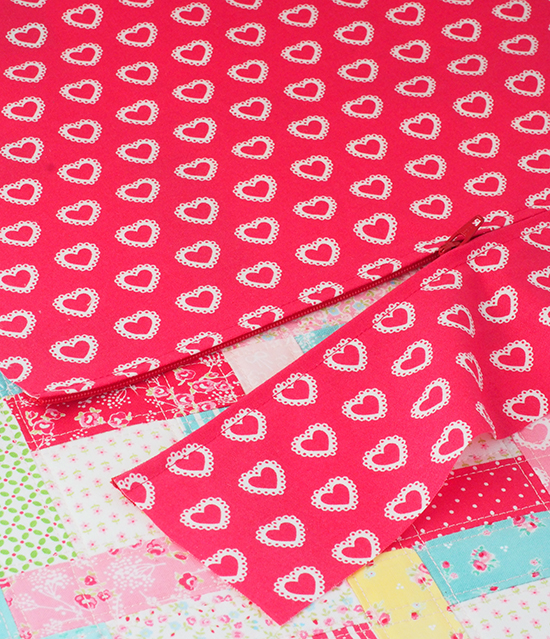
Sew quilted front and zippered back WRONG sides together, and then bind!
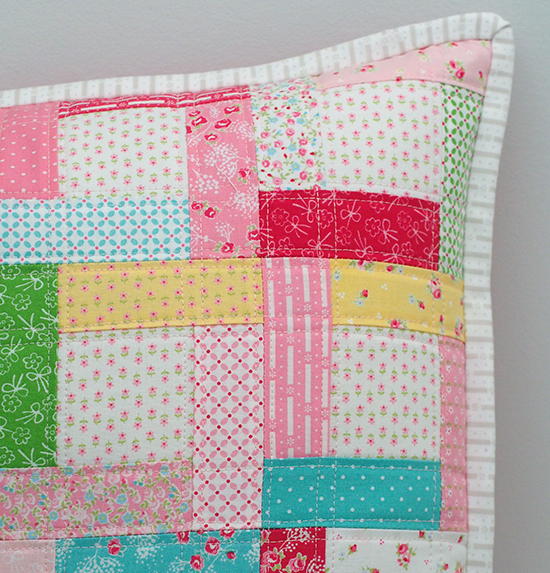
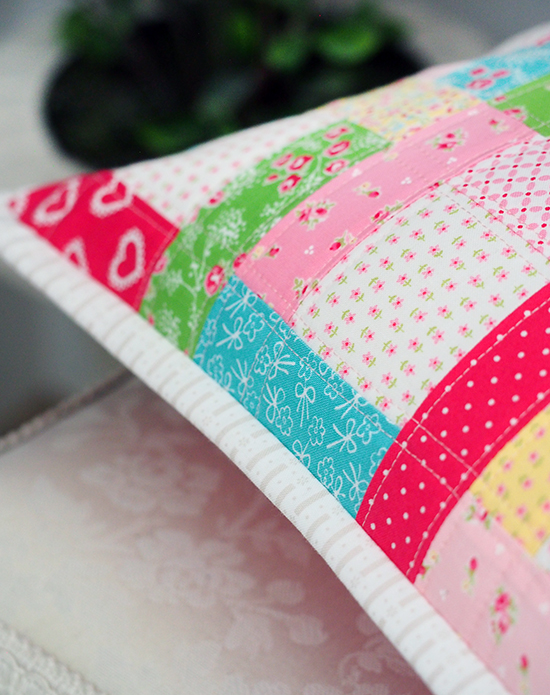
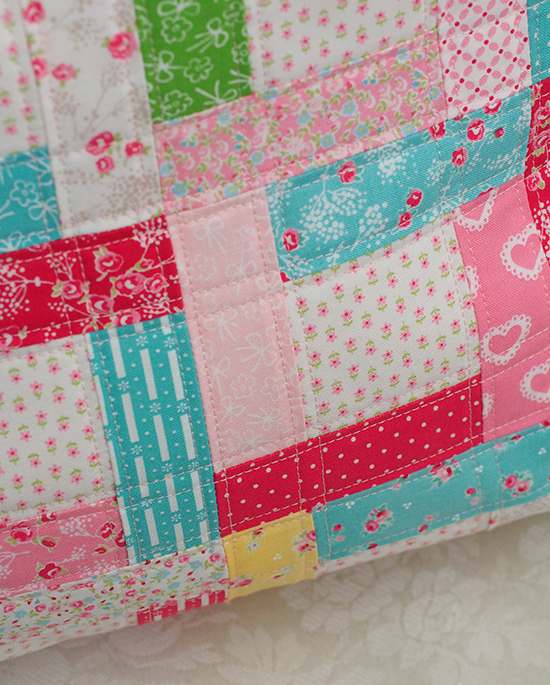
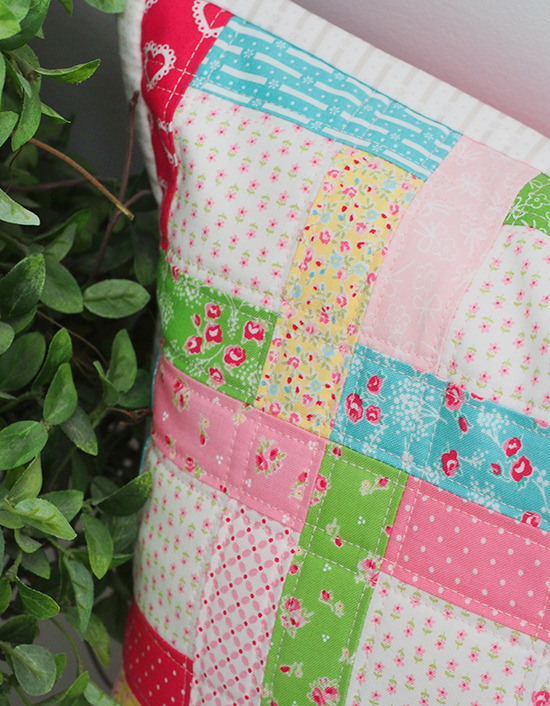
All fabrics shown are from "First Romance" (available October 2017).
Happy sewing! xo k
 Kristyne |
  12 Comments |




Reader Comments (12)
Karen x
Thank you bunches for sharing the tutorial!!