2013 Holiday Tag-a-Long
 December 9, 2013
 That's right, it's back! My homegirl Amy (of the beautiful and always inspiring blog nanaCompany) and I had so much fun with our 2012 Holiday Tag-a-Long that neither of us needed any arm twisting to do it again. So we're kicking off this year's holiday season with another installment of gift tag inspiration.
As with last year, our goal is to:
- have a good excuse to make stuff (like we really need one, but hey ...)
- satisfy our creativity with things we have lying around
- inspire you to have some crafty holiday fun too
Last year we came up with a starter plan of templates and a tutorial for you to use (which are always available both here and over at Amy's blog).
But when Amy and I were making plans for this round, we both wanted to branch out with different materials and tag shapes. Remember, this is a "no rules" thing we're doing ... it's all about having fun and making things your way.
So that's all the business up front. Now lets get to the party in the back. :) (Yes, yes I did just make a mullet joke. And no, Billy Ray Cyrus did not once cross my mind. tee hee)
This year, my tags started as "just because" cross stitching with the book I bought a few weeks ago. I made a bunch of these little things for fun with no plan in mind. Only after I'd made a few did it occur to me that I could make them into tags.
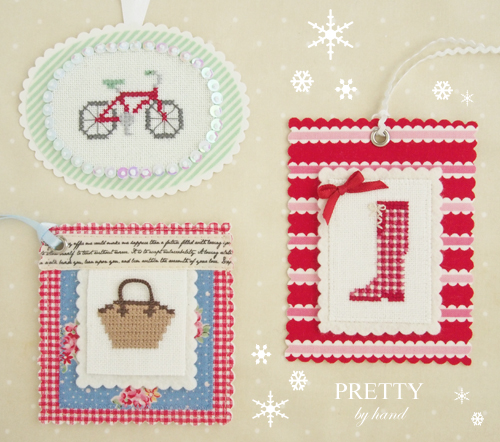
First up, the basket.
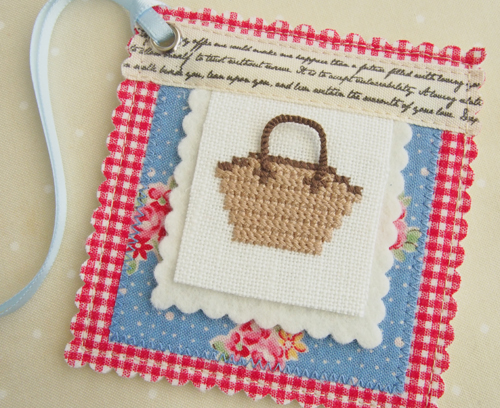 Stitching this one up was all kinds of crazy fun. The basket part is done with an offset "X" in alternating rows and result is this really neat basket weave effect. And the handle? Don't get me started. (Too late.) It's made with a loose loop of floss that's wrapped with a bunch of little knots. Oh man it was fun to make.
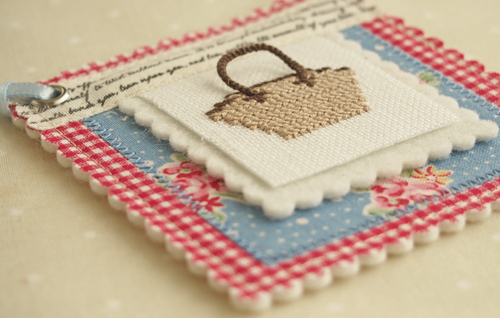 I was intrigued with how Amy used felt for her tags last year so I decided to give it a try myself. And I think I was channeling my long-dormant scrapbooker self because I started layering. SIX layers later (felt, gingham, blue floral, more felt, the basket and finally the fabric tape) I had a tag. I thought it would be fun to leave the basket and felt layers free, except for across the top. The stitchery is backed with fusible interfacing to help prevent fraying.
Next is the puddle jumper.
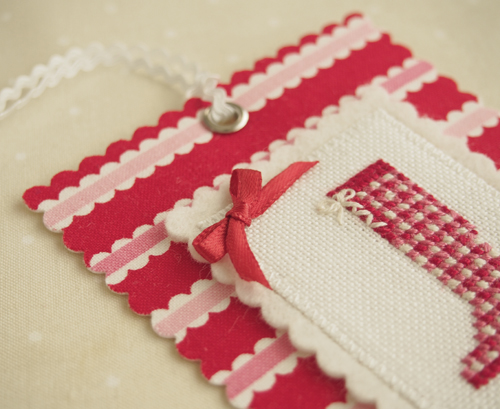
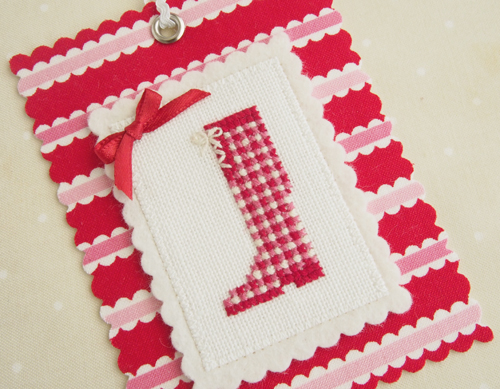 Only 4 layers here - I fused the striped fabric onto a piece of Kraft-Tex (awesome stuff!) so the tag itself is nice and stiff. Then I stitched the boot to some felt and glued the boot onto the stripes. My original plan was to use the red gingham fabric for this tag, but when I put them together they were too busy. However my PamKittyMorning stash came to the rescue ... and inspired me to dig out my scalloped scissors. And you know me ... I gotta stick a bow on something every once in a while or I start to get all twitchy in one eye.
 And then the bicycle.
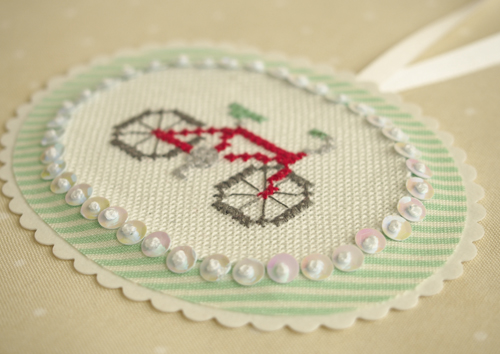
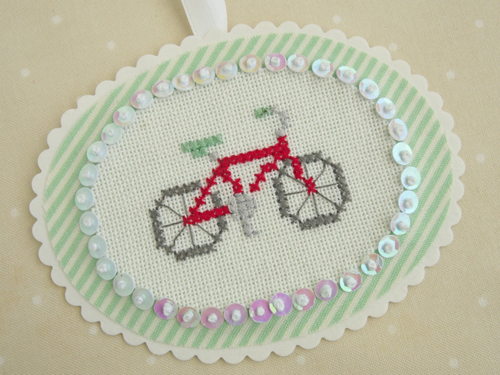 I took a cue from my Scrumptious bundle and thought a red & aqua bike would be fun. The white scalloped backing is also Kraft-Tex and the striped fabric is fused onto it. Then I fused the bike on top. The sequins were an afterthought ... makes it look a bit more holiday-ish, I thought.
But then I had no room for a grommet so I just glued the ribbon to the back.
 All right. Do yourself a favour and go check out Amy's tags. And then I'll see you next Monday with another set. Remember to check out our Flickr Group for more inspiration. And please add your photos too if you make any. Amy and I love love love seeing what all y'all come up with!
PS: I got a few questions about my cross stitch last week so in case you're interested, I usually use 2 plies of floss (except for smaller details like the spokes on the bike) and I favour 32 count linen. The basket and boot are done on Belfast linen and the bike is on Evenweave.
 Kristyne |
  18 Comments |
  2012 Holiday Tag-a-Long



Reader Comments (18)
V x
Soo inspiring!
BTW, I gave up on the decorative scissor thing - I use my basic shape Spellbinder dies as well as the Tim Holtz small styled labels. So much easier!
Jenn@JennsCraftyWorld
S x