


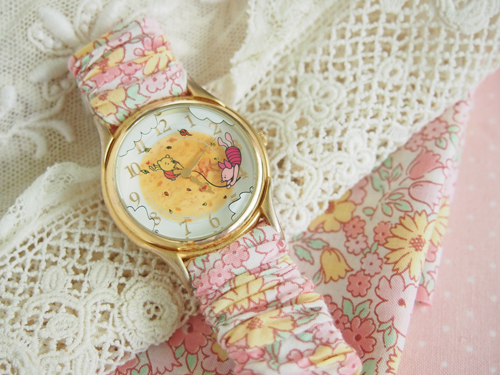
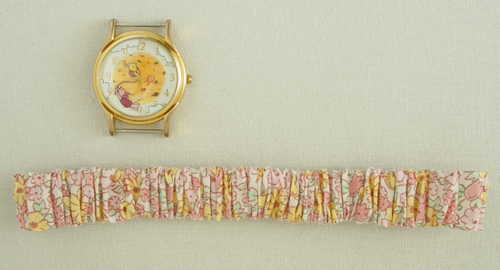
Fabric & Elastic Watch Strap Tutorial
I received so many lovely tutorial requests I couldn't not write one.

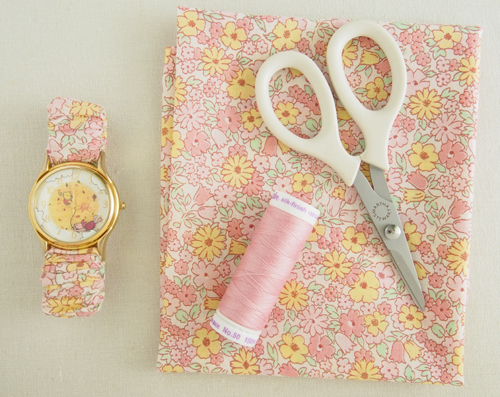
You will need:
- watch face
- fabric scrap
- matching thread
- elastic
- scissors
- hand sewing needle
- 1 safety pin
- 2 straight pins
- ruler
- sewing machine
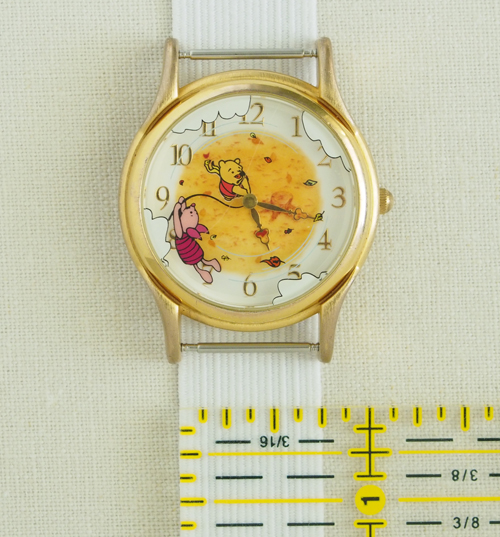
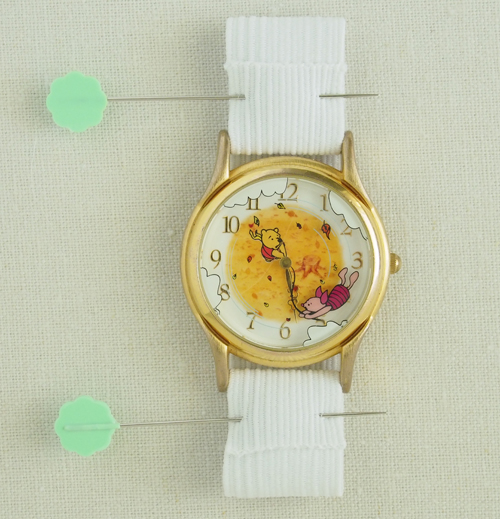
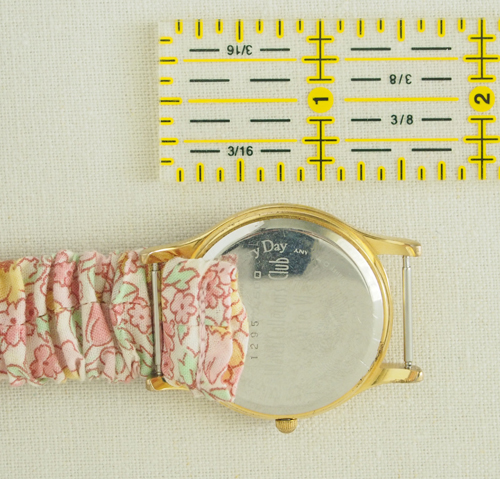
Step 1
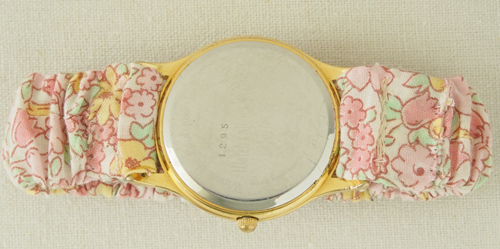
To determine the elastic width, measure the space between the pin holders on the watch face. If the elastic is wider, it's harder to thread the finished strap thru. If the elastic is narrower, it will look a little funny.
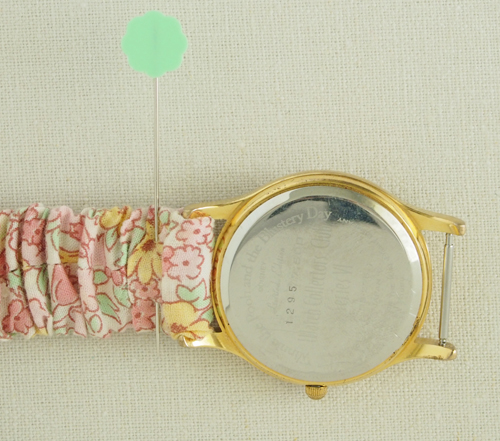
 Step 2
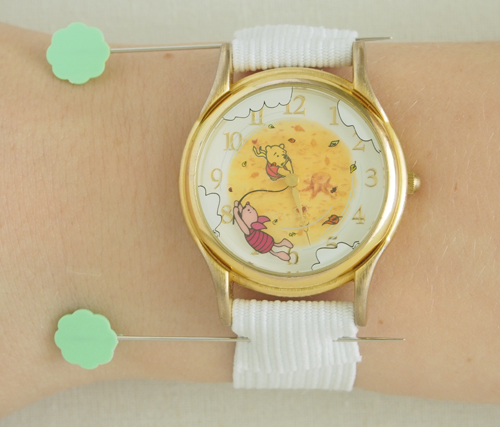
The length of elastic depends on the size of the watch face and the size of the wrist that will wear it.
To determine the elastic length, thread one end of the elastic thru the space by 1/2". Pin in place.
Thread the remaining end of the elastic thru the other side. Put the watch on the wrist and pull the elastic to fit. Add another 1/2" to the end and trim.
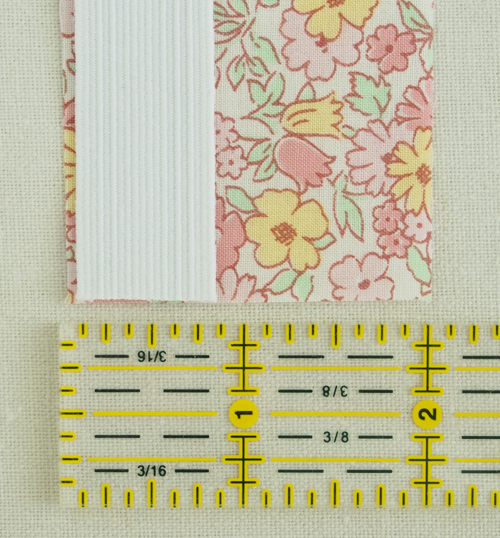
Step 3
To determine the fabric width, double the width of the elastic and add 1/2" for seam allowance.
Step 4
To determine the fabric length, stretch the elastic (almost) as far as it will go and measure. That is the length you need for a very fully gathered band. You may want it more or less full.
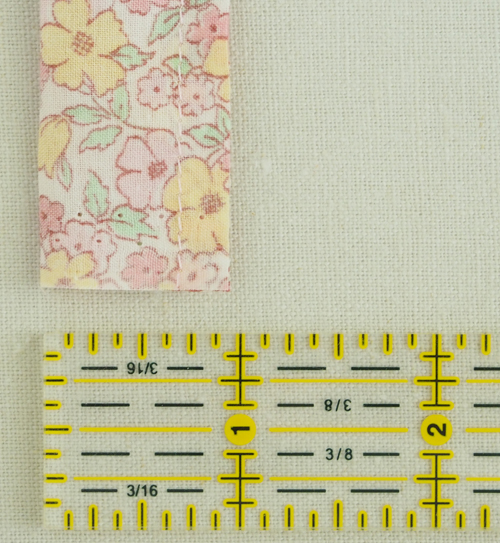
Step 5
Fold the fabric strip in half lengthwise, right sides together and sew down the length with a 1/4" seam.
Step 6
Press the seam open.
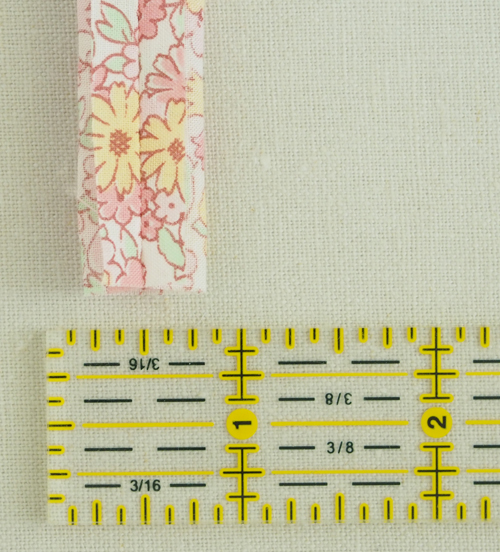
Try not to press the edges of the fabric. This tube will be turned right-side out and you might have a little trouble reversing those press lines. I just tipped my iron so the point was on the ironing board and the wide end was up in the air. Or if you have a mini iron, you are in luck.
Step 7
To turn the fabric tube right side out, attach a safety pin to one end, insert the pin into the tube and work it through to the other end.
Step 8
Fold the ends inside about 1/2". Press the tube with the seam in the middle. That middle seam will become the wrong side of the strap when it's attached to the watch.
Step 9
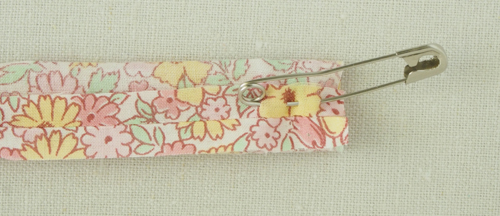
Attach the safety pin to one end of the elastic.
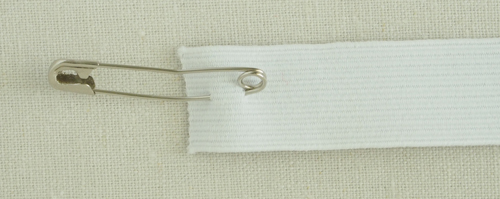
Step 10
Thread the safety pin into one end of the fabric tube. Work the pin about half way into the tube.
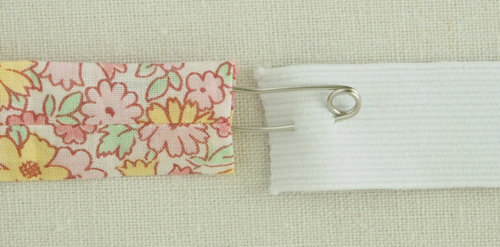
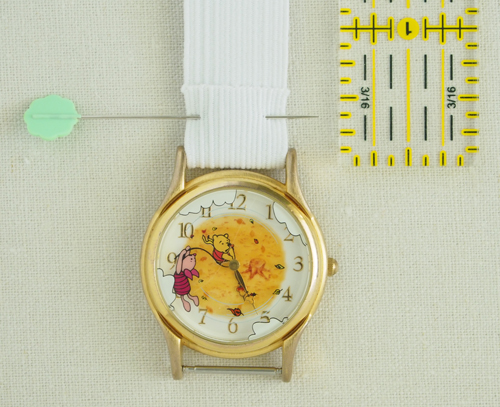
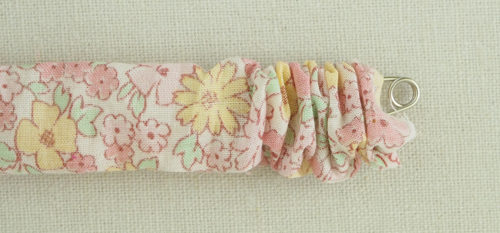
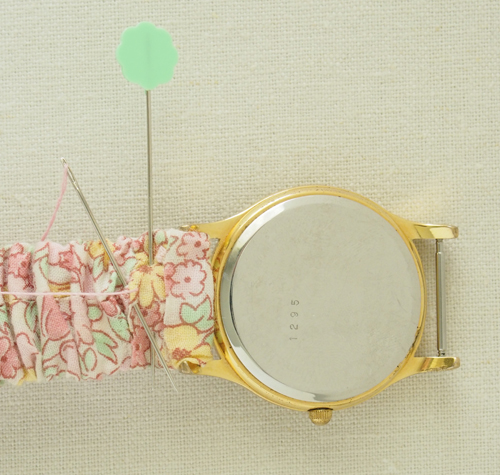
Step 11
When the tail end of the elastic gets to the starting end of the tube, pin it in place with the end of the elastic about 1/4" inside the tube (indicated by the needle). Pin that end of the elastic in place.
If you miss and pull the elastic in too far, start over.
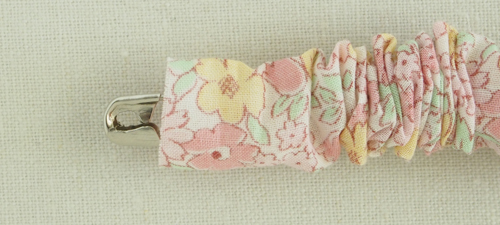
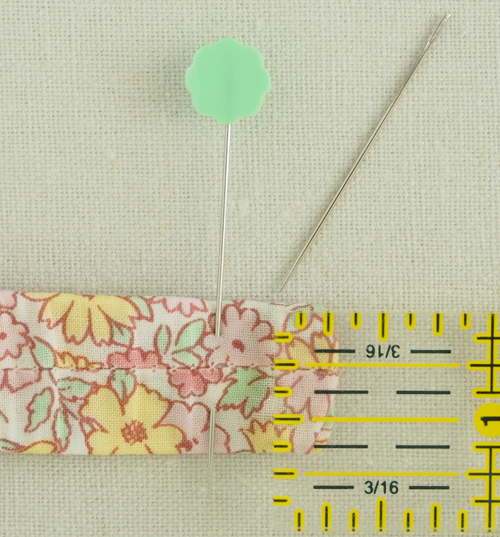
Step 12
With a sewing machine, stitch that pinned end of the elastic in place with several back and forth seams about 1/2" from the end of the fabric.
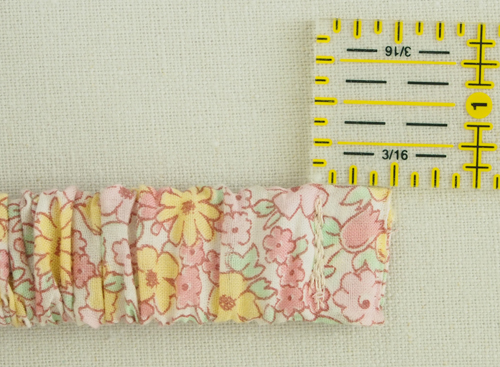
Step 13
Finish threading the elastic thru the other end of the fabric tube and anchor it the same way you did the first end.
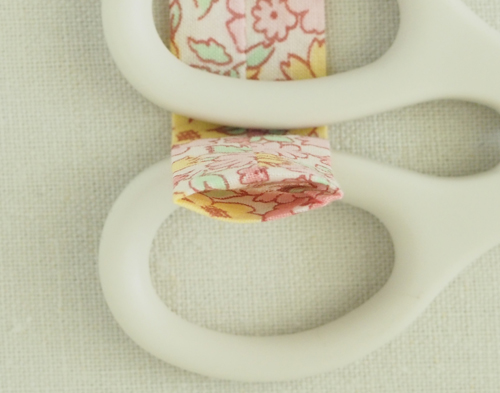
Step 14
Feed one end of the strap through the space between the pin and the watch face about 1/2".
Step 15
Fold the 1/2" excess onto the strap and pin in place.
Step 16
Hand stitch the end to the strap with a small whip stitch.
Step 17
Double-check the fit of the strap, pin and hand stitch the other end in place.
That's it!
As I was preparing this tutorial, I noticed Pooh and Piglet were tracking me in real time.
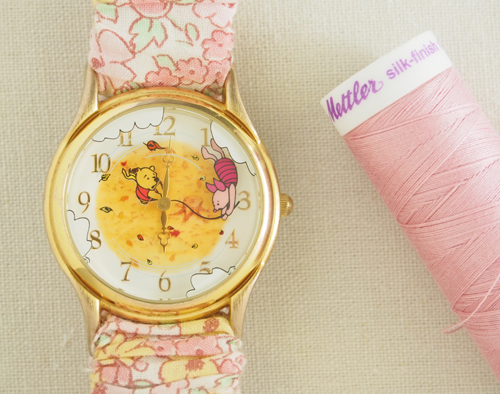
Too funny. I only mention it to convince you that this makeover project is really super quick and easy. I hope you give it a try!
 Kristyne
Reader Comments (26)
I have a few watch faces that will benefit from this treatment.
It will also make it easier for my daughter to put her watch on. She loves it, but can't quite figure out how to buckle it around her little wrist.
Christine Barker
www.ScarletCalliope.com
http://thefaeriefactory.blogspot.co.uk/
Just wanted you to know that I stop in to visit your blog nearly everyday just for a fresh breath of "creative femininity!" Thanks sharing all your knowledge and inspiration! :)
Have a great weekend!
Bernie
Washington
S x