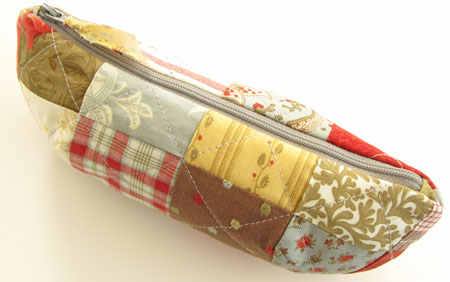
Here is my tutorial on how to make a cute zippered pouch from this free Moda pattern called "Across the Pond Pouch" by Cabbages & Roses.
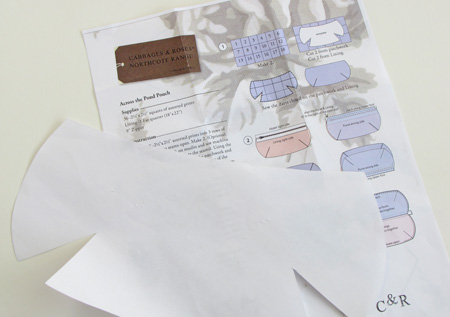
 You will need to download & print the pattern first (for the template).
SUPPLIES
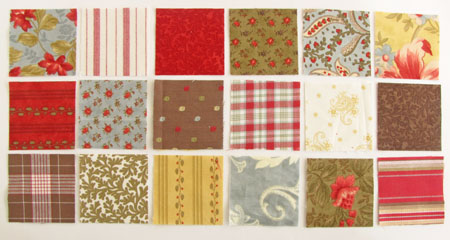
- 36 squares, 2-1/2" x 2-1/2"
- 1 FQ (or 2 rectangles, at least 6" x 11")
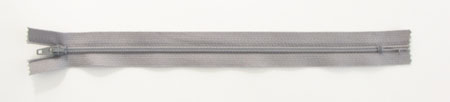
- 1 zipper, 9" (dress weight, nonseparable)
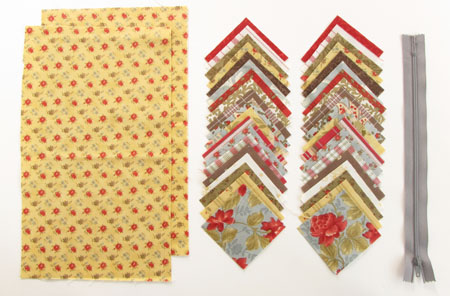
- **2 squares, 2" x 2" (for zipper tabs)
- **2 batting scraps, at least 6-1/2" x 12-12"
**These items are not part of the original pattern, but I used them for my pouch and this tutorial shows you how to add them.
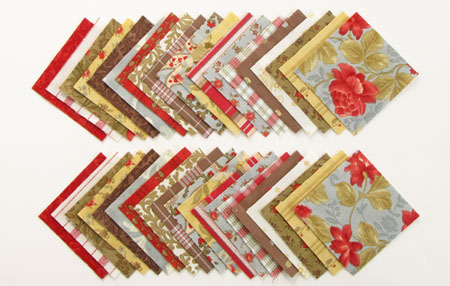
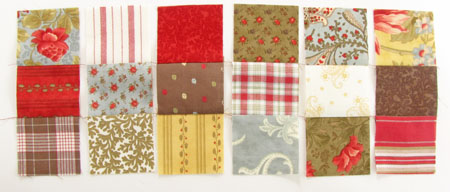
 36 Squares
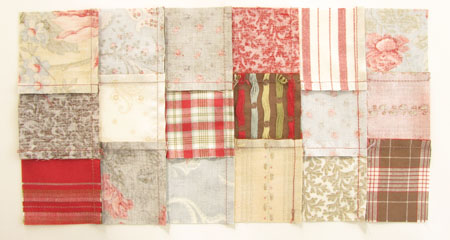
Since Christmas is fast approaching, I thought I'd do a little multi-tasking here - write a tutorial AND get some Christmas sewing done. You don't mind, do you? So I dug into my "Roman Holiday" (3 Sisters Moda) leftovers and cut my 36 squares.
To make the cutting go faster, I selected 18 prints and cut 2 squares from each print. But you could just as easily cut all 36 squares from only 2 prints to make a true checkerboard or dive into your scrap bin and go crazy!
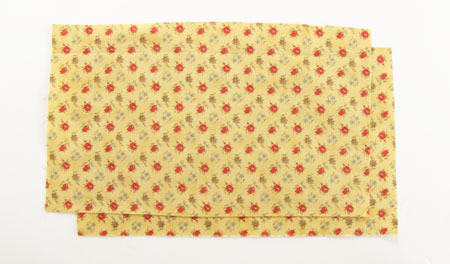
Fat Quarter
The pattern calls for a FQ for the lining, but you really only need 2 rectangles that are at least 6" x 11". They don't even have to match. I often 'scrap up' the inside of bags and cases.
 9" Zipper
I favor dressweight zippers for a few reasons:
- teeth can be stitched over without breaking a needle
- easily cut/trimmed with scissors
- best variety of colors for matching to your fabric
I also suggest a non-separable zipper (doesn't open at the bottom).
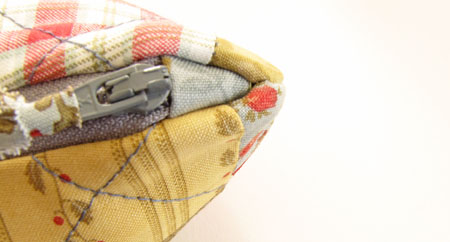
 **2 Squares, 2" x 2"
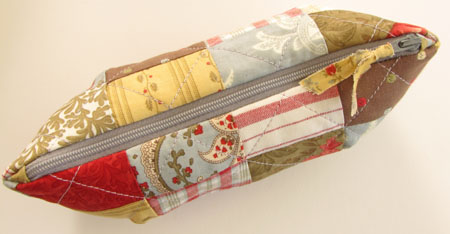
Here's a look at a zipper tab on my pouch - the little blue triangle patch of fabric.
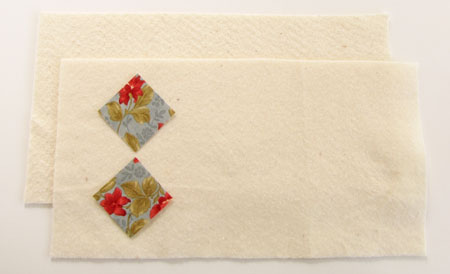
 **2 Batting Scraps, 6-1/2" x 12-1/2"
I wanted my pouch to have a more quilted look so I added batting. This is a great way to use up some of those trimmings from a quilt.

PATCHWORK ASSEMBLY
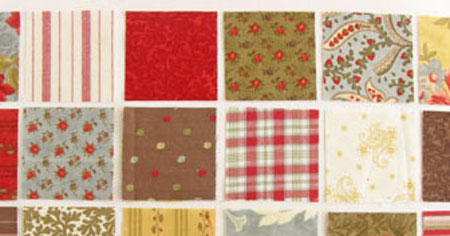
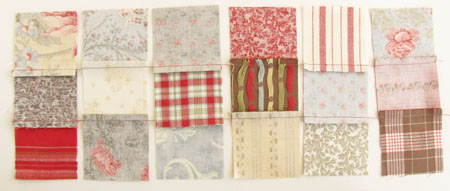
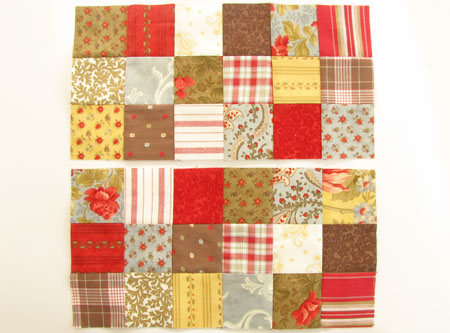
After you've cut your squares, lay 18 squares into 3 rows of 6 squares each.
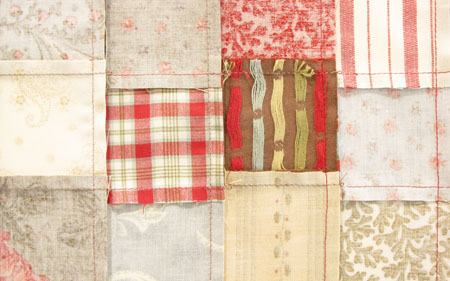
 If you have any favorite prints, put them in the middle 4 spots of the top row (will be along the zipper) and the middle 4 spots of the middle the row. The corner squares will all but disappear when the pouch is assembled.
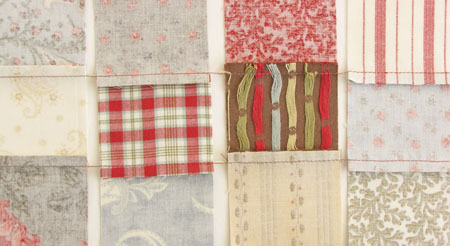
 Once you have the squares arranged, sew them together into 6 columns of 3 squares each. I chain-pieced mine.
Press these seams in opposite directions to get nice nesting joints.
Now sew the 6 columns together.
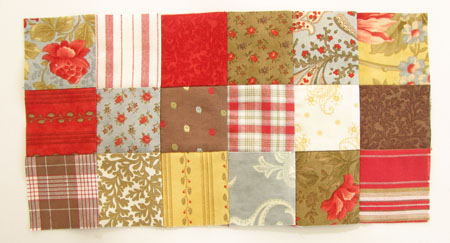 Press the seams to one side.
 Repeat to make another patchwork panel. Your panels should measure 6-1/2" x 12-1/2" each.
**QUILTING THE PATCHWORK (Optional)
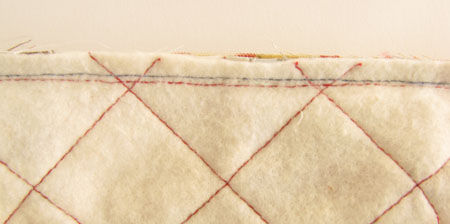
If you want to quilt your patchwork, now is the time to do it. Simply lay one patchwork panel on a batting piece, pin in place and quilt as desired. Repeat for the second panel.
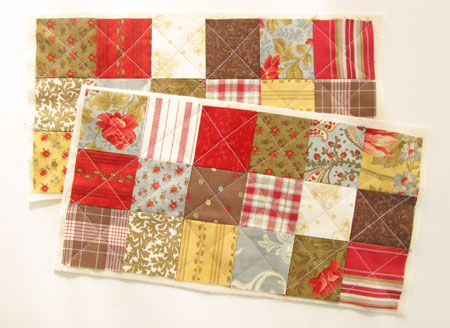 I did a cross-hatch - simple and effective. But really anything goes.

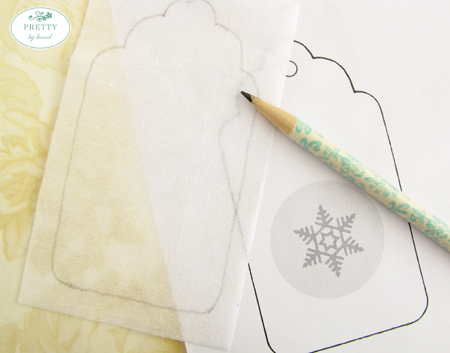
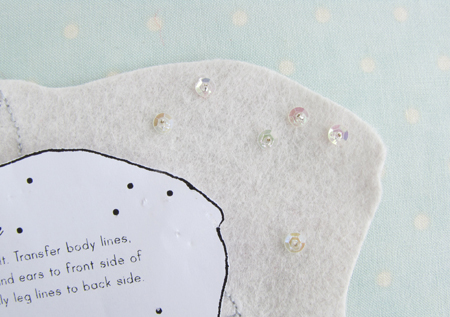
USING THE TEMPLATE
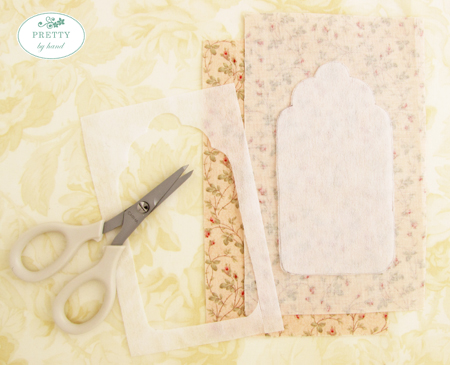
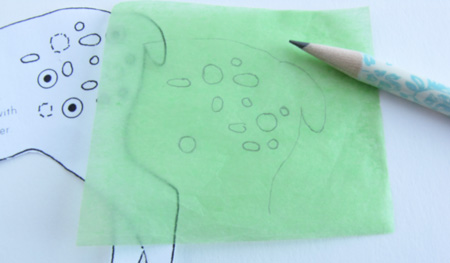
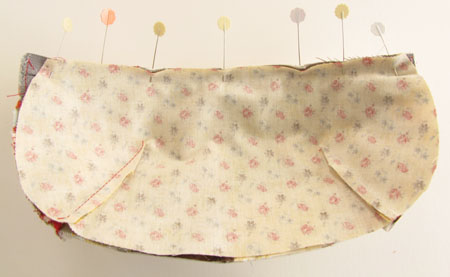
Trace the template onto a sheet of paper and cut it out. Lay it on a patchwork panel - centered - and pin in place.
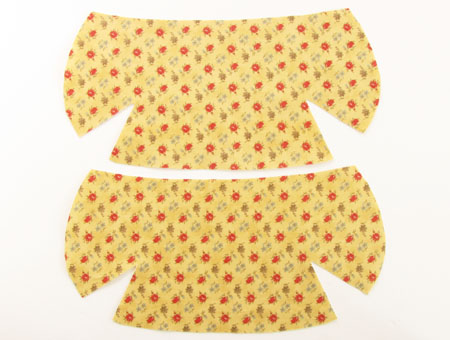
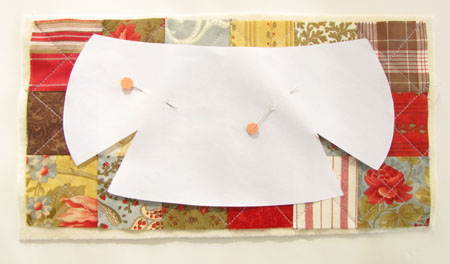 Cut it out and repeat for the other patchwork panel. The more accurate you are with centering the template, the easier it will be to line up your seams from one side of the pouch to the other.
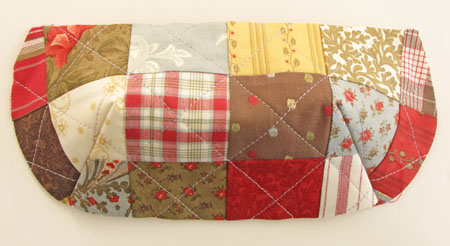
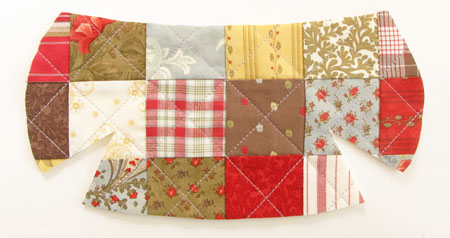 And see what I mean about the corner squares almost disappearing?
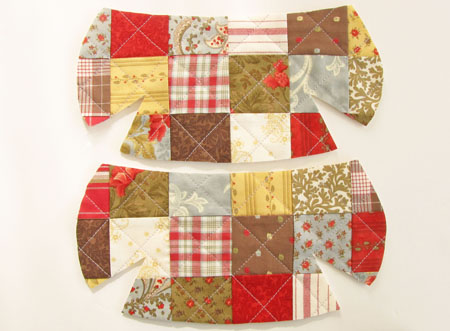
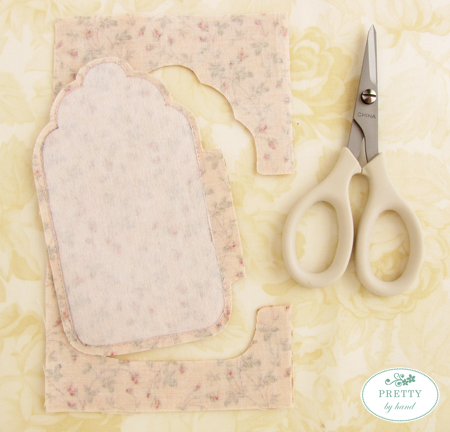
Cut out 2 lining pieces with the template. I layered mine and cut them both out at the same time.
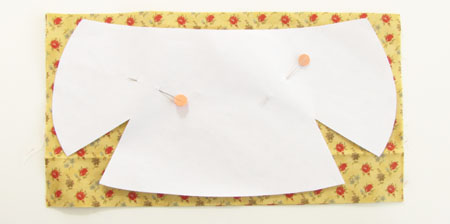
I used a rotary cutter, but you can use scissors, if you prefer.
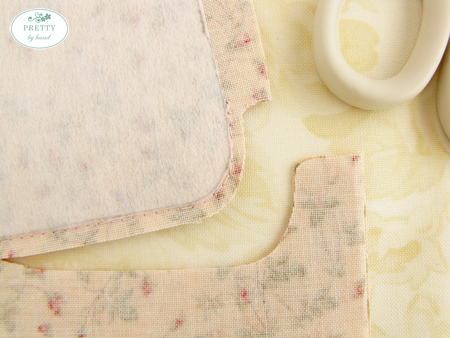
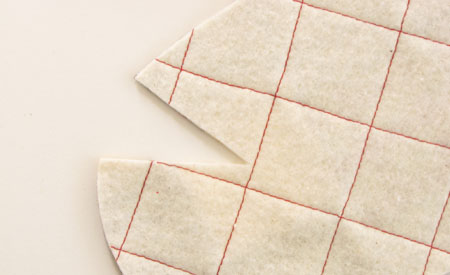
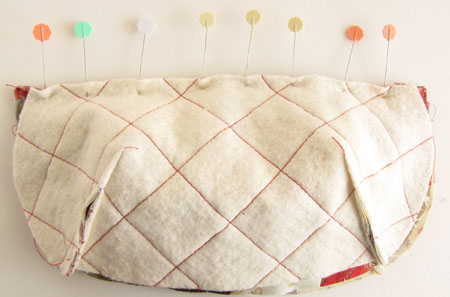
MAKING THE DARTS
If you've never sewn a dart, don't panic - they're super easy. Trust me. ;)
Here's a dart cutout.
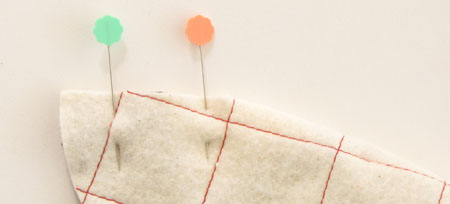
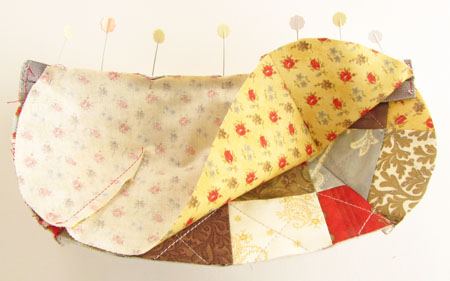
 Take one patchwork piece and fold it - right sides together - so the two dart edges line up. Pin.
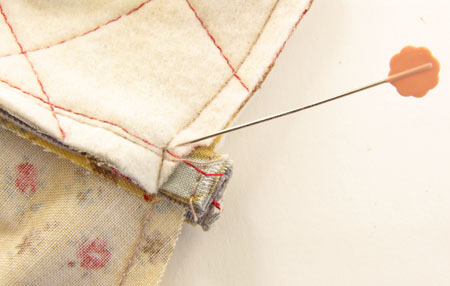
Starting at the outside edge, sew a 1/4" seam - keep sewing a straight line past the cut point of the dart until you get to the folded edge.
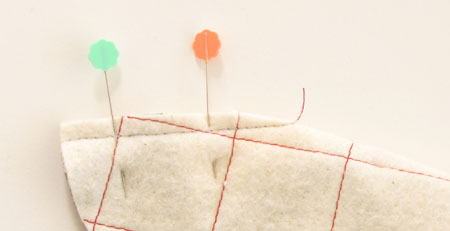
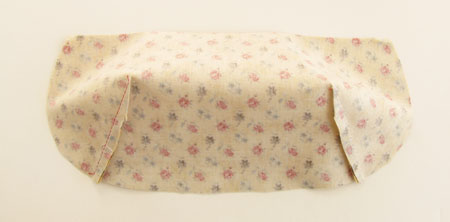
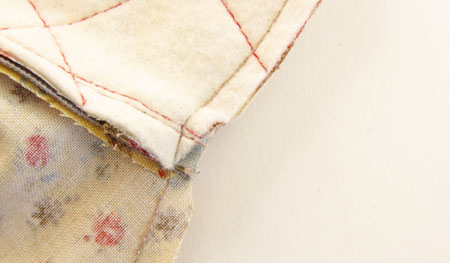
Press your dart seams towards the middle of the pouch.
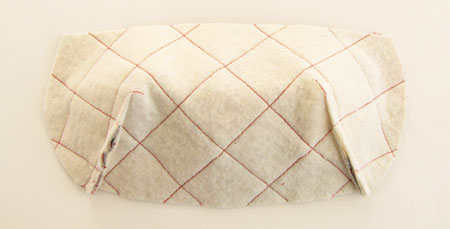
Repeat for the other patchwork piece.
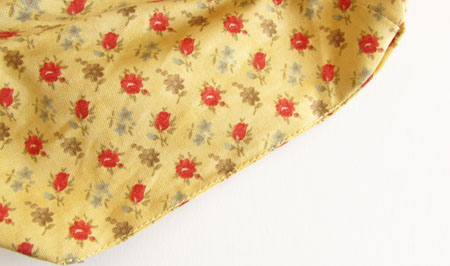
 And both lining pieces.
**ADDING ZIPPER TABS - Optional
This next bit here is not in the pattern. If you want to skip it, just scroll down to the ZIPPER INSTALLATION section. It's ok. We can still be friends. ;)
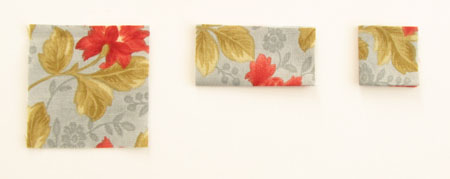
You need the 2 extra 2" squares.
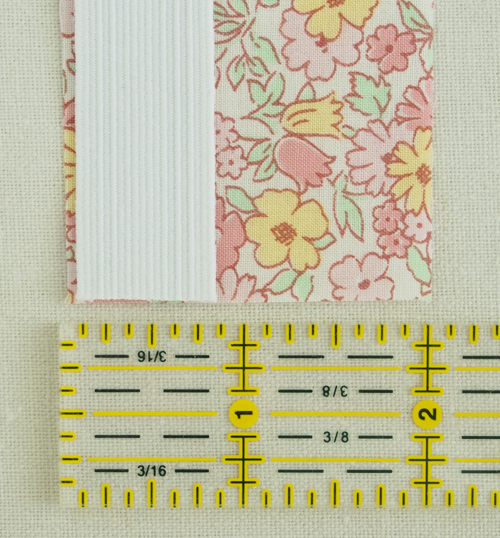
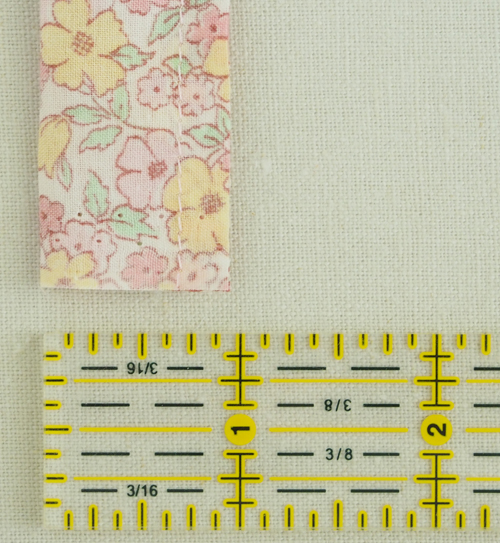
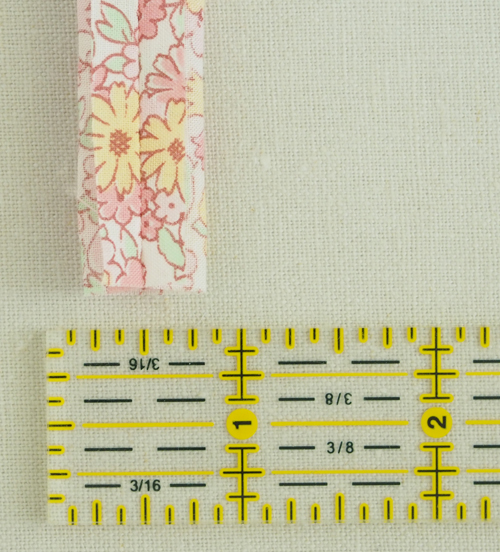
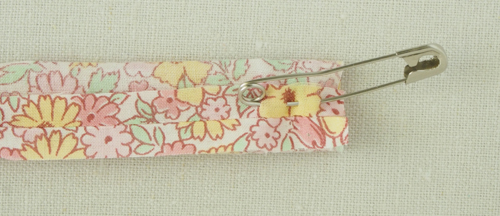
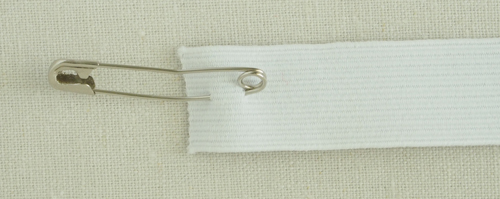
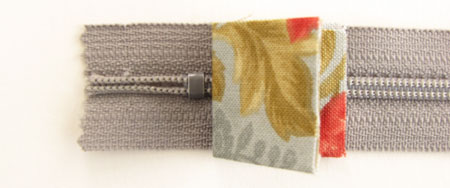
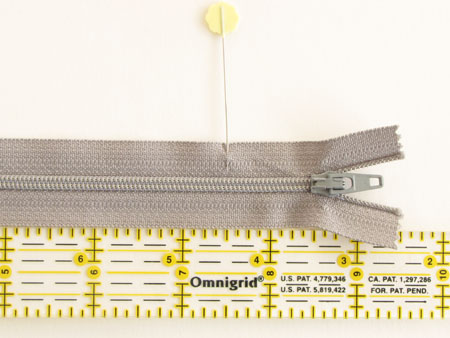
Fold the squares in half and press. Fold in half again and press. This second fold is referred to as the "second folded edge". Brought to you by the Queen of the Obvious. ;)
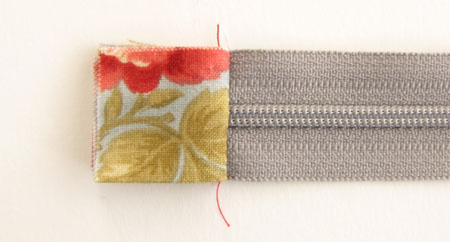
Lay the second folded edge to the inside of the metal tab on the bottom end of the zipper. (Right-side view)
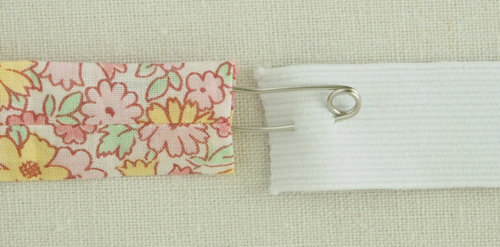
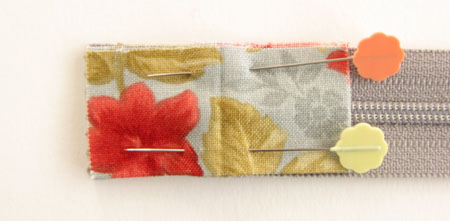
Open the second folded edge and pin the fabric in place. (Right-side view)
(Wrong-side view)
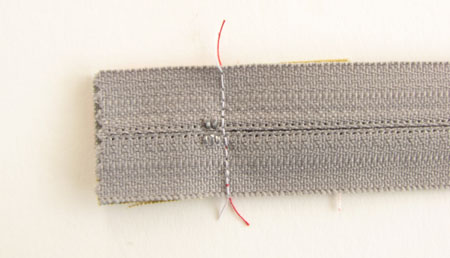
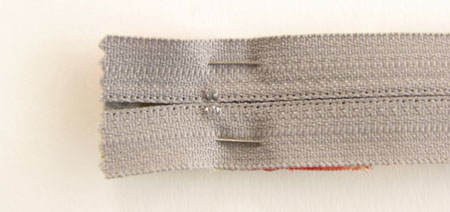 Sew along the fold mark. (Right-side view)
 (Wrong-side view) MAKE SURE YOU DON'T HIT THE METAL THINGY ON THE ZIPPER WITH YOUR NEEDLE ... IT WILL BREAK. (Just sayin'.)
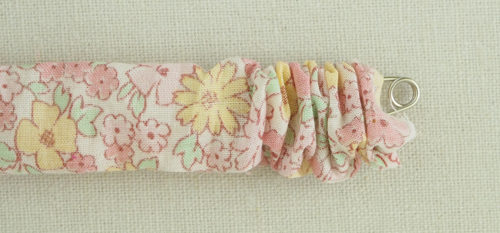
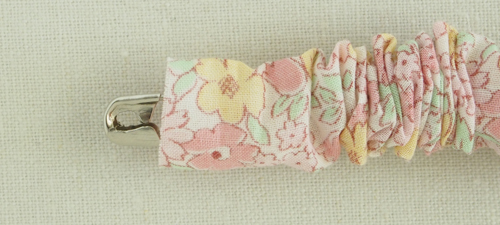
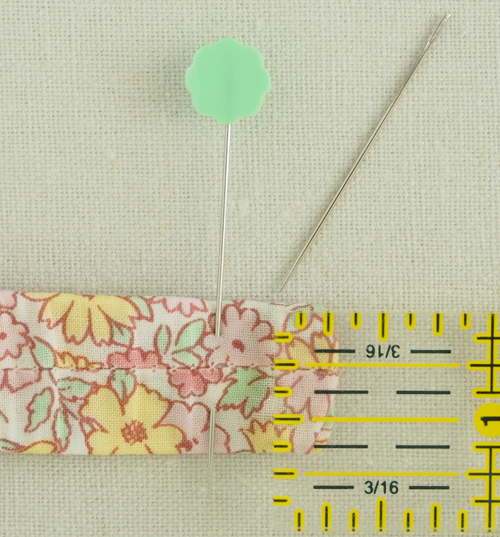
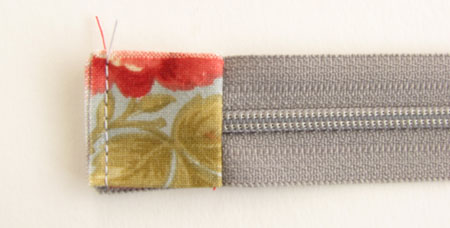
Refold the tab.
Baste the raw edges.
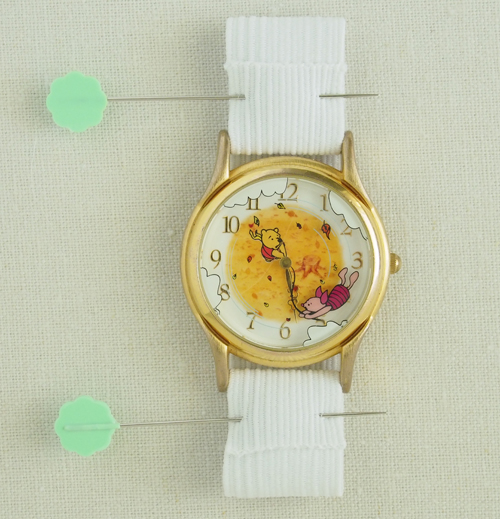
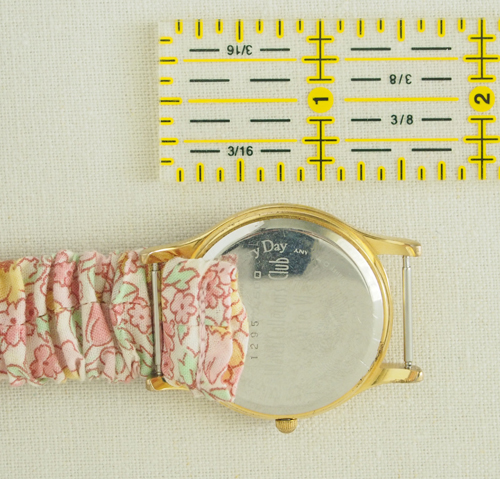
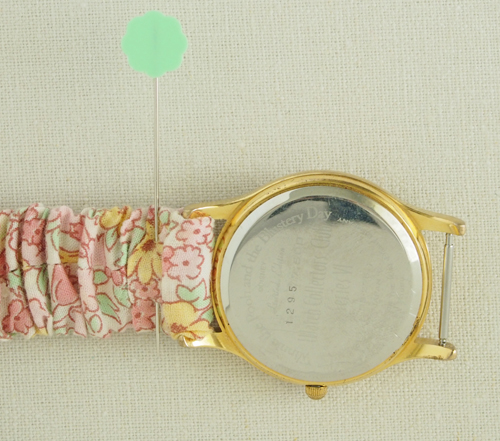
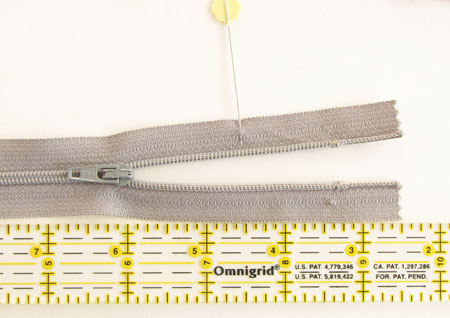
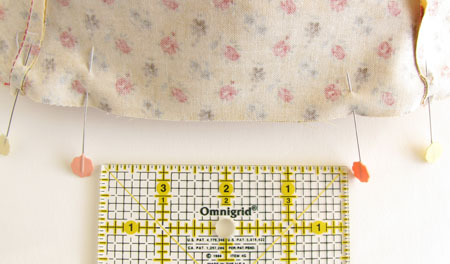
 To position the second tab, measure 7-1/2" from the fold of the first tab and mark that spot with a pin. This is where the fold of the second tab will be located.
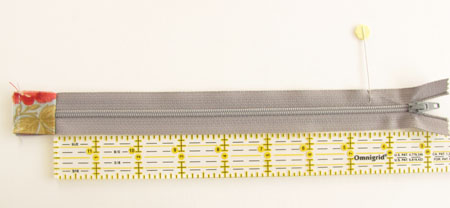
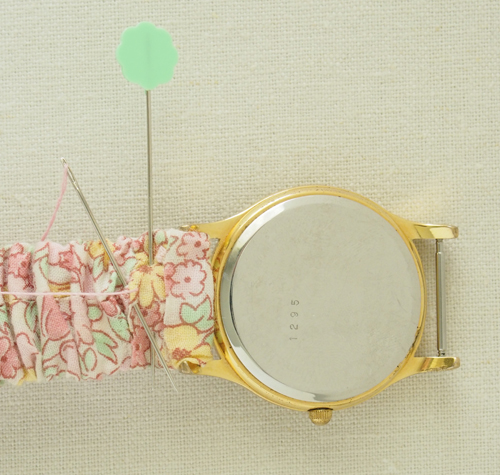
 FIRST OPEN THE ZIPPER HALFWAY! And keep it open. Kay?
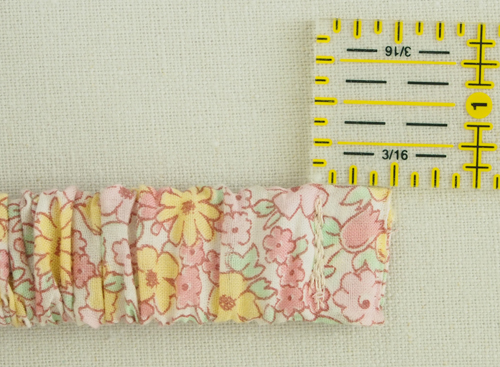
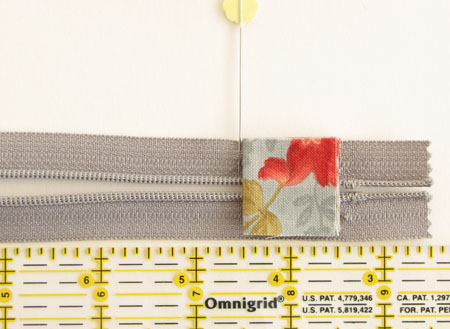
 Attach the second tab the same way as the first.
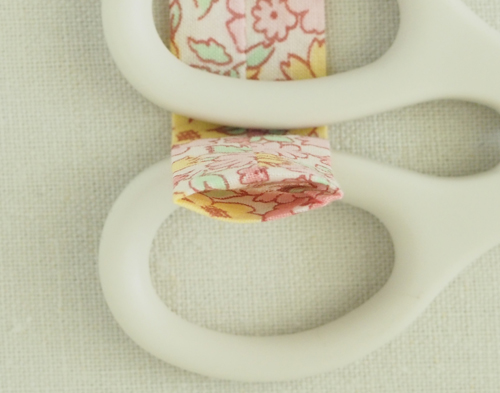
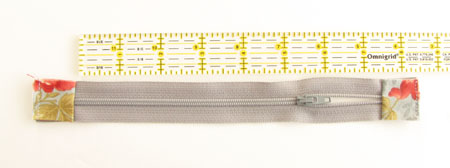
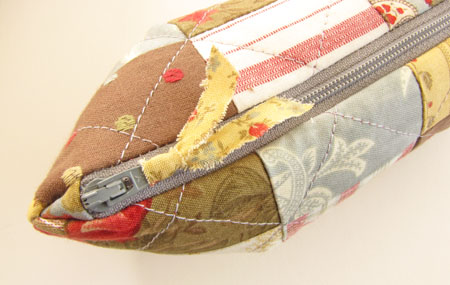
 Trim away the excess zipper.
ZIPPER INSTALLATION
All right. Still with me? Ok. :)
First, attach your zipper foot to your sewing machine.
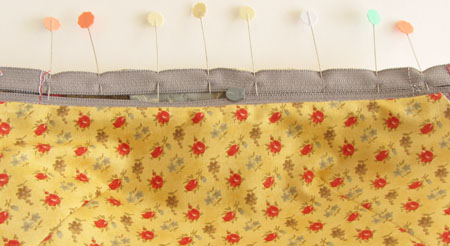
Fold the zipper in half and mark the center point with a pin. With right sides together, lay the zipper along the top edge of one body piece - matching the center points - and pin in place.
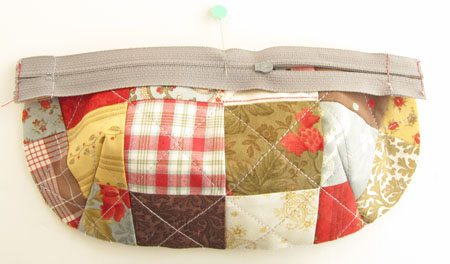
Pin the rest of the zipper to the body.
 Sew the zipper to the body.

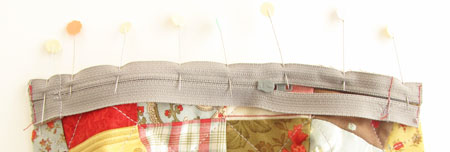
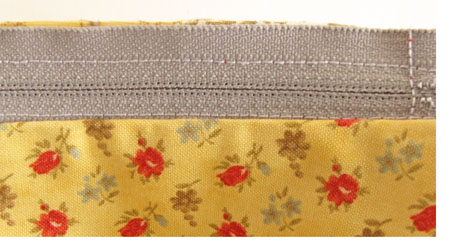
With right sides of the body (with the zipper) and lining together, center one lining piece and pin along the top edge.
The zipper should be sandwiched between the patchwork and the lining.
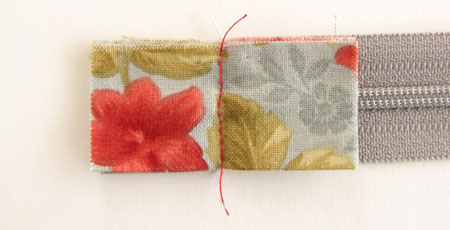
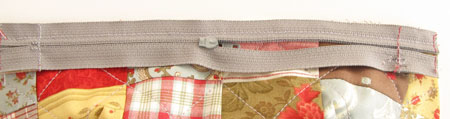
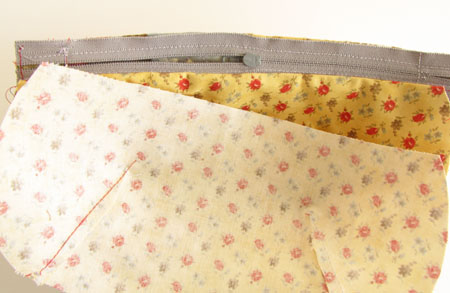
Do not sew directly on top of your previous seam (red thread shown below). Rather sew just a tiny bit towards the top edge (blue thread shown below).
You should have something that looks like this ...
 Repeat the above to add the second body and lining pieces to the other side of the zipper.
Center the second body piece onto the zipper - right sides together - and pin in place.
 Sew the second body to the zipper.
 Next, center the second lining piece to the zipper - right sides together, and pin in place.
 Sew the second lining to the zipper.

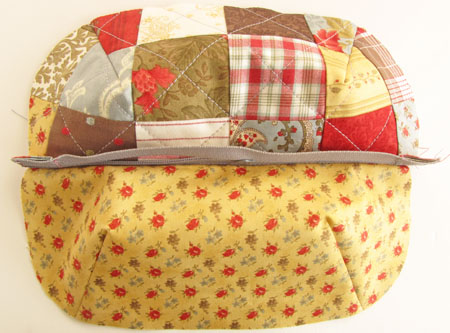
 Now you should have something that looks like this ...
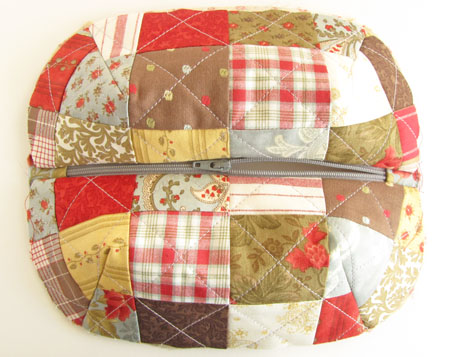 and this.

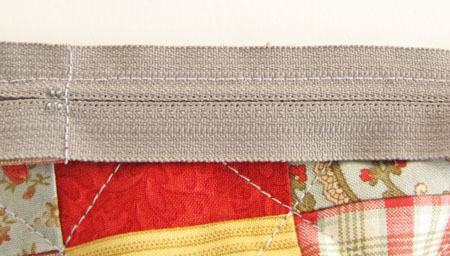
Press the body pieces and the lining pieces away from the zipper.
FORMING THE POUCH
Home stretch. :)
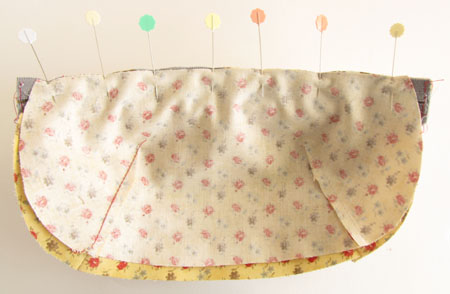
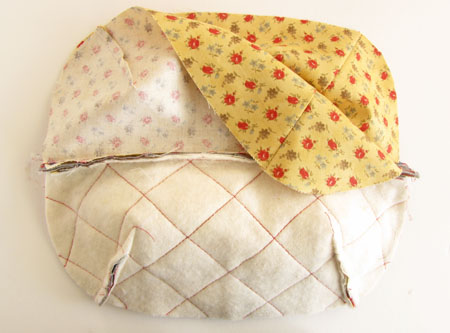
Now you're going to place the patchwork pieces right sides together,
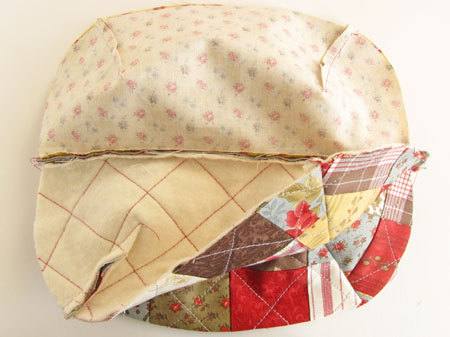 and the lining pieces right sides together.
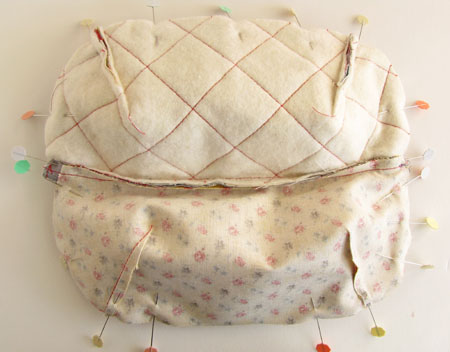
 Pin all the way around, doing your best to line up the darts and patchwork seams.
 The zipper will be a little weird so try to make the teeth go towards the patchwork side and the seam allowances towards the lining side.
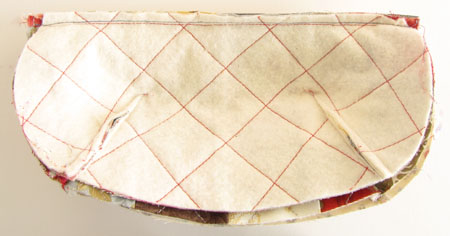
 Leaving a 4" opening along the bottom of the lining, sew all the way around the entire pouch, lining and patchwork.
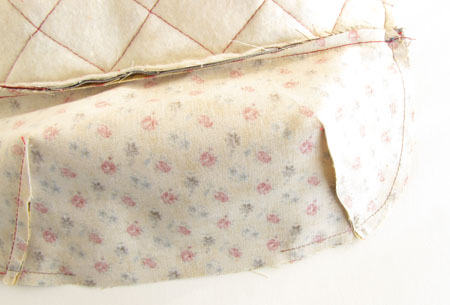 When you get to the zipper teeth, stop with your needle down and do a little pivot to make a "V".
 Trim the "V" point seam allowances.
 Turn the entire pouch right side out through the 4" opening.
Stitch the opening closed, either by hand or machine. (I'm lazy.)
 Turn the lining into the pouch.
Add a little scrap of fabric or a ribbon to the zipper pull.
 Tada!!!
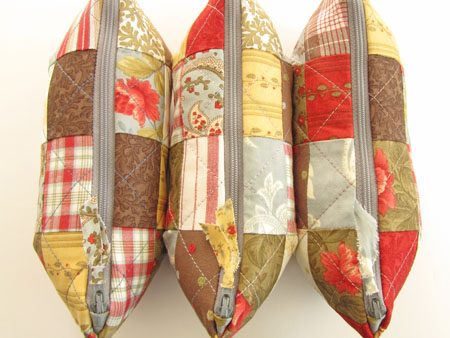
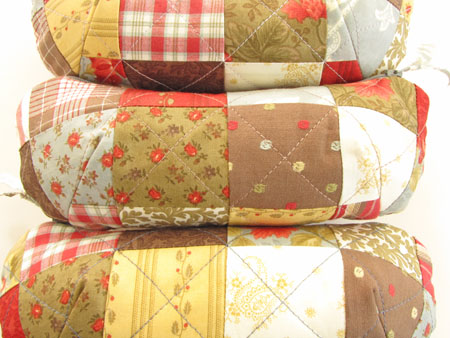
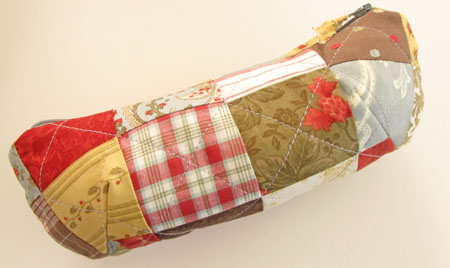 Now go make a few dozen.
 You will be fully stocked with lovely hostess/teacher/friend/neighbor/mother/daughter gifts for the entire Christmas season!


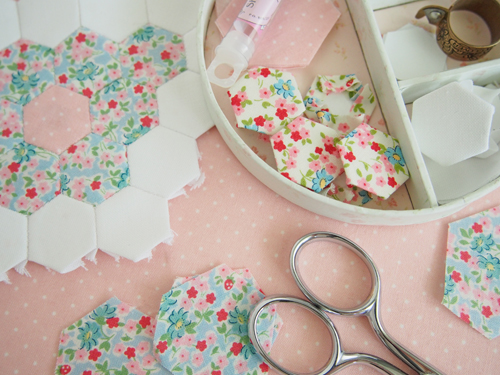
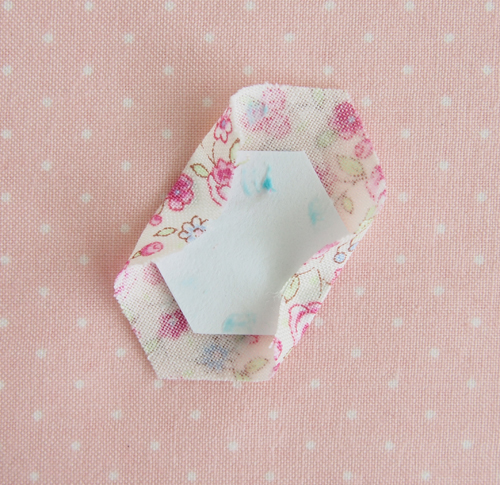
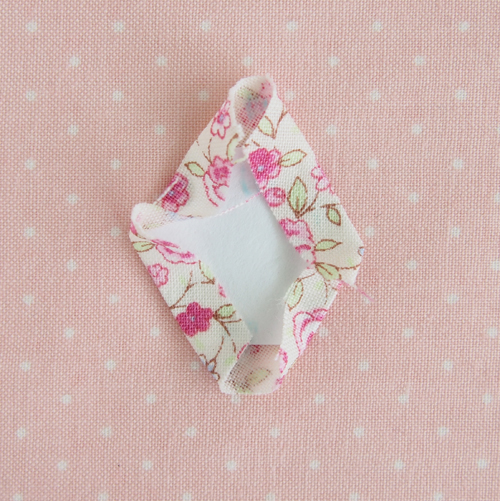
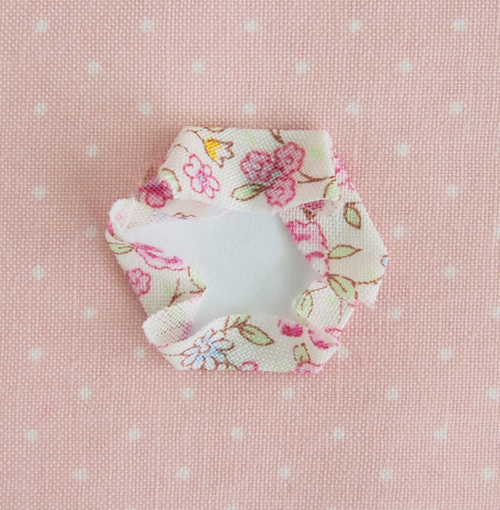
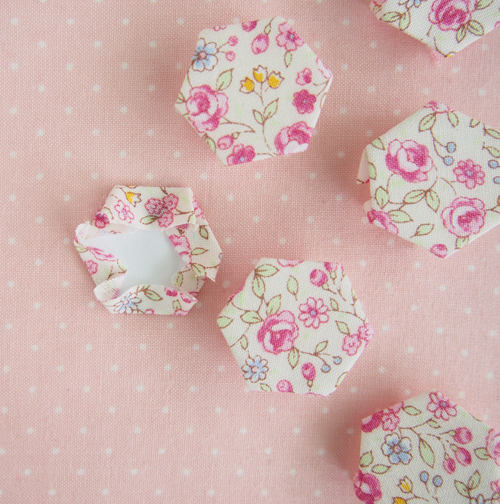
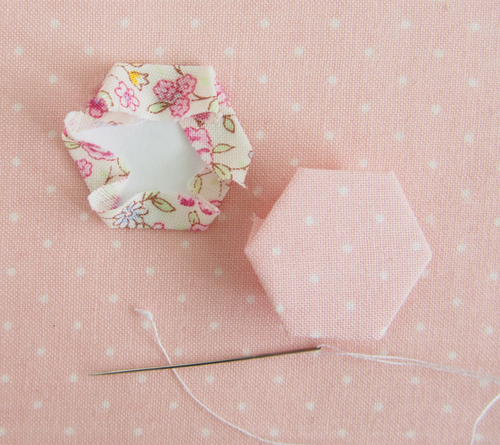
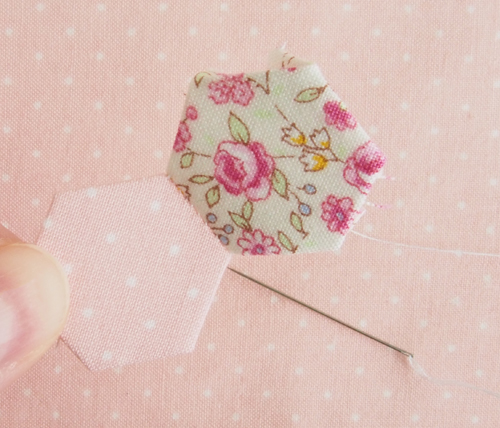
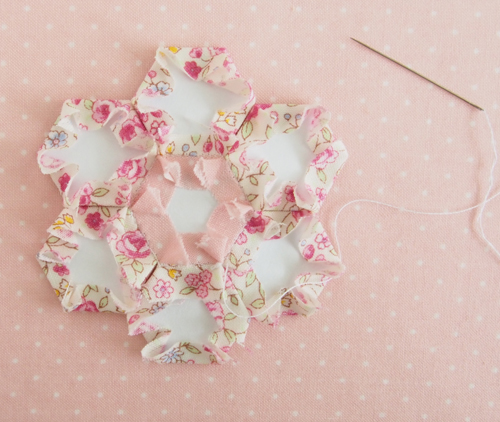
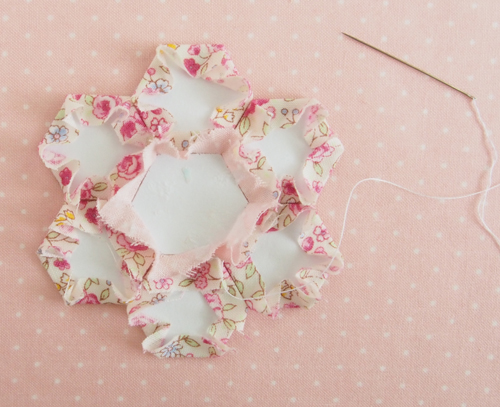
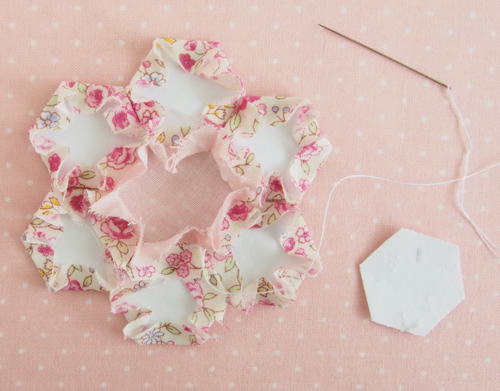
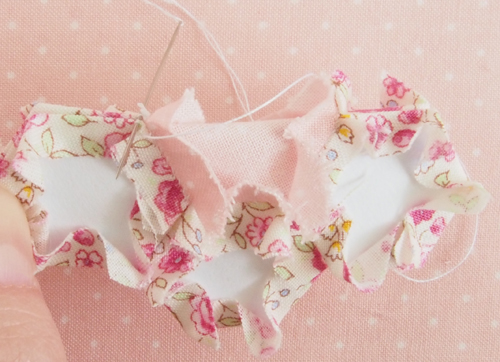
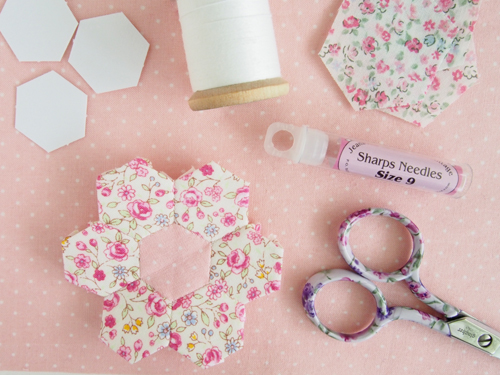
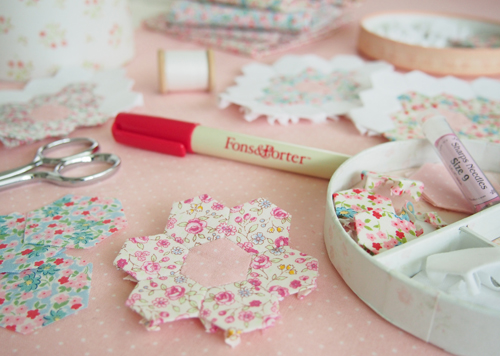
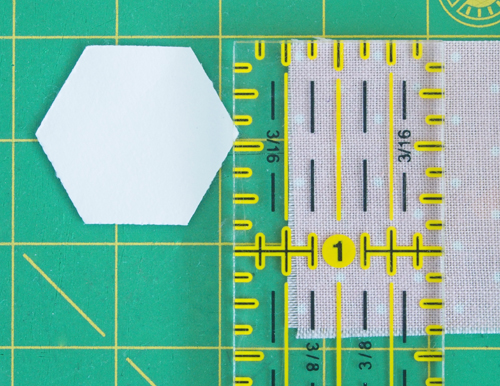
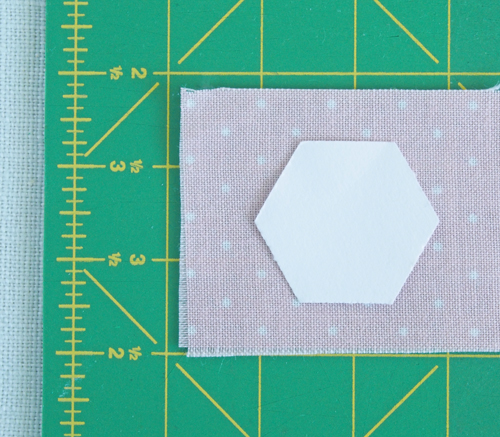
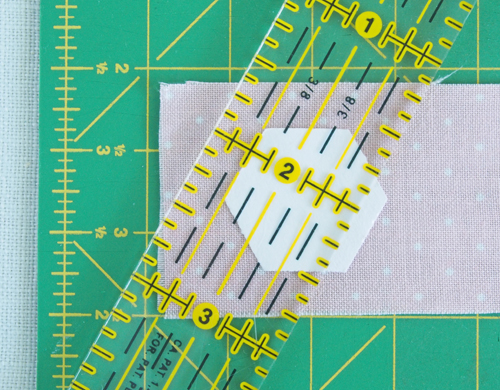
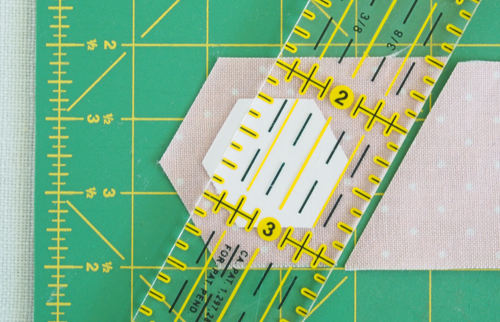
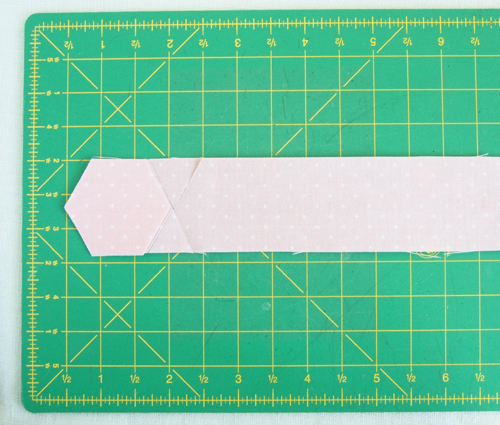
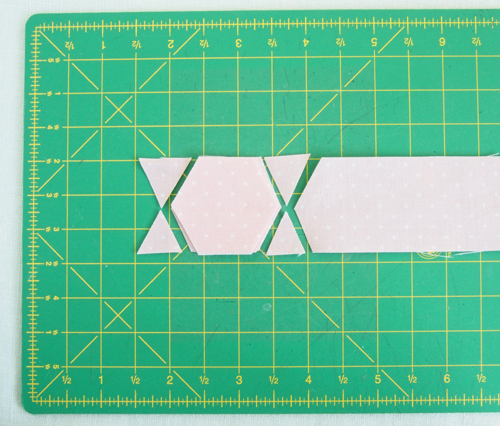
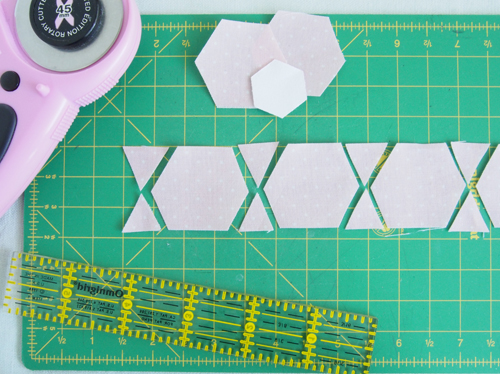
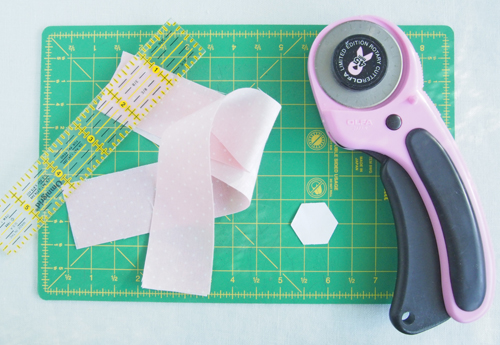 I've had a lot of questions lately about how I cut my fabric hexagons so I thought I'd write a little tutorial for you. This is a super easy way to cut a lot of hexagons quickly ... (recommended for English paper-piecing only).
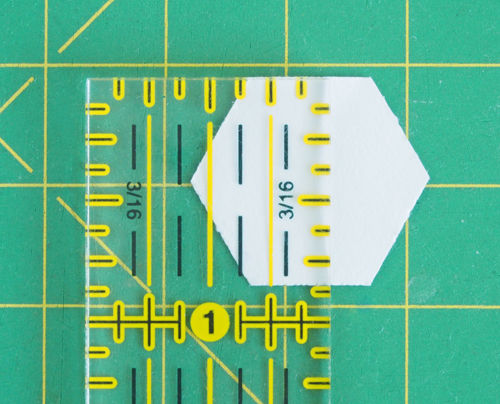
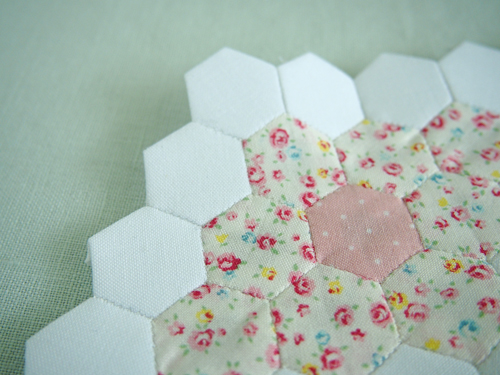 I hope you find this tutorial useful.
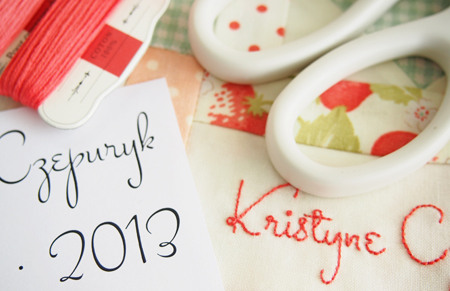
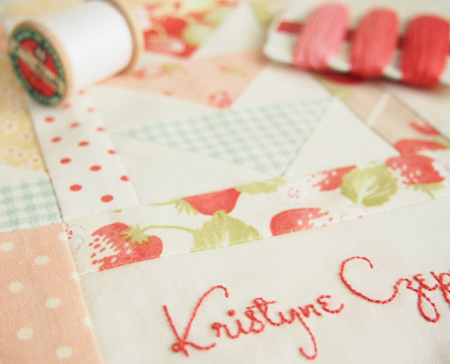
 Kristyne