Entries in Embroidery (67)

Friday
Oct112013

more stitch-a-long fun

Have you heard of the Temecula Quilt Company.  They are a fantastic quilt shop in sunny California.  Even way up here in Canada they're famous.  I have a lot of quilting friends who make a point of going to Temecula, just so they can go shopping there.

But they also have a terrific online service, if California isn't in your travel plans.

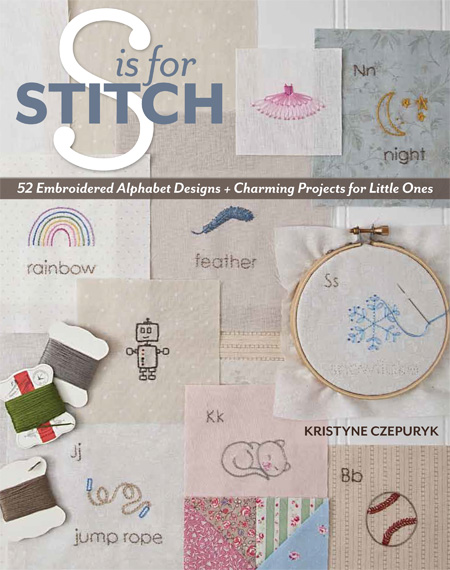
Well, it turns out they're starting up a weekly stitch-a-long with my book! They'll be posting their progress every Saturday on their blog.

Not only that, but you can order a starter kit from them (with or without the book, if you already have a copy).  The kit even comes with an adorable custom ruler box to hold all your floss and notions.  I'm going to order one I already ordered a few of those for myself. :)

They're taking orders now and will start stitching at the end of this month.  Hop over to their website for more details. It's gonna be a lot of fun!

Thursday
Sep262013

influence

I had to laugh after I wrote this post the other day.  When I left my computer I went to pack up my "trunk show" for a guild presentation I had the following evening.  As I was sorting through all my S is for Stitch samples, I came across these little baby onsies that I'd embroidered with alphabet designs from the book. 

(I just changed the words from "ice cream" and "oval" ...)

I know everything I design today is influenced - to some degree - by something I've made in the past.

And I have no doubt that the Martha Stewart-inspired bib project became part of my creative nature 11 years ago.  But I was completely unaware of that influence when I was writing my book ... that bib had been packed away for several years.

Realizing that connection made me smile.

I'm quite certain the new mother that was me way back then hadn't the slightest clue that she'd author an embroidery book 10 years later!

Funny where life - and Martha Stewart - has taken me.

Monday
Sep162013

snazzy

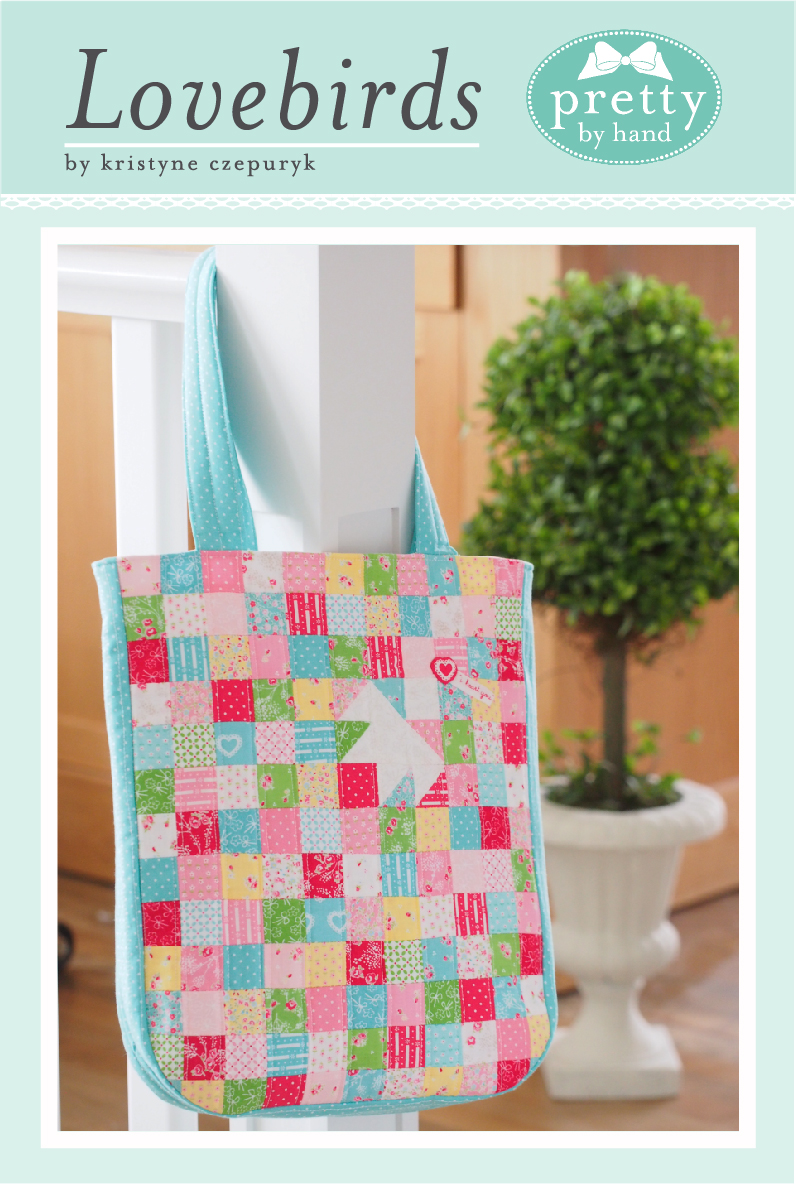
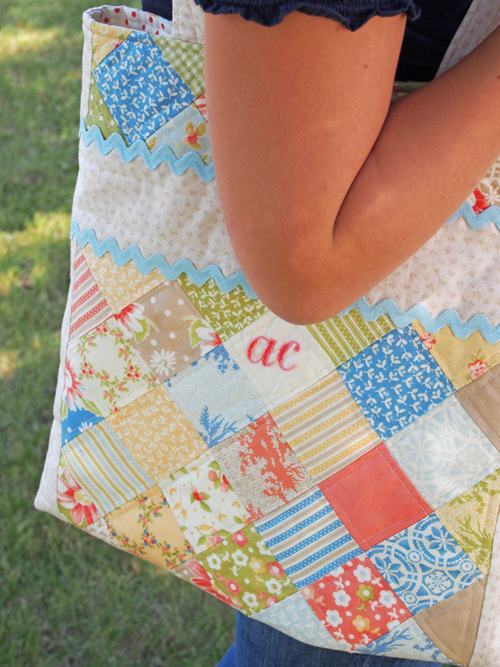
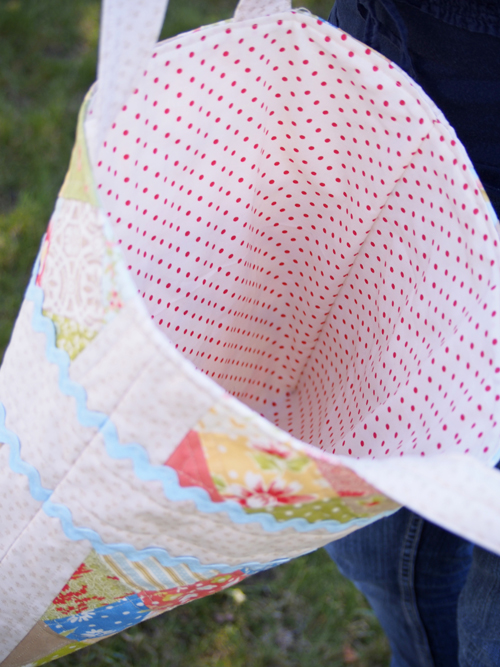
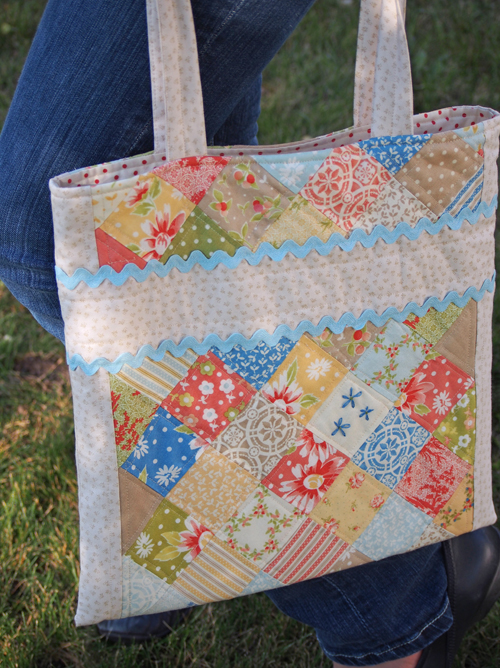
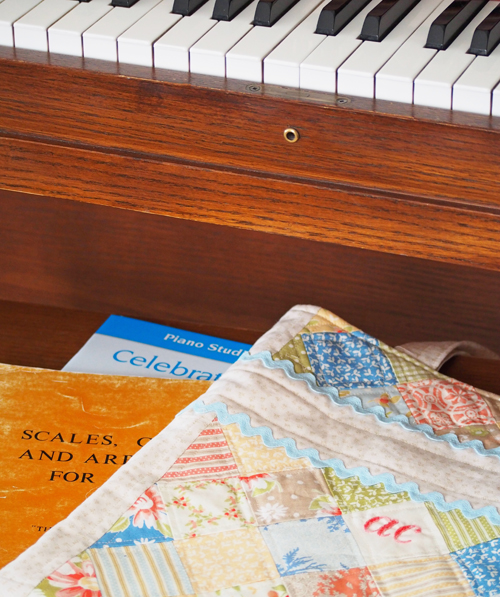
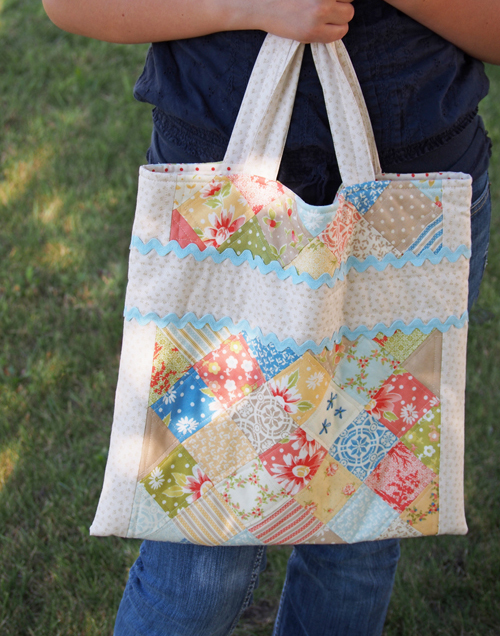
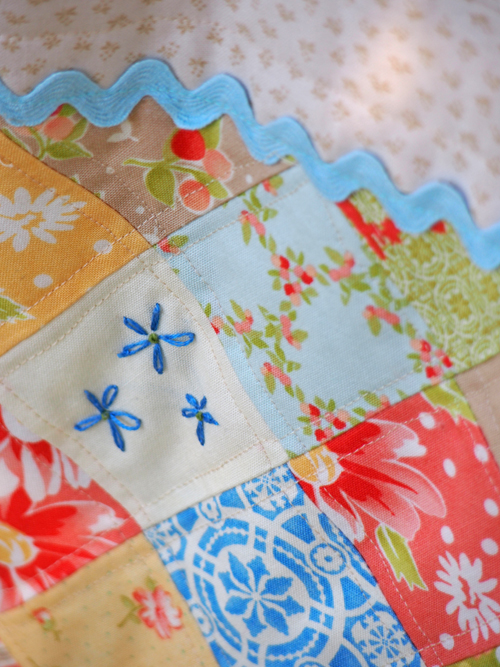
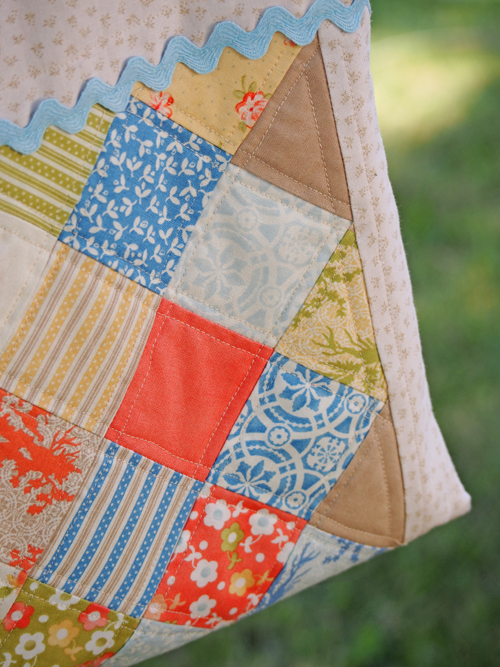
Here it is ... my 12 year old's first sewing machine project all finished. 

The girl is on Cloud 9. 

And I have a feeling she'll be finding more uses for her snazzy patchwork bag than just piano books.

By the way, I'm suddenly wondering if it's still ok to say "snazzy"? 

I looked it up and it means "stylishly and often flashily attractive" so it totally applies here.  But I can't remember the last time I read it or heard someone SAY it.

It's such a great word. 

Snazzy.

Friday
Sep062013

labelling

You guys? 

(sigh)

I dunno. 

For me?  Making this sort of thing is just so much fun it really oughta be illegal.  Seriously. 

The actual size of this house?  A diminutive and so-gosh-darn-cute 1-5/8" x 1-1/2".

I've made many cross-stitch quilt labels over the years.  Here's the only one I could find in my linen closet to show you ... seems the children have absconded with most of my other quilts for "fort duty". 

Ironically, this is the only other log cabin quilt I've made (that year is 1999, NOT 1966, by the way).

But this embroidered block label?!  By far my all-time favourite.

I found a cute font online, and then I don't even know how the idea popped into my head, but I thought wouldn't it be fun to stitch up a little log house ... you know, to keep with the theme of the log cabin(ish) blocks.  So I made a very basic house with lines for the logs, rounded the sides to make them look more "loggy", and then on a whim added some knots to fashion a little garden.

Simple simple.  A smattering of green knots for the shrubbery and a few pink ones for the blossoms and voila!  My house went from drab to fab in about 5 minutes.

Honestly, the hardest part was deciding what colours to use where.  In the end, I went with my daughter's suggestion to stitch the words in pink and to use the other dominant quilt colour - aqua - for the house.  I don't think anyone would object to an aquamarine log cabin. 

Choosing pink for the flowers, however, was a total no-brainer.

But I mostly love the illuminated windows. 

If you're familiar with the story behind the log cabin quilt block, you'll know that the centre square is traditionally made with red or yellow fabric to represent the fire buring in the hearth at the center of the home.  And the block is typically half dark/half light to depict the light and shadow cast by the fire. 

So I had it in my head that the windows of my cabin needed to be lit.  I tried a few different stitches to fill the windows, but the best one turned out to be (my least favourite) satin stitch.  I didn't sweat making the stitches perfect and have determined that a "rustic finish" is quite acceptable for this application. 

You see how good I am at justifying my imperfections?

Hmm, now all of a sudden I'm wondering how Wolverine would look wearing an aqua suit with a hot pink tie ... ;)

Thursday
Sep052013

not a mistake, but an opportunity

I miscounted the number of blocks I was making (again) and ended up being short by two.  So I made one more pieced block ...

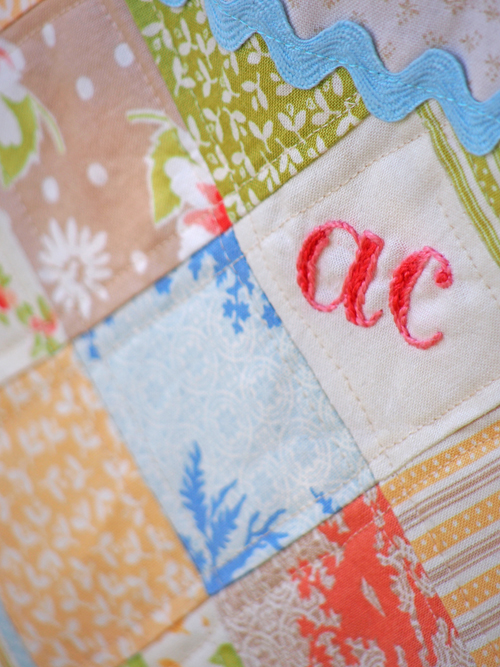
and then decided to do my embroidered signature block trick for the last one.

Glass half full and all. ;)

Monday
Jul222013

The Blue Ballerina

Finished!

This quilt is by far the easiest one I've ever made (if you don't count the embroidery).

Simple 5 1/2" squares. 

And the most basic of topstitching.

I wanted the fabric to play the starring role and I could not be happier with this scrappy-looking quilt that has a vintage feel, even though the fabrics are brand new and all from one collection.

I am really happy with the single embroidered blue ballerina.  (Here it is compared to the original pink version which appears on the cover of my book.)

I hope my girlfriend's daughter & granddaughter will love using it as much as I did making it.

My favourite way to present a quilt is to roll it up like a sleeping bag with the backing showing (so the patchwork is a surprise).

And then I just tie it with a ribbon (or scrap strip of fabric, if I have any binding left over).

Babies really are the best reasons for making quilts. :)

Friday
Jun142013

Hexagonia, Pincushionland

I seem to be stuck in this place of hexagon-piecing and pincushion-making lately.  I'm sure you've noticed.  (here, here, here, here and here, here & here) I guess it was only a matter of time before I combined the two ...

This latest pincushion started out innocently enough as part of an English paper piecing hexagon demo I did at a local quilt shop a few weeks ago. 

I was using it to show how I (used to) thread baste my hexagons.  I had no thoughts of making anything specific, let alone another pincushion.

Then I heard about a lovely lady who is going thru a difficult time and I wanted to brighten her day.  She likes blue so I used my newest, most favourite Atsuko prints.  And then embroidered her initial on the bottom.

I almost made this pincushion round, but then thought it'd be more interesting to echo the patchwork.

I think this pincushion just might be my favourite one yet.

"Hi Clare's Mum's friend, Elaine!  This pincushion is somewhere over the Pacific Ocean on it's way to you right now. :)  Hope you feel better soon."  xo k

One year ago today ...

Monday
May272013

Alterations

Here's the ballerina I enlarged by 200% for the baby quilt I'm working on.  She's 2" tall x 4" wide and 3 shades of blue.

The original design is small enough (1" x 2") that each "petal" of the tutu can be made with a single, elongated lazy daisy stitch. 

But enlarged, lazy daisies simply won't work.  The threads would be too long and loose ... little finger and toes would get caught in them and they'd get pulled out of shape in no time.  (Unless I couched them ... but I don't particularly enjoy couch stitching and avoid it whenever possible.)  So I altered the design by making the skirt petals with my favourite stem stitch.

And then I added a few lazy daisy flowers and squiggly lines to frame the block.

I was going for "twirly" ...

Friday
May242013

Sometimes The Lightbulb is a Little Slow ...

I'm a little embarrassed to admit the thought of adding some embroidery to this baby quilt for my girlfriend's granddaughter didn't occur to me until I'd already started cutting my fabric.  Then I realized - uh, hello - I could stitch something from the embroidery book I wrote.  Silly me!

The designs in my book are small - no bigger than 2" x 2".  But I'm making this quilt with 6" squares so I just enlarged the ballerina by 200%. 

How fantastic is it that I have a ballerina embroidery design to go with the ballet script fabric I'd already bought for this quilt? :)

I'm going to omit the letters and words from the original design.  And maybe add some sort of decorative border to the block.  Not entirely sure yet.  I'm just making this up as I go.

And now I've got some stitching to do this weekend ... couldn't be happier.

Have a good one!

One year ago today ...

Wednesday
May152013

A Pinch Purse

I finished the "still-not-for-my-sister" project ... a pinch purse!

This doesn't always happen to me - where the finished product looks even better than it did in my imagination.  But I'm really happy with this one.

I've been wanting to try my hand at a pinch purse ever since I picked up a few of these metal frames at Quilt Market last year. 

This embroidered scrolly motif was just enough to satisfy my craving to do some pretty little hand stitching. 

A polka dot lining - my homage to Kate Spade.

The lace trim hides the seam nicely.  And the bow?  Almost too much. 

Almost ... but not quite. ;)

"Ok, sister.  Please do not expect this little purse to find its way into your mailbox.  Okay?  I'd hate for you to be disappointed."

(Being a blogger with a sister who likes surprises is not without it's challenges.)

Monday
May132013

Hope Springs Eternal

I have an idea for my "this-is-not-for-you-sister" project.

But do you ever have those moments when you can see something finished in your head and it looks fantastic ... and then worry that it won't meet your expectations when it's done?  That's where I'm at right now. 

I really hope it turns out ok ... not like it's a gift or anything.

Friday
Apr262013

Serendipity ...

"An aptitude for making desirable discoveries by accident". 

I had one of those fabulous crafty moments the other day.  It started with me not being entirely happy with my hand applique job on my Wanda pillow.  I'm chosing to blame it on the jersey knit I was appliqueing onto and not on my hasty prep work. ;)

But I didn't want to undo/redo my stitching so I decided to "embellish" my less than desireable results with embroidery instead.  The serendipitous moment happened when I came across my COSMO Seasons variegated floss in my craft cupboard while looking for something else.

Can you even believe it?  This skein has e.x.a.c.t.l.y the perfect colors.  And I love how a continuous rows of feather stitches lets the variegated nature of the floss work to its best advantage.

I've never been a huge fan of variegate - I think I was traumatized as a child with my handmade mittens and that typical crazy random design you get when you knit variegated yarn ... my poor symmetrical craving little brain couldn't understand it.  It looked all chaotic and messy to me and I despised anything variegated for a very long time.

But now I'm doing cartwheels in my head over this little detail on my pillow ... 'cause if I tried to do a cartwheel in real life it would not end well. 

For my pride. 

Or my spine.

Tuesday
Apr232013

Busy as a ...

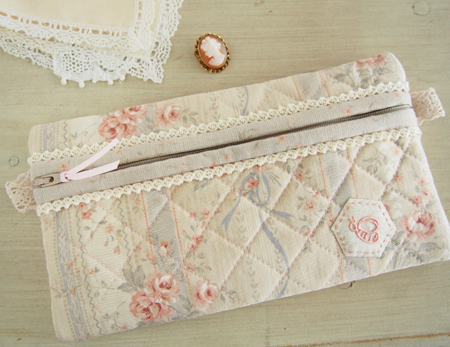
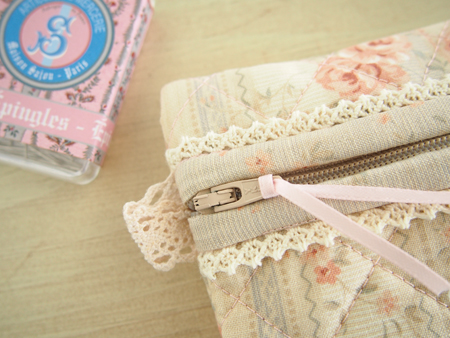
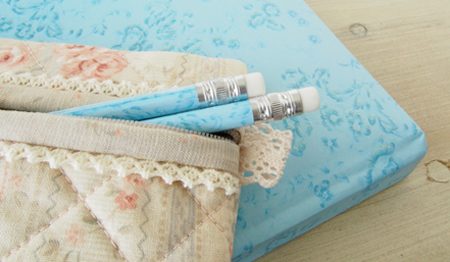
A good friend of mine had a birthday recently and I wanted to give her something useful, but really super cute & pretty.  So I made this little case for her.  (It's a modified version of my best selling Round Pencil Case pattern, available here - but instead of adding the round ends I just stitched them closed and positioned the zipper closer to the top.)

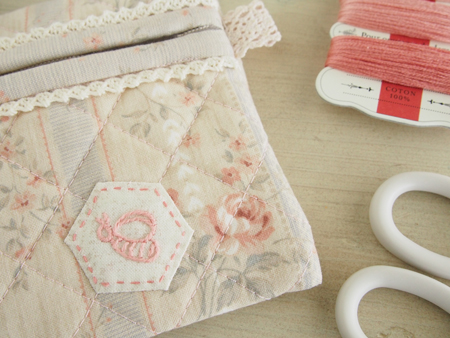
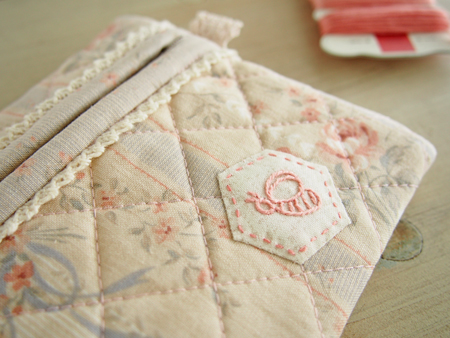
She has a romantic & shabby chic aesthetic and I thought this fabric was perfect.  She also has a thing for honey bees so I stitched up this cute little guy and used a new-to-me method of applique to attach the hexagon.  

(Have you ever tried the starch method to prep your applique pieces?  LOOOVE it!!!)  I slipped a small piece of batting underneath the hexie to make it a little bit poofy.

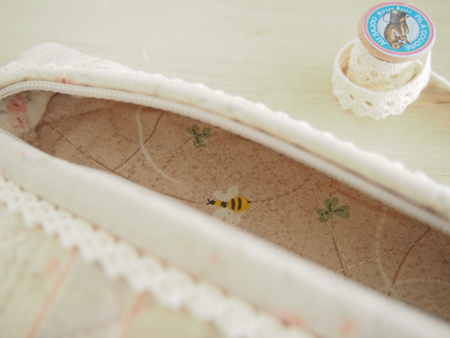
Did a little happy dance when I found this sweet Japanese bee print in my stash for the lining.

Then I added some lace trim for that extra feminine touch that is just so her.

I really do love being able to make nice things for the special people in my life. 

Happy Birthday, B!

Friday
Apr052013

How to Make an Embroidered Signature Block

After I posted this photo of a quilt top I finished a few weeks ago, I got a lot of questions about how to make an embroidered signature block.
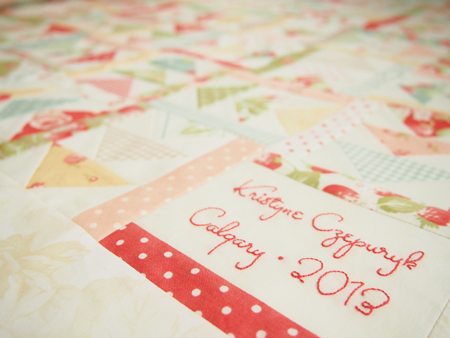
So I thought I'd write a tutorial for you.  (I've put a link under Tutorials on the right side of this page for future reference.)

No, I confess this is not my handwriting. 
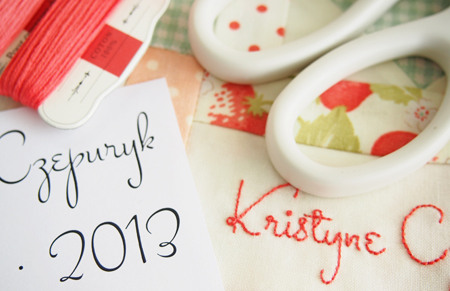
My handwriting is terrible.  I blame it on college note-taking in the "olden days" before laptops when all we had was paper and pens.

Yes, I could take my time and write out something semi-decent.  But it never looks nice enough to me.

Ironically, however, I encourage other people to use their own handwriting because ... well, I think we can all agree that it's more ... special, right? 

(And yes, I am familiar with the definition of the word "hypocrate".) 

I love seeing things written by my own ancestors.  But I'm just not proud enough of my own penmanship to want to immortalize it with embroidery.

So I cheat - just a little bit - and use computer fonts. If you'd like to cheat too, here's how.
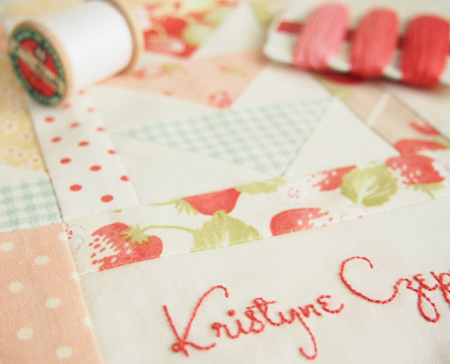
First, I think it's important to note that fonts have personalities.  Non-crafty people think the idea of fonts having personalities is ridiculous.  They don't get it.  Kinda like how I don't get chemistry or football or jazz music, I suppose.  But fonts can convey mood, style and tone.  I'm not kidding.  So use them to your advantage.

I always start with the fonts on my computer.  But when I get an idea for a look that can't be represented by one of those fonts, I go Googling for "free fonts".  The stuff that's out there!  Whoa!  Sometimes it takes a while to find the right font if you've got something specific in mind. 

Also try searching for fonts on Pinterest.  There are lots of font boards over there too, and many of the original posts also have links to the font source.

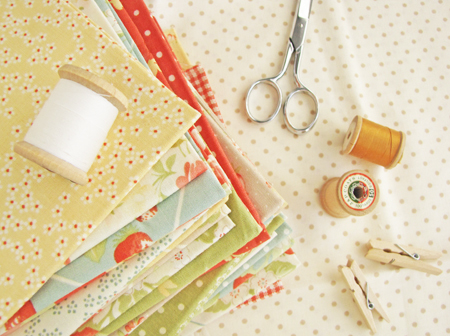
Inspired by the colors in the fabric - especially the blue/green and tomato red - I started looking for a font with a fun, retro vibe.
I decided on a 50s /60s era style that reminded me of a diner ... or the tv show "Bewitched".  I found this font called Stalemate, downloaded it, opened Word on my computer, typed my text onto 2 lines, centered them, adjusted the font size to fit my block and printed it on regular paper. 
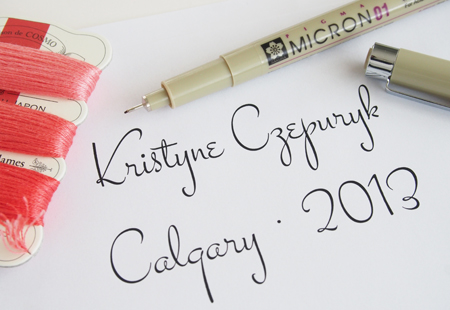
Voila!  My customized embroidery template.

Then I used a Micron Pigma Pen to trace my design onto the fabric.
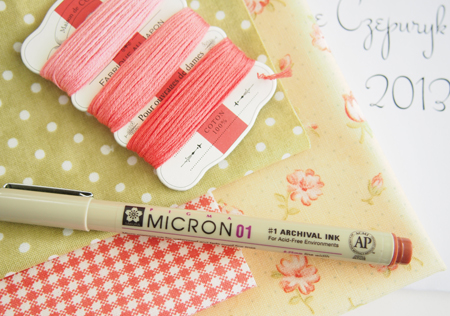
I could have matched my embroidery floss to any color found in the quilt.  But I wanted my stitches to be bright and the words easy to read, so I went with the red. 

When choosing a font to embroider, size matters!  The smaller the font - and the less space you have to apply your text onto the fabric - the simpler it should be. 

Now I prefer stitching with 2 plies of floss most of the time.  If I have a large, thin font, I might go with 3 plies.  Or if I have a tiny, delicate font - like I used here for my Farmer's Wife quilt - I'd use a single ply.
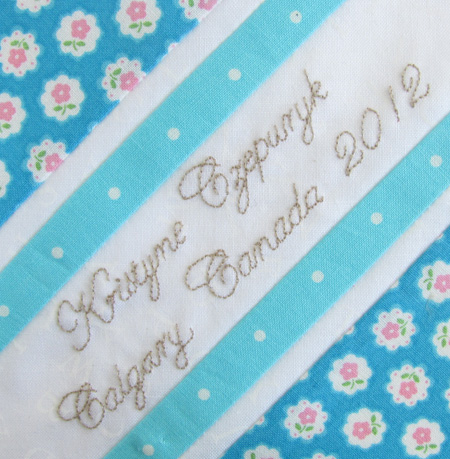
My best advice is to really study the letters in a font, see how much detail they have and decide how much work you want to put into stitching them.  My signature block here didn't take much work at all - one clean font, one color of floss, one easy stitch, one plain fabric ...
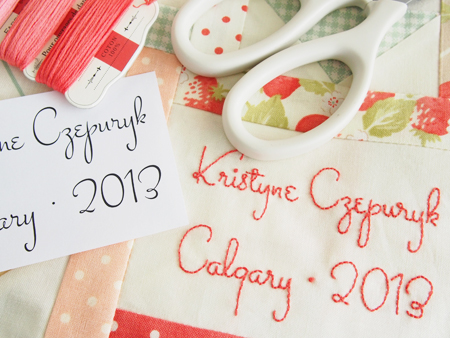
I hope I've convinced you that clean and simple doesn't mean a complete yawnfest either.  I think this font has loads of personality and interest.  I like the character it adds to my quilt.  And I like that my "label" has become part of the quilt top, instead of being hidden on the back.

Hope you find some stitching time this weekend.  Maybe dig out a quilt that hasn't been labelled yet ... ;)

Monday
Apr012013

What Do You Get When You Cross an Embroiderer with a Hole in Your Jeans?

You get a pretty new pair of pants!

I've seen many versions of this idea on Pinterest and - despite my strong aversion to mending - have been waiting very patiently for someone in my house to rip their jeans so I could give this a try. 

And by someone I mean not my husband.  I don't think he'd appreciate this sort of ... "fashionable solution" to a hole in his pants.  Just 'cause I can get him to eat from a lacy pink placemat doesn't mean he'll wear my embroidery!  Haha!

To do this mending job:

  • make a "patch" by fusing lightweight interfacing to the wrong side of a piece of fabric (I used regular quilting cotton) and trim it with pinking shears
  • pin the patch behind the hole with the right side of the fabric showing through
  • freestyle random cross and star stitches - with 3 plies of floss - around the tear

Quick, easy, and totally fun.

And my daughter loves it (although she wishes the hole was bigger so she could see more of the pretty patch underneath ... I'm thinking the washing machine will take care of that).

I gave her carte blanche for fabric & color choices and she went for a subtle amethyst Japanese print.  I'm sure she'll pick something brighter next time ... she's already asked if I can fix all her future jean holes this way.

I've also mended leggings with machine applique ... (posted here).

No one is more surprised than me to discover that mending can be fun.

Thursday
Mar142013

Hedgehog Pouch ... Also Known as the Birthday Gift That Took Forever to Make

At long last I can show you what I turned this pattern into ...

Cute, eh?  (If I do say so myself.)

My now 10 year old certainly thinks so ... especially because I used her favorite colours and fabrics.

And I couldn't be happier about that.

Now she has (another) little pouch to store all her ... stuff.

Hey Natalie, my cute little Aussie friend, thanks for designing such a sweet little stitchery!

Wednesday
Feb272013

Progress ... And a Time Warp

Oy, this little thing is taking me forever!

Started stitching it in October.

Finished the embroidery in January.

And now I finally figured out what to turn it into.

(Hand quilted the embroidery side, but went for the much faster machine quilting on the other side.)

It's for a little someone special here in my house.

She has a birthday coming up.

A big one.

Double digits.

She can hardly wait.

I'm hyperventilating.

Where - exactly - did the last 10 years go? 

I checked my pockets.  They're not in there. 

I could have sworn it was just a few weeks ago she looked like this ...

Thursday
Feb212013

Those Cards I Use For My Embroidery Floss ...

Oh dear.  I'm a very sorry person.

Here's the thing.  I have a TON of DMC embroidery floss.  I've been using it for decades.  I keep them all stored on these little white cards in these nifty little cases - all in numerical order. 
Super practical and easy to use whether I'm following someone else's pattern or designing my own.  I love DMC floss.  It works great, it's easy to find and it comes in a TON of colors.

However.

I'm also a huge fan of Lecien fabric and their COSMO embroidery floss.  When I was writing my book it was very easy and convenient to match the COSMO floss colors exactly to the Lecien fabrics I used. 
(I made a point of referencing both brands in my book.)

So I got some of these pretty little embroidery floss cards - designed by Lecien - to use as props in the book and a few made the cover. :)
Now, as a blogger I try to make my photos more interesting & pretty by adding little props and things. 

And because I've been doing a lot of embroidery lately these COSMO cards have ended up in several recent photos.
It seems I'm not the only one who really likes them because I've been getting asked a lot about where to get them. 

Here's where the sorry part comes in.  Sadly, these little cards were discontinued a few months ago and are almost impossible to find now.

I know.

I'm really sorry.

However, I recently got myself a whole bunch of these instead ...

Same design & quality, but they hold THREE skeins instead of one.

I love them.

They look so pretty with the color families in graduated shades.

And they're really handy when I'm searching for that exact right color.

Anyhow, Lecien also makes these ...

And these ...

I got a few of each just because they're pretty. 

But I'm using these to organize & store all my COSMO floss.

I did a quick search online and found a few here and here.  They are also listed here, but show as sold out.  Maybe if enough people ask they will order more.

Otherwise, beg your local shop owners to carry them?  I know they are available to retailers through both EE Schenck and Checker distributors.

UPDATE:  Also available at THIS ETSY SHOP!

Thursday
Feb072013

Love is in the Air

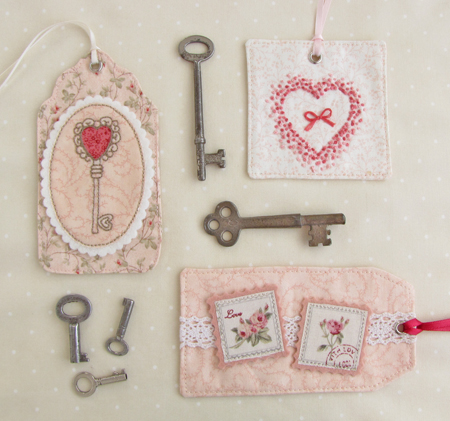
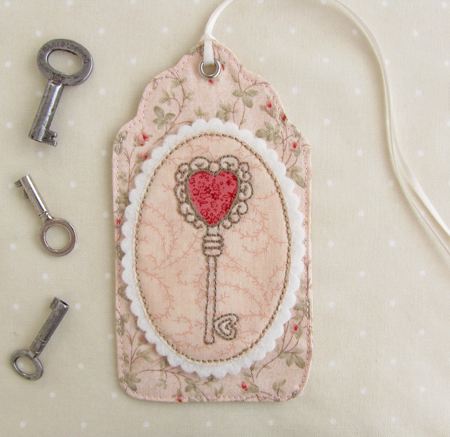
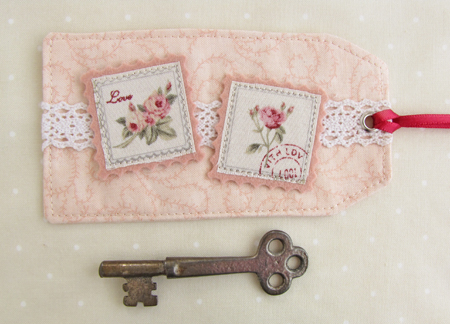
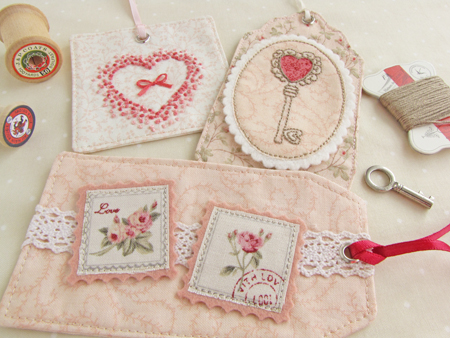
Amy and I had so much fun with the Holiday Tag-a-Long we did at Christmas we decided to do it again ... for Valentine's Day!

Here's the first one.

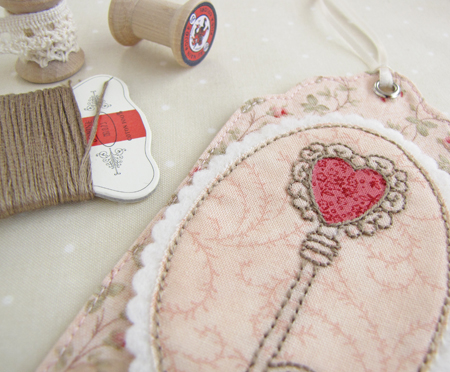
I need to thank Amy for cluing me in to the whole scalloped scissors thing.  I got mine on eBay.

And the backstitch - although not my favorite - was necessary to create the delicate scrollwork.  I also really like the red heart - it reminds me of enamel.  I like to think Faberge would be impressed. ;)

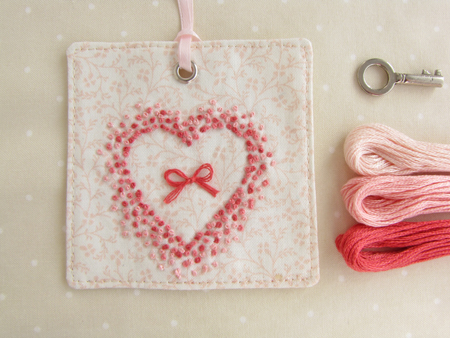
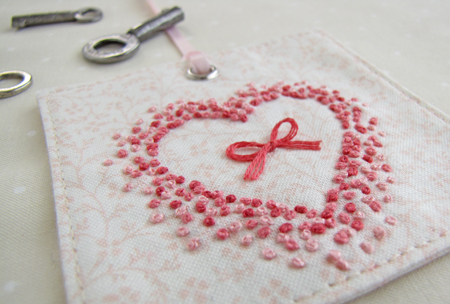
This one was fun.  I cut out a heart from freezer paper, ironed it to the fabric and just went all Colonial knotty for an hour or so with graduating shades of the same color family.

I struggled for a bit trying to come up with a good idea to finish it off and finally came up with the little bow. 

I know ... predictable.

Reminds me of a friend's new pair of shoes.

And then finally this ... 

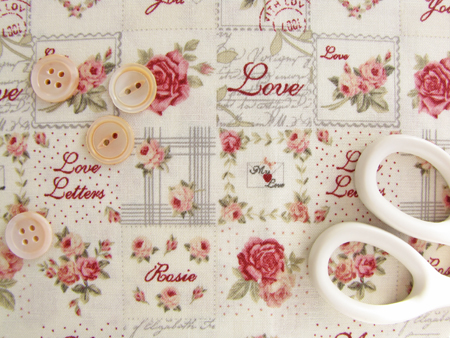
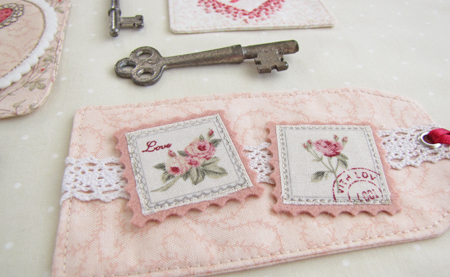
It all started with a lovely print.

I got it from Shabby Fabrics a while ago, thinking it'd be great for fussy cutting.  

And believe it or not, this was my first time ever tea-dying something.  I usually go for whites.  But the inspiration fabric has a creamy background and my white lace was too ... white.  This lace just needed to hang out for a few minutes in a mug with a bag if Irish Breakfast tea. 

I hope you enjoy these little romance-inspired tags.

You can see Amy's over at nanaCompany.  (Love that girl!)

The tutorial & template is always available on my sidebar.  And please remember to add your tags to our Flickr Group.  We'd love to see what you come up with in the spirit of Valentine's Day.

So do you feel some tag love in the air now too?

C'mon.  You know ya do!

Monday
Dec312012

Happy New Year ... and a few hedgehogs

Happy New Year's Eve!  Hope you have a fun night and a fantastic 2013. 

I think we four are just going to hang out at home watching movies, eating popcorn and snuggling under a mountain of quilts.  And as always, the last one to fall asleep wins.  Smart money is on me.  But only if there is something good on tv.  And I have something to stitch.  Otherwise I'll be out by 9:30.  The winner will have to wake everyone up at midnight, do a little sleepy cheer and then make the children climb up the stairs to bed ... 'cause they are just not little enough to be carried anymore.  I'm sure if I tried to carry even the little one, the attempt would end with both of us carted off to the emergency room - her with a broken what-cha-ma-call-it and me with a herniated something-or-other.  Sigh.

Anyhow.

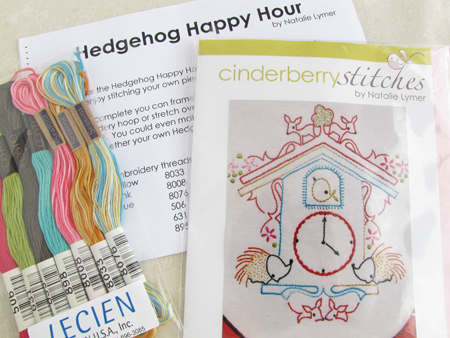
Remember this little stitchery I prepped for my trip to Quilt Market in October? 

It's a fairly small design, but it has been my portable project for the past few months 'cause I didn't get much done in Houston.

So I've been taking it with me on Saturdays while my daughter sees her math/english tutor.  (She has a form of dyslexia which can make school a little tricky sometimes, so she benefits a great deal from a little extra-curricular support.)

But I seem to end up doing more chit-chatting than stitching while I wait for her.  Oh well.

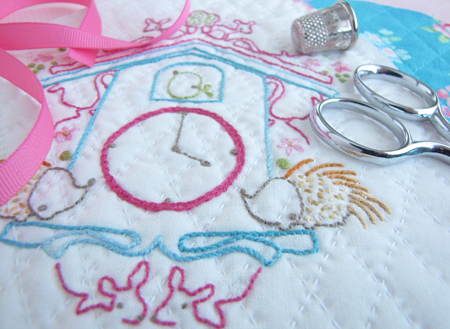
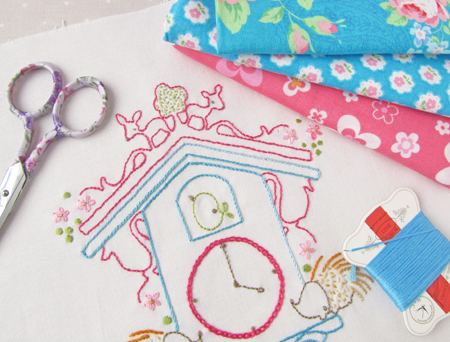
Anyhow, here it is all finished.

Those little hedgehogs crack me up ... aren't they just so cute?

I made a few changes, 'cause ... you know ... that's what I do.  I used a lighter brown for the clock hands and hedgehog face outlines.  I went with a plain stem stitch instead of a blanket stitch for the cuckoo bird window.  I also added a little colonial knot to the center of the lazy daisy flowers.

The pattern also called for mostly backstitch.  But as I've said before, my backstitch isn't anything to write home about, so I only used it for the very finely detailed lines (the pink deers & hedgehog faces) and used my favored stem stitch for most of the rest of it.

Now I have to do something with it!  I was going to use this new fabric collection by Natalie Lymer of Cinderberry Stitches.

Especially this print ...

I mean come ON, right?!  But I'd already done most of the stitching before I got the fabric and the colors don't work together.

However, it seems my 9 year old has called dibs on it.  And she really favors these ...

I'll see what I can do.  I'm thinking a zippered pouch of some sort.

Hmmm, this also means I need to find a new portable project for Saturdays ... that shouldn't be too difficult. :)