


How to Make an Embroidered Signature Block
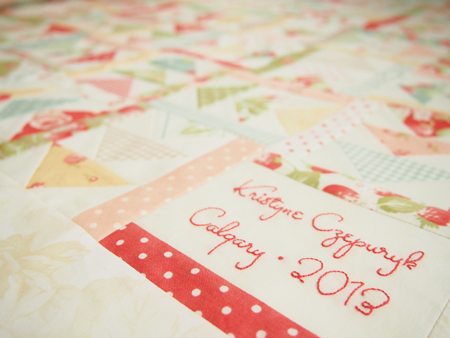
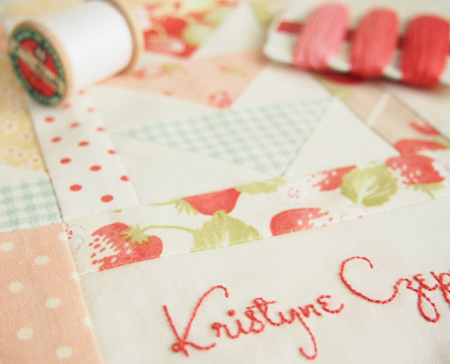
After I posted this photo of a quilt top I finished a few weeks ago, I got a lot of questions about how to make an embroidered signature block.
 So I thought I'd write a tutorial for you. (I've put a link under Tutorials on the right side of this page for future reference.)
No, I confess this is not my handwriting.
 My handwriting is terrible. I blame it on college note-taking in the "olden days" before laptops when all we had was paper and pens.
Yes, I could take my time and write out something semi-decent. But it never looks nice enough to me.
Ironically, however, I encourage other people to use their own handwriting because ... well, I think we can all agree that it's more ... special, right?
(And yes, I am familiar with the definition of the word "hypocrate".)
I love seeing things written by my own ancestors. But I'm just not proud enough of my own penmanship to want to immortalize it with embroidery.
So I cheat - just a little bit - and use computer fonts. If you'd like to cheat too, here's how.
 First, I think it's important to note that fonts have personalities. Non-crafty people think the idea of fonts having personalities is ridiculous. They don't get it. Kinda like how I don't get chemistry or football or jazz music, I suppose. But fonts can convey mood, style and tone. I'm not kidding. So use them to your advantage.
I always start with the fonts on my computer. But when I get an idea for a look that can't be represented by one of those fonts, I go Googling for "free fonts". The stuff that's out there! Whoa! Sometimes it takes a while to find the right font if you've got something specific in mind.
Also try searching for fonts on Pinterest. There are lots of font boards over there too, and many of the original posts also have links to the font source.
Inspired by the colors in the fabric - especially the blue/green and tomato red - I started looking for a font with a fun, retro vibe.
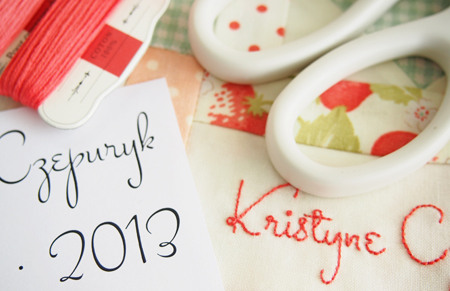
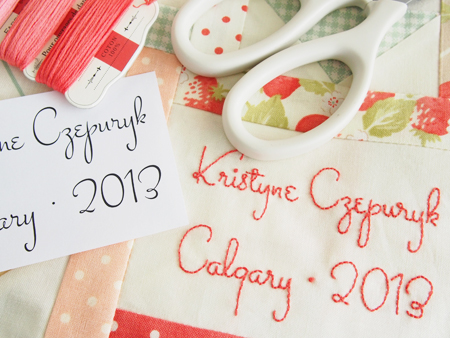
 I decided on a 50s /60s era style that reminded me of a diner ... or the tv show "Bewitched". I found this font called Stalemate, downloaded it, opened Word on my computer, typed my text onto 2 lines, centered them, adjusted the font size to fit my block and printed it on regular paper.
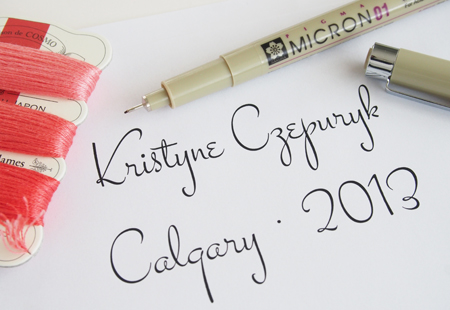 Voila! My customized embroidery template.
Then I used a Micron Pigma Pen to trace my design onto the fabric.
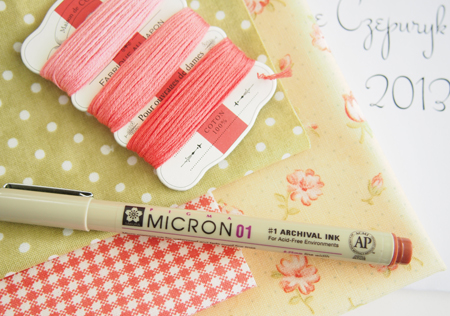
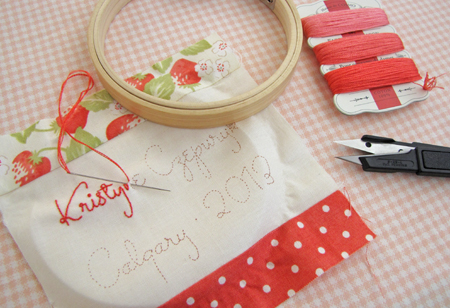 I could have matched my embroidery floss to any color found in the quilt. But I wanted my stitches to be bright and the words easy to read, so I went with the red.
When choosing a font to embroider, size matters! The smaller the font - and the less space you have to apply your text onto the fabric - the simpler it should be.
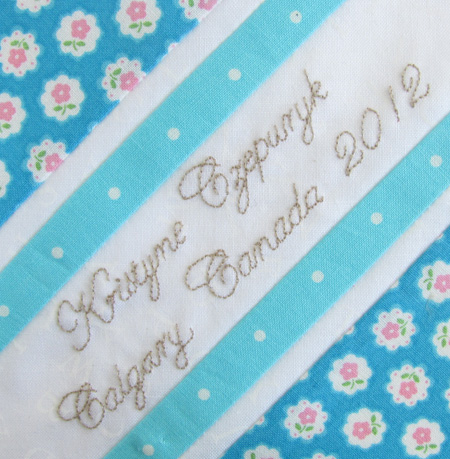
Now I prefer stitching with 2 plies of floss most of the time. If I have a large, thin font, I might go with 3 plies. Or if I have a tiny, delicate font - like I used here for my Farmer's Wife quilt - I'd use a single ply.
My best advice is to really study the letters in a font, see how much detail they have and decide how much work you want to put into stitching them. My signature block here didn't take much work at all - one clean font, one color of floss, one easy stitch, one plain fabric ...
I hope I've convinced you that clean and simple doesn't mean a complete yawnfest either. I think this font has loads of personality and interest. I like the character it adds to my quilt. And I like that my "label" has become part of the quilt top, instead of being hidden on the back.
Hope you find some stitching time this weekend. Maybe dig out a quilt that hasn't been labelled yet ... ;)
 Kristyne
Reader Comments (32)
Have you ever used or heard of FriXion pens from Pilot? They are amazing. You can write on fabric and after you quilt or embroider on the fabric just take a hot/warm iron and lightly go over it. The ink disappears! Magic!! It comes in different colors and can be found in most office supply shops.
Have a wonderful weekend, Hildy
I loved Bewitched, I always wanted to be able to deal with people with a wiggle of my nose.
Happy weekend K,
V x
Greetings from Ukraine :)
Your work is sound like fun! :))
I am going to try it !!
Thank You,
Linda
Another site for FREE FONTS (I hate to sound like an ad bot or something!) is www.dafont.com. It has a ridiculous amount of free fonts.
One last thing, and I hate to point this out because it sounds critical, but you misspelled "hypocrite" as "hypocrate."
This quilt is one I just finished for my granddaughter to be in a month, and it has to be just right because it is my daughter's first, and I am feeling very attached to this precious child already :)
I have yet to find the right font, even though I have searched for days....but thank you for your imput,and the "hows" to get this accomplished. I finally feel like I could go forward and do this!!
(PS: we are thrilled that a stunning, smart, crafty young lady from Calgary will be joining our family this summer!)
Thank you so much for even reading this. :)