How I Transfer Embroidery Designs onto Felt
 November 21, 2012
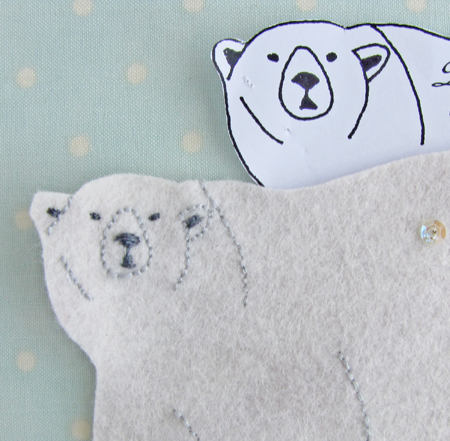
There are several ways to transfer embroidery designs onto your stitching cloth. When it comes to quilting cotton, I favor a light source and a Micron Pigma Pen. However that won't work for felt because you can't SEE through it.
In Alicia's pattern, she tells you how to use dressmaker's chalk pencil, carbon paper, fabric marker & and iron-on transfer pencil. I confess I've never tried that method. For me old habits die hard because I'm still happy using the way my mom taught me when I was little using cheap and cheerful tissue paper.
You need:
- a pencil
- a few pins
- a sheet of tissue paper large enough to accommodate the design you are transferring (I just dug out a wrinkly used piece from my gift-wrapping supplies & ironed it smooth).
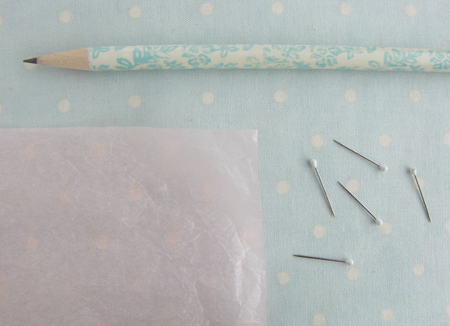 Here's how:
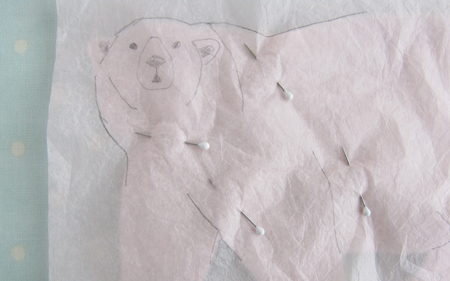
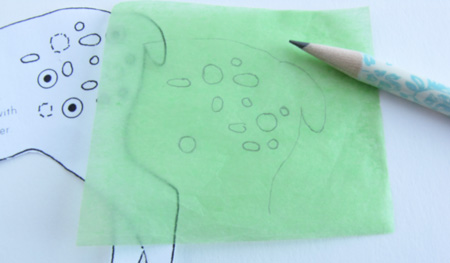
Step 1 - Trace the design onto tissue paper.
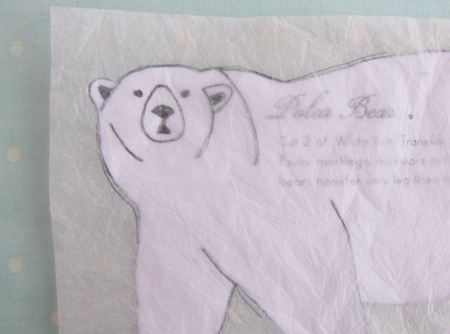
I also trace parts of the outline as registration marks so I can line up the design accurately onto the felt.
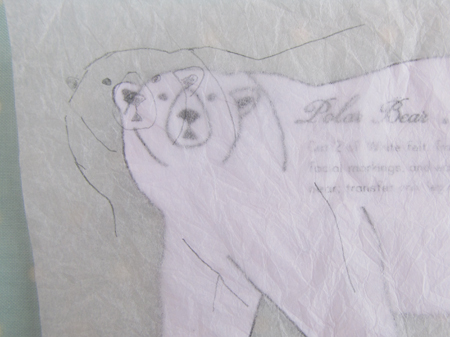 Step 2 - Pin the tissue paper to the felt exactly where you want the embroidery to be situated.
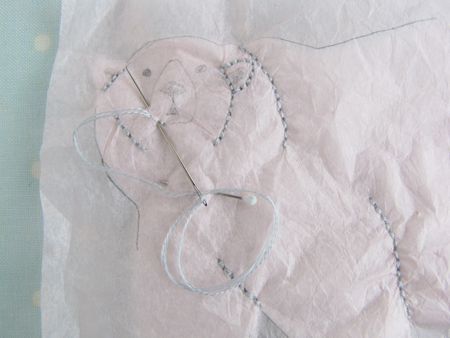
Step 3 - Embroider your stitches through both layers of felt and tissue.
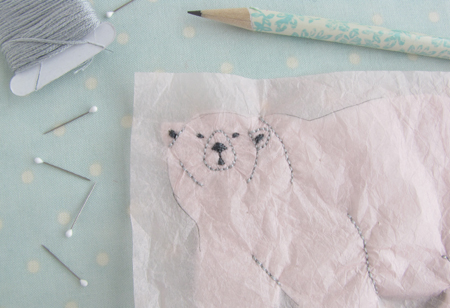
Step 4 - Remove the pins and GENTLY tear away the tissue paper.
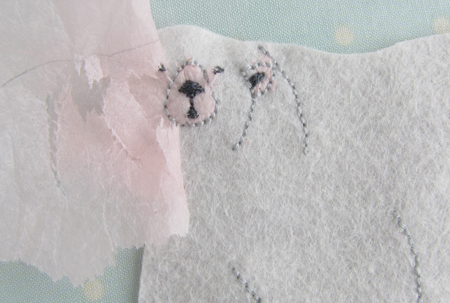
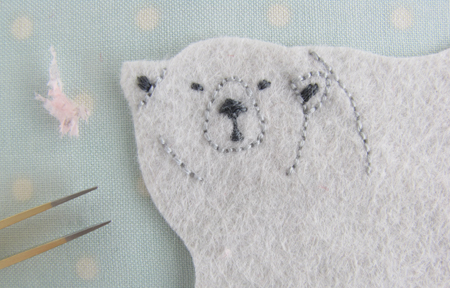
You may find a pair of tweezers helpful for picking out some of the little stubborn bits of paper ...
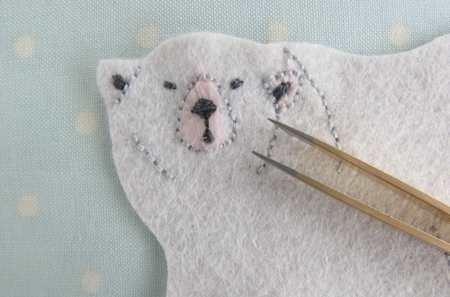
especially within enclosed stitches or underneath satin stitches.
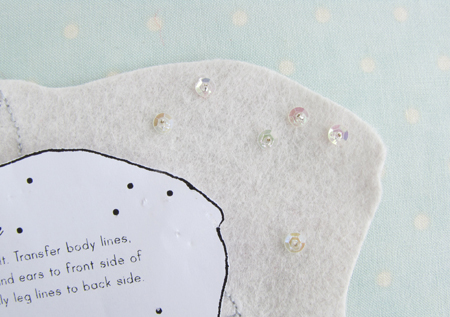
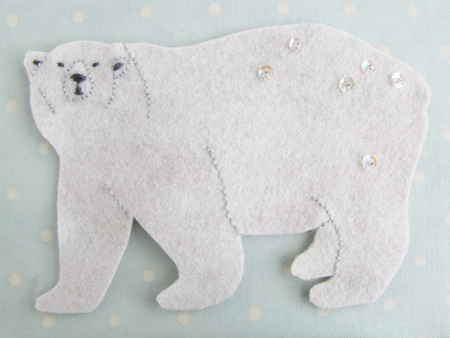
I just eyeballed the few sequin placements.
That's it! Easy peasy.
I wrote a similar post last year when I was making this other felt ornament set, if you don't mind listening to me repeat myself repeat myself.
 Kristyne |
  30 Comments |
  Embroidery,
  tutorial




Reader Comments (30)
Skin a cat? Oh my goodness, I am so offended. ;)
I think I would feel better if you would make me a set of Christmas ornaments. Because good heavens these are darling! That red coat? Sheesh!
Carry on. :-)
That is a great idea! I've only embroidered on felt once and I winged it by poking holes through my original design with a thumb tack, and then making dots with a little white pen that would be covered up with the stitching, but that wouldn't really work with such a small design.
Beautiful work!
I have used Glad Press and Seal in the same way. It sticks to the fabric til you are done.
I have used Glad Press and Seal in the same way. It sticks to the fabric til you are done.
Great idea! Thank you for explaining it all... and the many pictures. I appreciate the time it took you to write this up and share it. Super.
That was a total revelation to me! I do remember last yesr,but somehow,that green tissue threw me,now I totally get it,genious! Your mom was a great teacher,my Mom never embroidered. It is looking awesome,as everything you do does!! That red coat is beyond wonderful!!!! Love what you do always. I appreciate that turorial.I will passit on and use it myself!!
Love it! Of course, you have PINK tissue paper in your stock pile. LOL. I will try tissue again, but I seem to swear a ;little bit when it comes time to use the tweezers. Maybe a small bottle of wine should come with her kit, then the ornament will look great to me no matter what I do. :) Happy Thanksgiving everyone.
This is such a good idea. I have been stitching on felt for a long time and I always just eyeball it. But I have been thinking of doing one of these patterns and they are very detailed. I want to do them right, so thanks for the tutorial.
Well aren't you the smartest smartie in the box! The pink one of course!
YOU. ROCK. Seriously. And - THANK YOU XOXO for the side bar post... thanks, mom!
Awesome suggestuon, kristyne. Love the randomly placed sequins on the polar bear.
I love your tutorial, it's so clear and well put! What an adorable polar bear too...love the cute face and the sparkling sequins :)
Helen x
this post couldn't have come at a more perfect time. I've been trying to figure out how I was going to transfer the embroidery pattern. I used sewing chalk on the cup of cocoa pattern, and now there's a lovely blue line on part of my ornament, before I figured out that the embroidery wouldn't completely cover it.
Please help...I tried following the link "Wanna Tag Along?" but it says I must login, however, I don't see anywhere that allows me to login, so I am confused.
I love this blog!
Thanks much,
Dawn
Super awesome tutorial! Thanks:)
Repeat? Yes, please! I can't remember a darn thing!
So thanks for the rerun!
What a good idea! I've made a bunch of her ornaments (I bought the kits every year but only started making them a couple years ago) and I was stumped at how to best transfer the markings for the teacup. I used disappearing pen for the others but that wasn't going to work, and the heat transfer wasn't working right either. It's been sitting in pieces for at least a year now.
Love it, thank you so much.
I totally love this tutorial! I am an editor for AllFreeSewing and would love to feature your tutorial on my site with full credit to you. I know my readers would just love it and in return would generate some nice traffic to your site. If you agree and would like us to feature your project, our readers will simply click the link to your blog to get your full tutorial.
My site is part of Prime Publishing. We publish 19 cooking and crafting web sites. We have over 3.5 million active e-mail subscribers and about 10 million page views per week. You can learn more about us at www.primecp.com.
Please let me know if you would like to get started. Just shoot me an email.
Thanks, and look forward to hearing from you!
Mollyhall