Wednesday
Jul292015

little joys quilt along - finish!

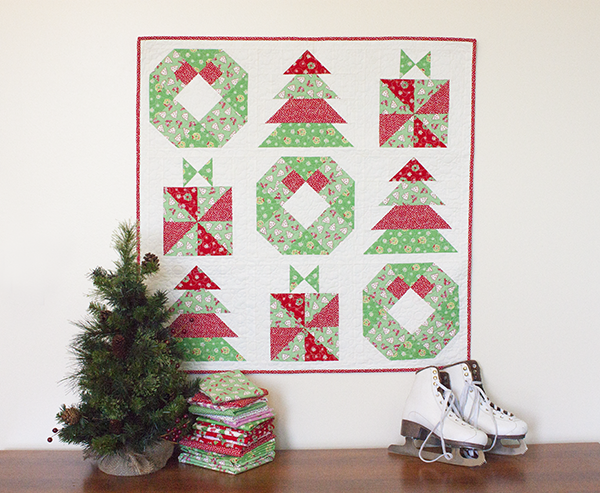
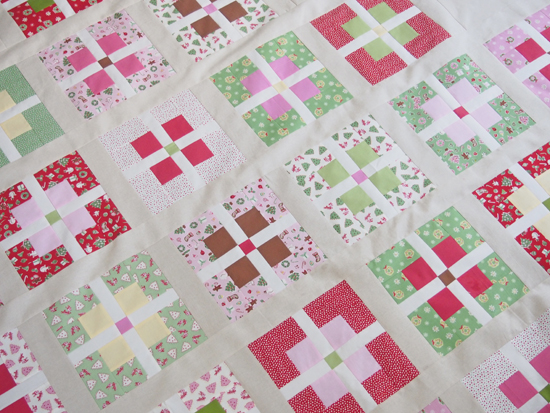
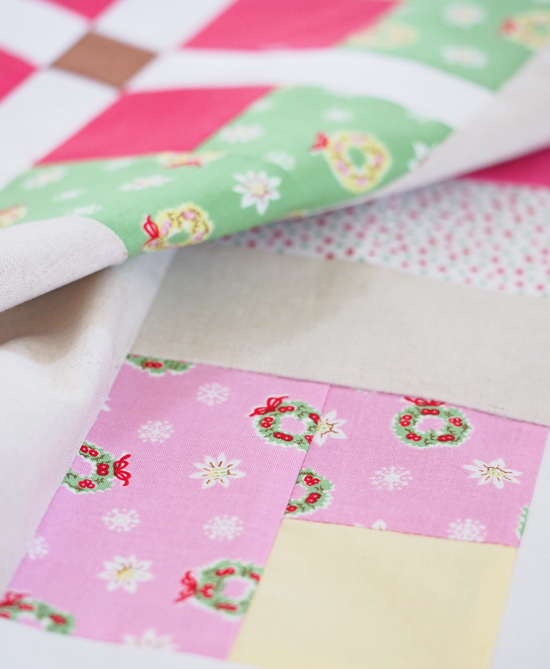
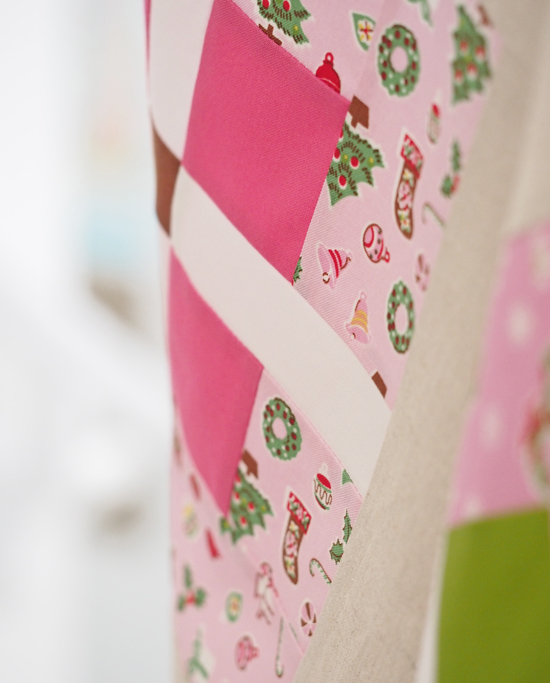
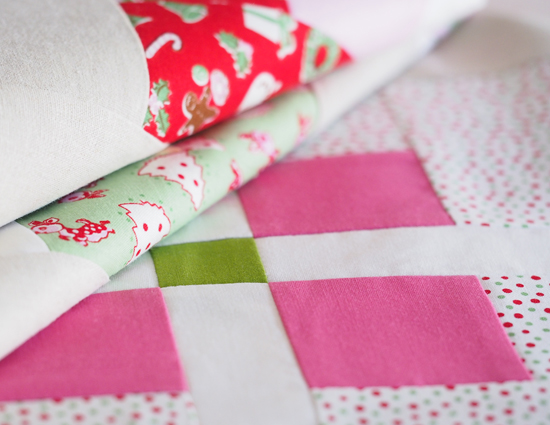
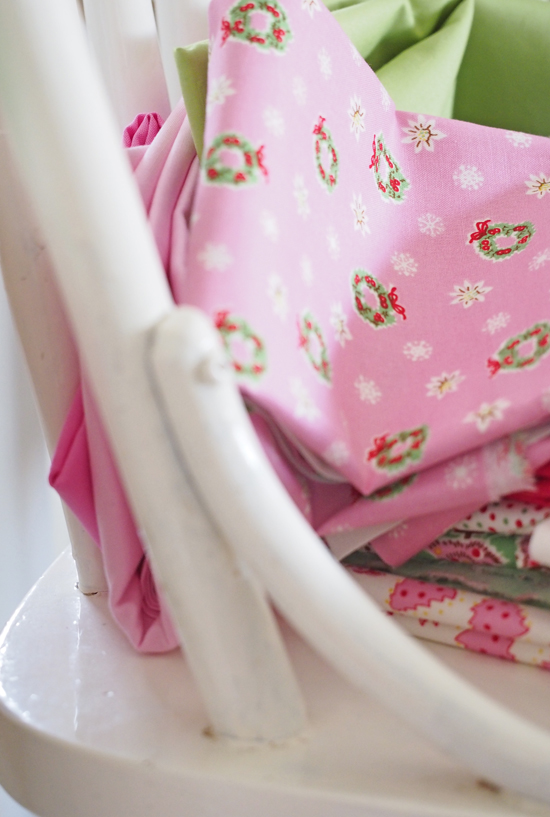
Well?  What do you think?  I have a little wall space in the upstairs hallway (not here, the lighting isn't camera friendly in the hallway) that is begging for something to be hung on it.  This festive wallhanging might just end up there now until Christmas!

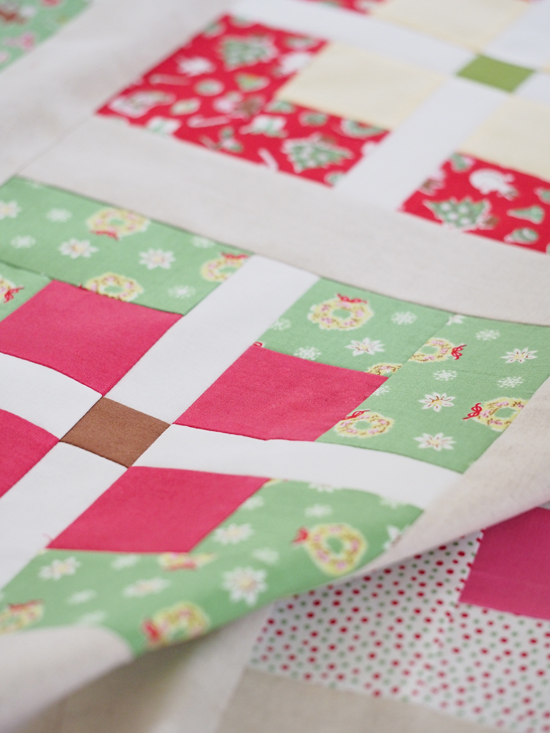
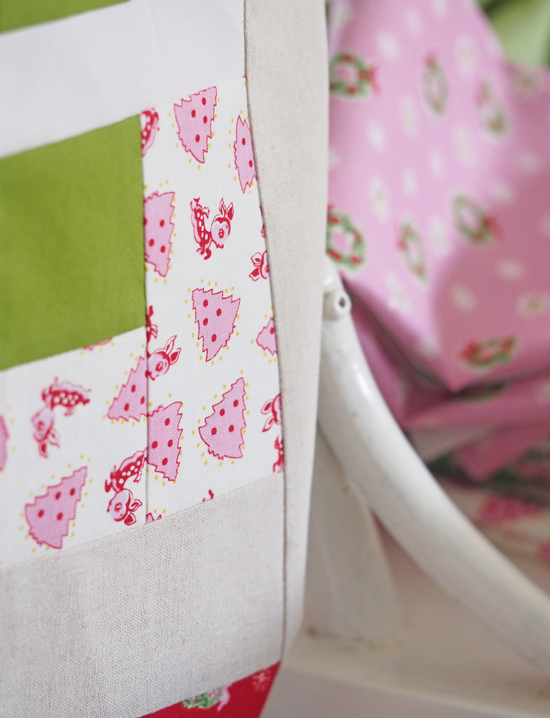
I used a 2" cut sashing and applied a very rusty free-motion quilting top-stitch.  Not perfect, but not bad either.  And I found the "Scrumptious" diagonal stripe in my stash that I couldn't NOT use for the binding. 

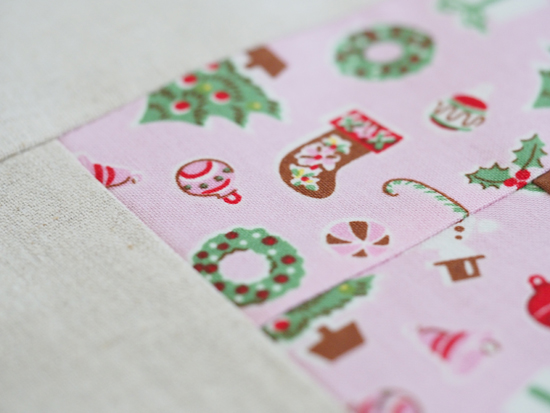
Thank you Elea and Fat Quarter Shop for making such a fun project with the cutest Christmas fabric!

Wednesday
Jul222015

little joys quilt along - present

This is the second version of this block for me - the first one had solid pink instead of the red/white dot.  I made it.  I pressed it.  I held it up.  I looked at it.  My upper lip curled up with disapproval.  I tossed it aside. 

Then made this one.  And my lips smiled. :)

Next week is the big finish.  I'm excited to show you what I did with only 3 blocks.

Wednesday
Jul152015

little joys quilt along - wreath

You can't be surprised that I made a pink wreath. :)  This is definitely my favourite block.  I had a hard time deciding on the bow colour, though - red? green? brown? yellow?  I think I got it right.

Sunday
Jul122015

for those of you who aren't on instagram ...

... here's a quick photo I posted there today that I thought you might like. 

By the way, I don't judge.  I'm not on Facebook!  LOL!

xo k

PS:  If you ARE on IG and haven't found me yet, I'm @prettybyhand

Wednesday
Jul082015

little joys quilt along - tree

I'm colouring outside the lines a bit with my fabric selections compared to the pattern. :)  You don't want to see everyone doing the exact same quilt, do you?  I think it's the individual interpretations that make these QALs inspiring.

This tree block was easy - four branches on the tree, four greens in the bundle.

Done!

(Click here for the free pattern!)

Saturday
Jul042015

little joys quilt along

Are you ready?

Click here to get started!

Friday
Jul032015

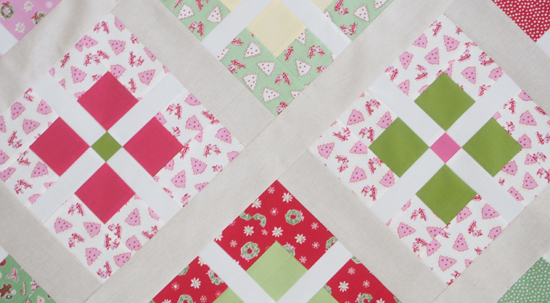
elea + rachel + amy (+ me) = my new favourite christmas quilt

See, this is what happens when you "waste time" poking around the internet ... you find the perfect fabric, then you find the perfect pattern, then you find someone who already put those two things together so you don't even need to test out your idea ...

...

and then you go and do your thing.

This may actually be a first for me -  upsizing a block pattern rather than shrinking it.  I'm forever reducing pattern sizes because I like little.  But I wanted all the prints in "Little Joys" to be showcased to their best advantage and that meant upscaling Rachel's adorably cute present block design.  I just had to do a little math (which always gives me hives, by the way).

I am super happy with how it turned out, except for one little thing - I'm trying reeeeeeally hard to be zen about these touching blocks ...

Ugh.  (How did I MISS this?!  Drives me banana-nuts-crazy.)

If you want to make this quilt too, here's where you need to go:

Fat Quarter Shop for "Little Joys" by Elea Lutz for Penny Rose Fabrics

Wooden Spoon Quilts for the "Gift Wrapped Block" tutorial by Rachel  

nanaCompany for a peek at the small version by Amy  (scroll down a bit)

And here are the cutting dimensions for my version:

  • centre square - 1.5”
  • white ribbons - 1.5” x 4.5”
  • solid inner squares - 2.5”
  • print outer squares - 2.5”
  • print outer rectangles - 2.5” x 4.5”
  • (I used a 2.5” cut sashing. :)

I made 25 blocks and set them on point.  I'll show you a better photo after it's all quilted and bound and ready to snuggle with my family.

Thank you Elea, Rachel and Amy!  Could not have made myself such a pretty quilt without all of you. :)

xo k

Sunday
Jun282015

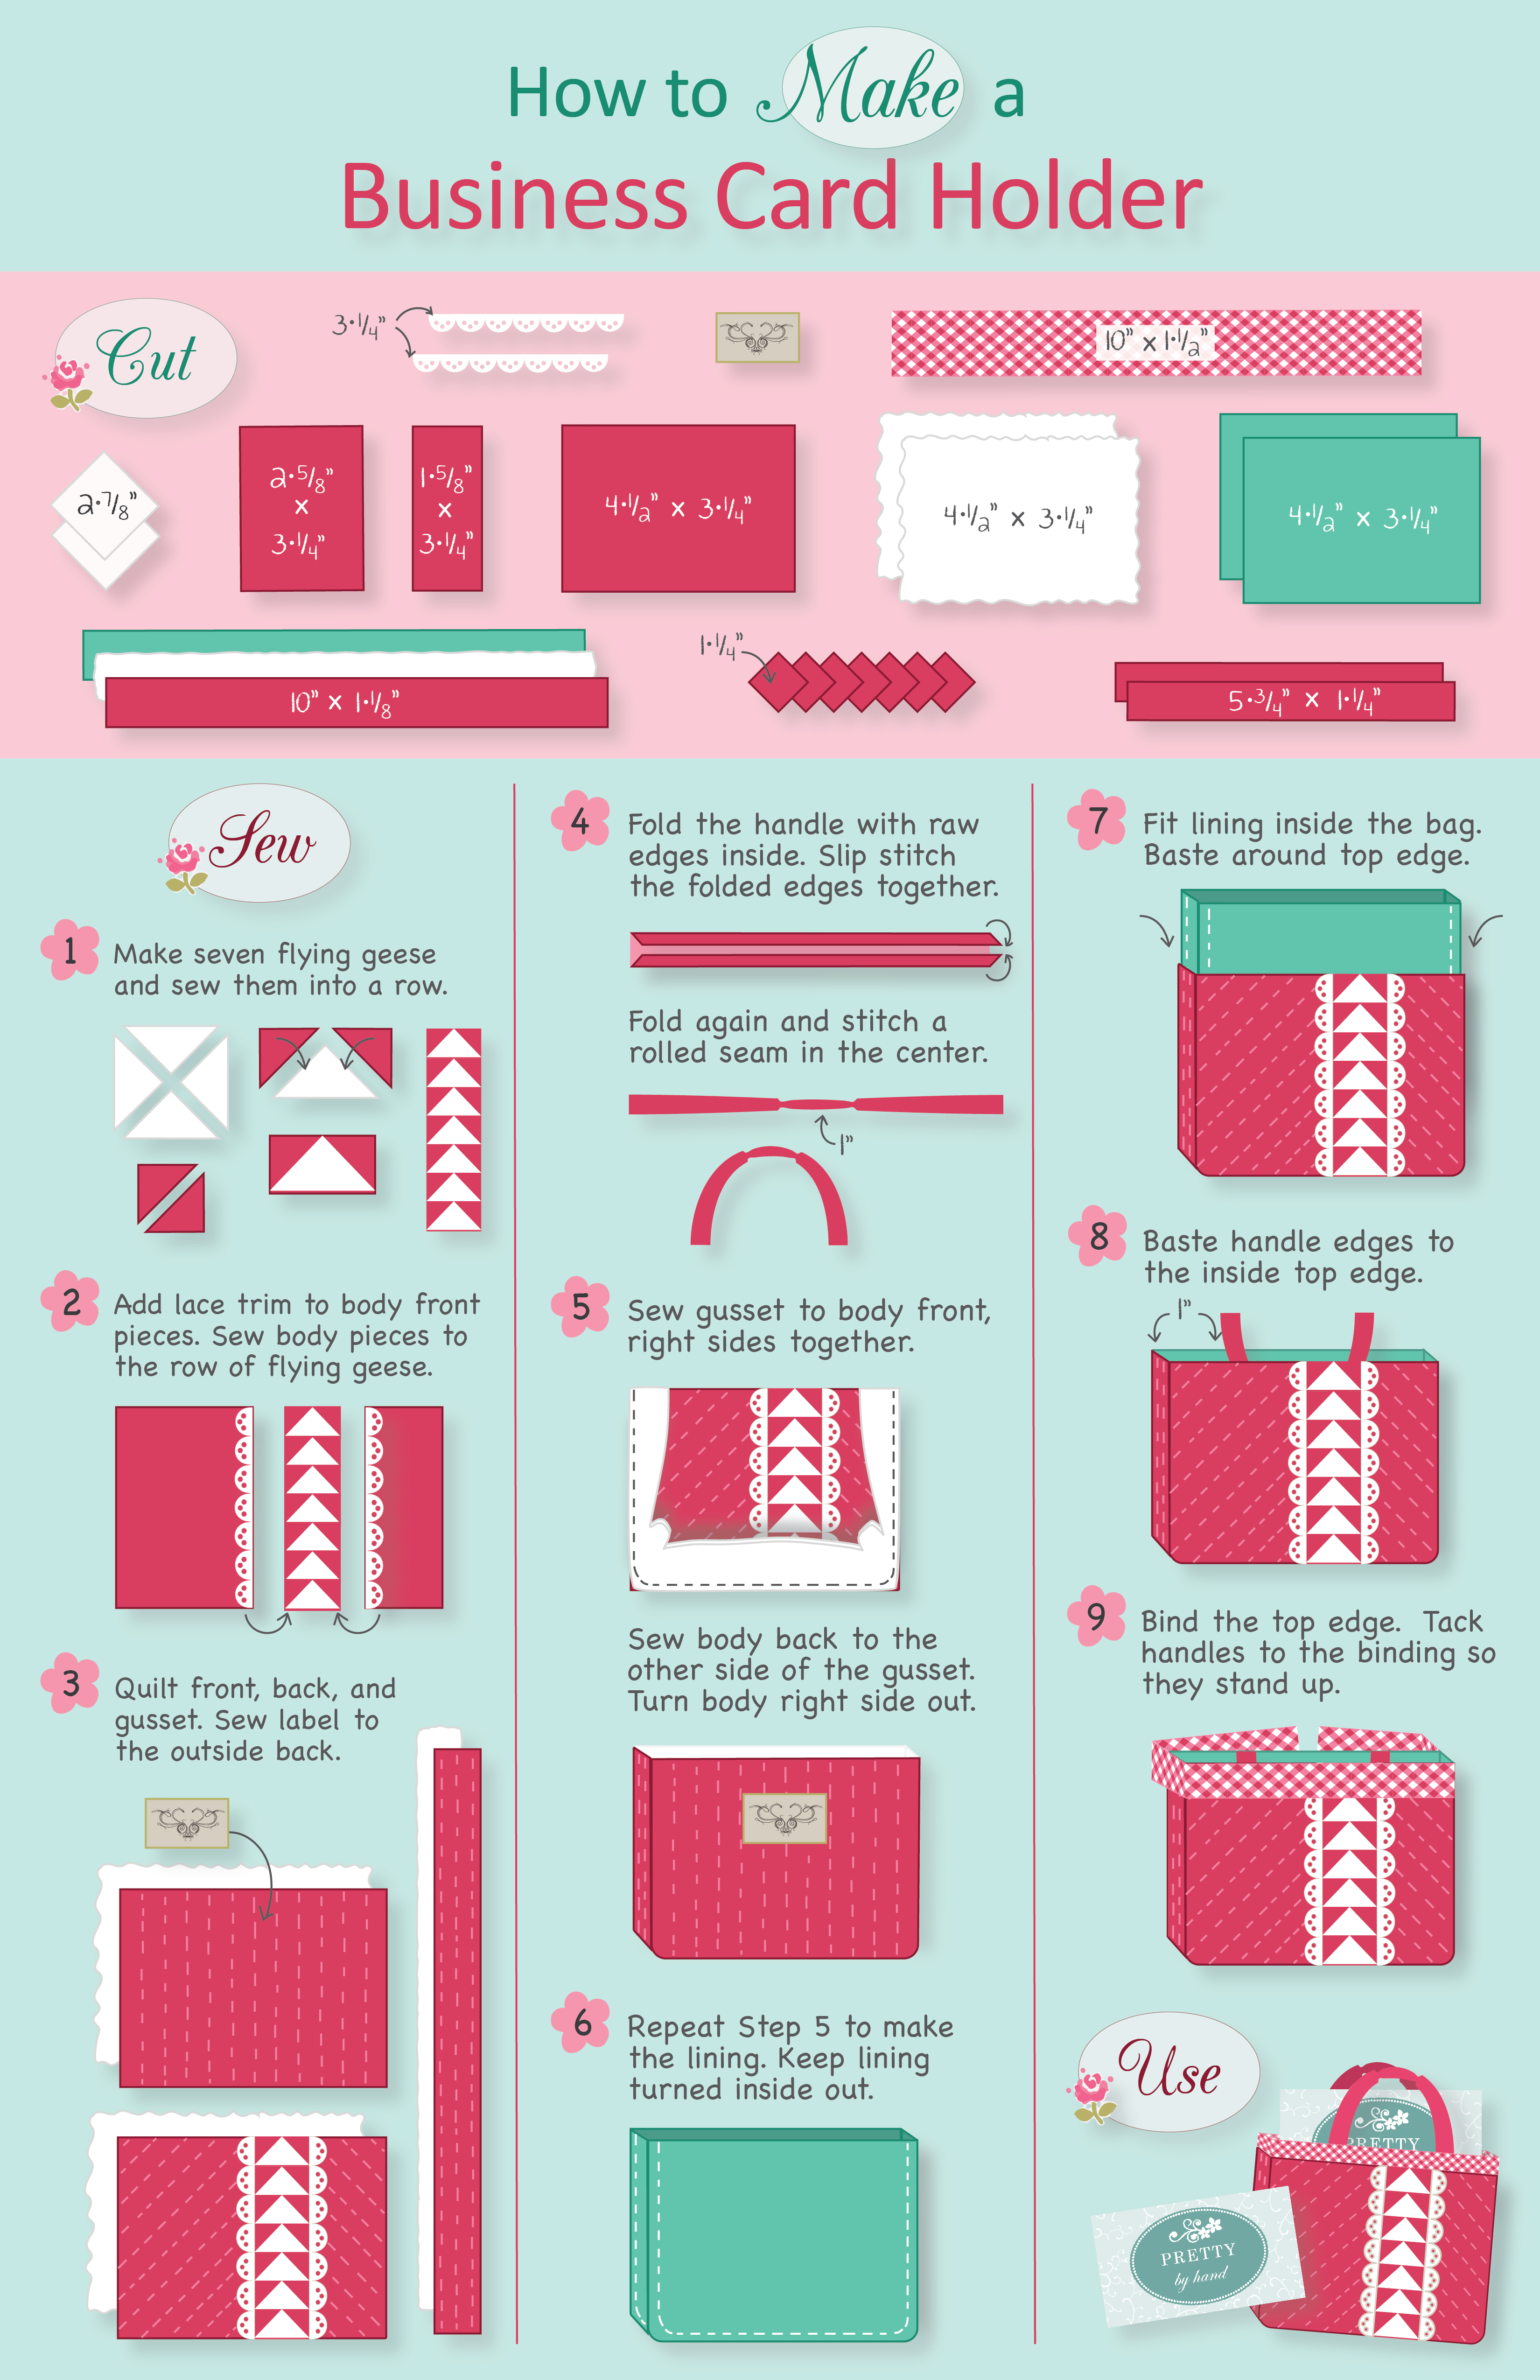
how to make a business card holder - a free pattern

Ok.  I'm gonna just say it.  I'm super proud of this thing I made.  It was my final project for a course I took a few months ago.  (And yes, I got an A+.)  I thought it would be fun to turn my Mini Little Geese Satchel pattern into an infographic - and a free pattern for you. :)

Please note that this infographic is not nearly as detailed as I would write for a regular pattern.  I was limited with space so I hope the cutting instructions and illustrations are enough for you to succeed. 

Have fun!  xo k

Saturday
Jun272015

can you tell i picked these?

:)  Probably. 

Have you heard about Westwood Acres Fabric's really awesome I Want Her Stash club? (It started in February, but you can still join the waiting list!)

May was my month and this is what my "stash" bundle looks like.  Pinks, aquas, grays, florals, scripts, lace, filigree, ticking, solids ... yep, that's me and my stash alright.  Dying to play with them ...

Tuesday
Jun092015

obsess much?

Ok, maybe just a little bit.

Darling Jodi from Pleasant Home has become quite famous for her candy-coloured magnetic pin bowls.  I see them all the time on my favourite blogs and in my Instagram feed.  I've wanted needed one a few several since the first time I saw one.  It took me a while to get myself an almost complete collection.  Believe it or not, I'm still missing a few colours ... but I had to draw the line somewhere. ;)

Ok, they're not ALL for me.  I have two daughters with long hair and ... let's just say my house is being overrun by hair pins.  So I got the black one for daughter #1 (she has the exact opposite taste from me), and the mint one for daughter #2 (I want her bowl too, but I will let her keep it).

The other seven (blushing) are for me.  BUT, in my defense, as it turns out, I actually have that many different kinds of pins!  I have these ones,

(favourite colour first)

and these ones,

and these ones,

and these ones (thanks again Ginny),

these ones,

these ones,

and these,

I also have some of those lovely Little House Japanese pins, but I can't find them right now.  (Because I didn't have these awesome organizers before! LOL!) 

If you're looking for a pretty way to keep small metal objects, consider these pin bowls.  I guarantee they will make your home more pleasant. 

Thank you, Jodi!  xoxoxo k

Sunday
May242015

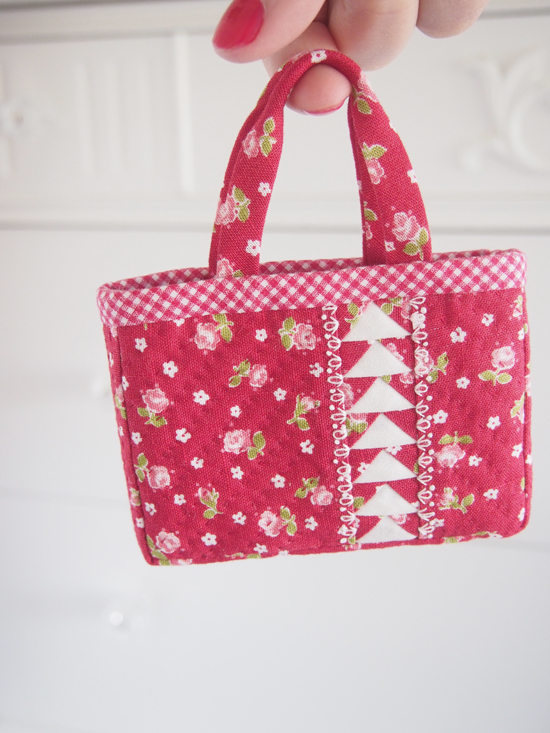
my little geese satchel had a baby ...

and holy moly is she ever cute!!!

I couldn't help myself.  I just had to make her.

Funny story.  When I finished making it, the first thing I did was show it to my 12 year old, thinking she would be as excited about it as I was.  Her response ... mmmm ... not what I expected.  She just looked at me and said, in her best oh-so-unimpressed-12-year-old-style, "But what good is it?  What does it do?  What's the point of it?"  (Bless her sweet little heart, right?  Don't worry, I didn't ground her or anything.)

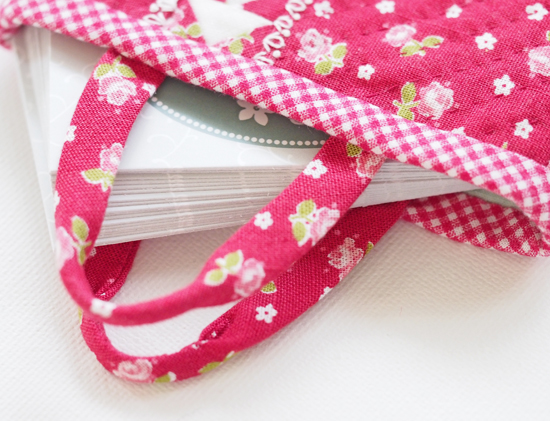
I know you - dear reader - get that making things is more often about the making, and not its function (although when the two meet, it's a bonus).  But she got me thinking.  Hmmm.  I wonder if I could use this teeny tiny little 3" x 4" x 1/2" purse for something.  So I went back to my sewing room and found the perfect thing ... my business cards!  BAM!  I marched back down the stairs and triumphantly displayed to said child that my newest creation had a purpose in life.  :)

We laughed.  And I think she was impressed after all.

I hope your initial thoughts are maybe just a little more enthusiastic, and that it makes you smile.

I'm particularly pleased with the embroidery stitches that simulate the lace I used on the mama version.  And in case you're wondering, the geese are 1/2" tall and 5/8" wide.  Eeeep! :)

PS:  Yes I painted my nails red for this photo shoot.  LOL!

Sunday
May172015

well, i really meant to tidy up my sewing room yesterday ...

But I made the mistake of starting with organizing my ribbon box, where I found these wee spools of pretty ribbon that I bought maybe ... 4 or 5 years ago?  They were a total impulse buy at Joann's when we were holidaying in Palm Springs.  I felt a little guilty that I hadn't made anything with them yet.

Next thing I knew, I was overcome with an undeniable urge to made amends ... so I whipped up this quick little zakka zippered pouch.  (Finished size is about 4 1/2" x 4 3/4".)

Over my years (ok, decades) of crafting, I've learned the hard way that MOST craft ribbon does not react well to an iron.  I've ruined many things that way.  SO.  I was very smart this time and tested the ribbon first.  No melting.  That's good.  But that's not the only problem.  Ribbon can also shrink.  So I cut a 6" piece of each one and subjected them to prolonged ironing.  WITH steam.  They all shrank - some more than others.  One piece shrunk by 3/4 of an inch. 

After pre-shrinking the ribbons, I backed them with fusible web to baste them in place.  Then I stitched them on linen with matching thread. By the way, is there an English word to describe this feeling I had that goes something like ... "I am so crazy happy to find perfectly matching thread for all five ribbon colours because I reeeeeeally don't want to go to the store on a Sunday afternoon because I'm still in my pjs?"  If there is, that's how I felt.  (I had the same feeling, although not quite as intense, when I found a zipper in my zipper bin that perfectly matched the linen.  It was a good crafting day, for sure.)

A little more subtle stitching on the back.

And I thought the ribbons looked sort of rainbowy so I picked a sunshine yellow Liberty Lawn for the lining.

And then ... you know ... a bow.  Why not!  Just a bias cut scrap.  I love how the frayed edge contrasts with the tailored ribbon. 

Ok.  So now I have a pretty new pouch ... but my sewing room is still messy.  In my defence, I vacuumed and emptied the garbage.  And yes, the ribbon box is tidy too.  That's something, right?

Sunday
May172015

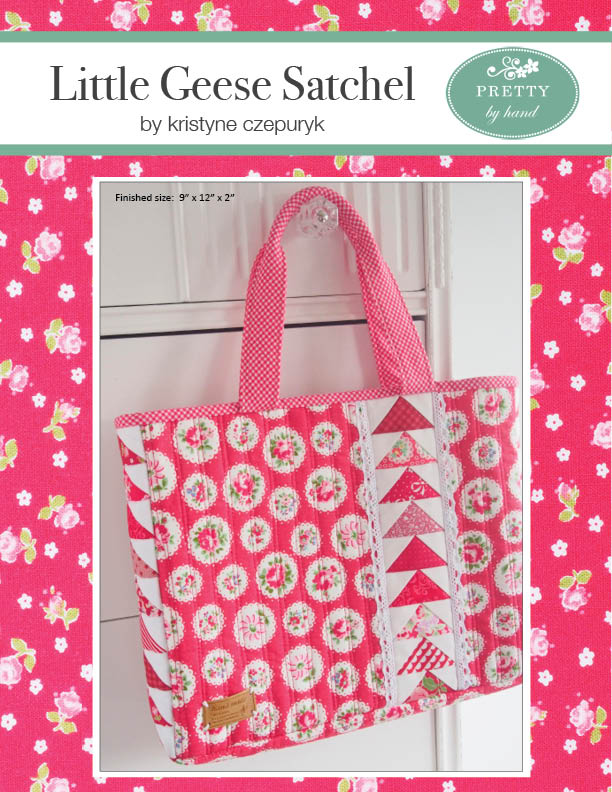
new pattern - little geese satchel

Whew was THIS pattern ever "in development" for a looong time.  Like, embarrassingly long.  Remember Lori Holt's Quilty Fun blog hop?  In December?  (Of 2013?!)  Well, I made these 32 red and white flying geese. 

Super fun to make and super  cute to look at.  But then ... what to do, what to do.  Hmmm.  Haven't got a clue.

For a while.

Then I finally got a clue.  I'd been wanting to design a bag with a cute little patchwork design along sides for quite a while.  These 2" geese turned out to be just the thing.  Funny how inspiration and opportunity can spark creativity.  :)  I love it when this happens.

I don't know how to explain just how much I love this sweet little satchel.  I made it 9" x 12" - the perfect size to hold standard paper.  It's not all big and sloppy, but rather neat and tidy - great for library books, class notes, a lunch date with a girlfriend, sewing projects (I'm currently keeping a cross-stitch project in mine, with pattern, linen, floss, scissors & needles. 

The shorter handles are so nice to just grab and go - no long, noodley straps to fish around for.  The little rolled section in the middle is a nice detail, but it doesn't take long to do and it just feels so good in your hand.  And you can hang it on a knob or bedpost or the back of a chair without it dragging on the ground.

Of course I snuck in a little bit of lace (totally optional).

There are no zippers, flaps, buttons or snaps to fuss with either.  No hardware at all.  And the inside seams are finished off with binding. 

To make the geese, I included both my favourite piecing method, as well as foundation paper piecing templates if you prefer.

I hope you like it.  The pattern is only available as a PDF at the moment.  You can find it here.  My patterns always have LOTS AND LOTS of step-by-step photos - this one has 42.  My goal is your success so I make my patterns as detailed as I can - as if I was right beside you, showing you how to do everything.  The photos are in colour too, so even if you only have a B/W printer, you can see the pictures in colour on your screen when you view the PDF.

PS:  Thank you to my almost 14 year old daughter who graciously agreed to model the satchel.  She's taller than me now.  She loves that.  Me?  It's taking some getting used to. ;)

Sunday
May102015

happy mother's day!

I wish my life was as serene as these dreamy hydrangeas look!  I hardly have time to come up for air these days.  Hope all you mothers are having a lovely day. :)

xo k

Thursday
Apr162015

christmas in april?

If it looks like this, then YES PLEASE!

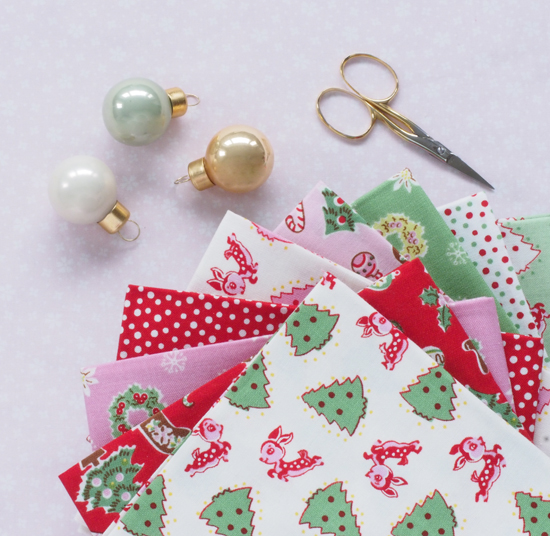
I am absolutely thrilled to show you a sneak peek of the lovely, adorable, and talented Elea Lutz' "Little Joys" ... her encore fabric line to "Milk, Sugar, and Flower".  You guys, this is off-the-charts cute.  Seriously.  It's happy, sweet, light, fun, nostalgic ... two thumbs up from me!  It will hit stores in June. 

(Wonder if you can guess which is my favourite print.)

Saturday
Apr112015

the mini pamela pouch ~ and a winner!

Maybe I should announce the winner first. 

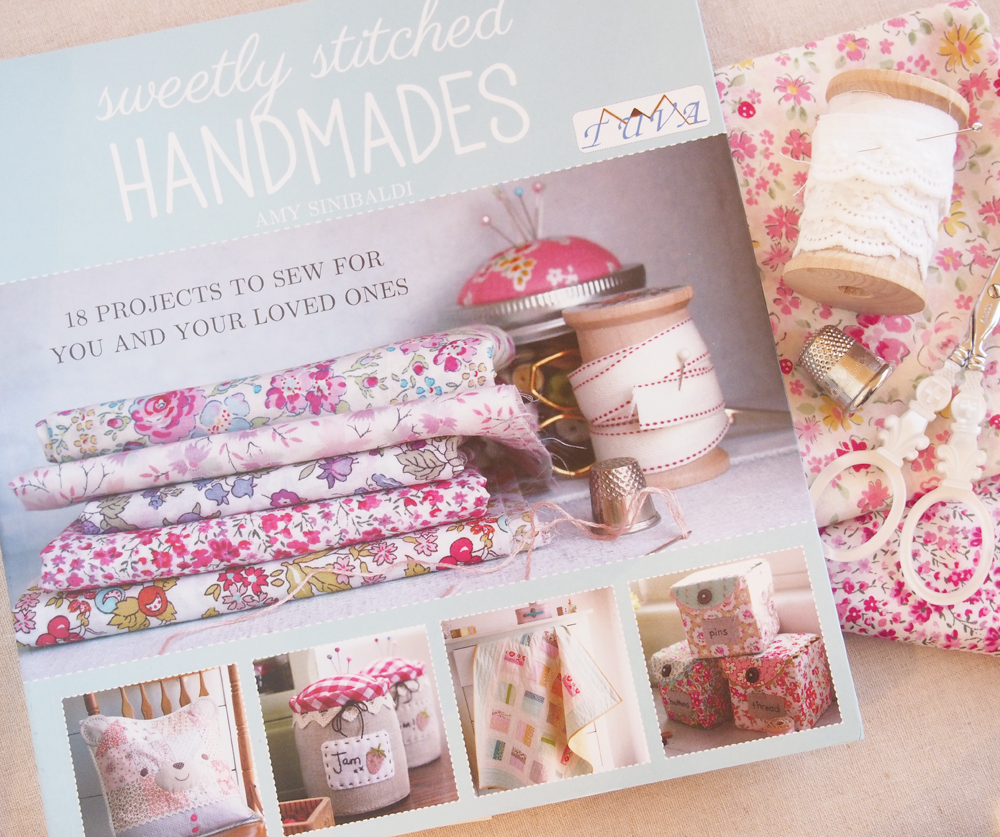
Congratulations to Gail W who said, "My favorite color is yellow. I love the brightness, the pastel sweetness, and the sunshiney happiness. Truth be told, I also love gray because I figure it's a color that gets lonely, not favorited a lot. :)"  You won "Sweetly Stitched Handmades" by my dear friend, Amy Sinibaldi.  You have a lot of fun sewing projects in your future.

*     *     *     *     *

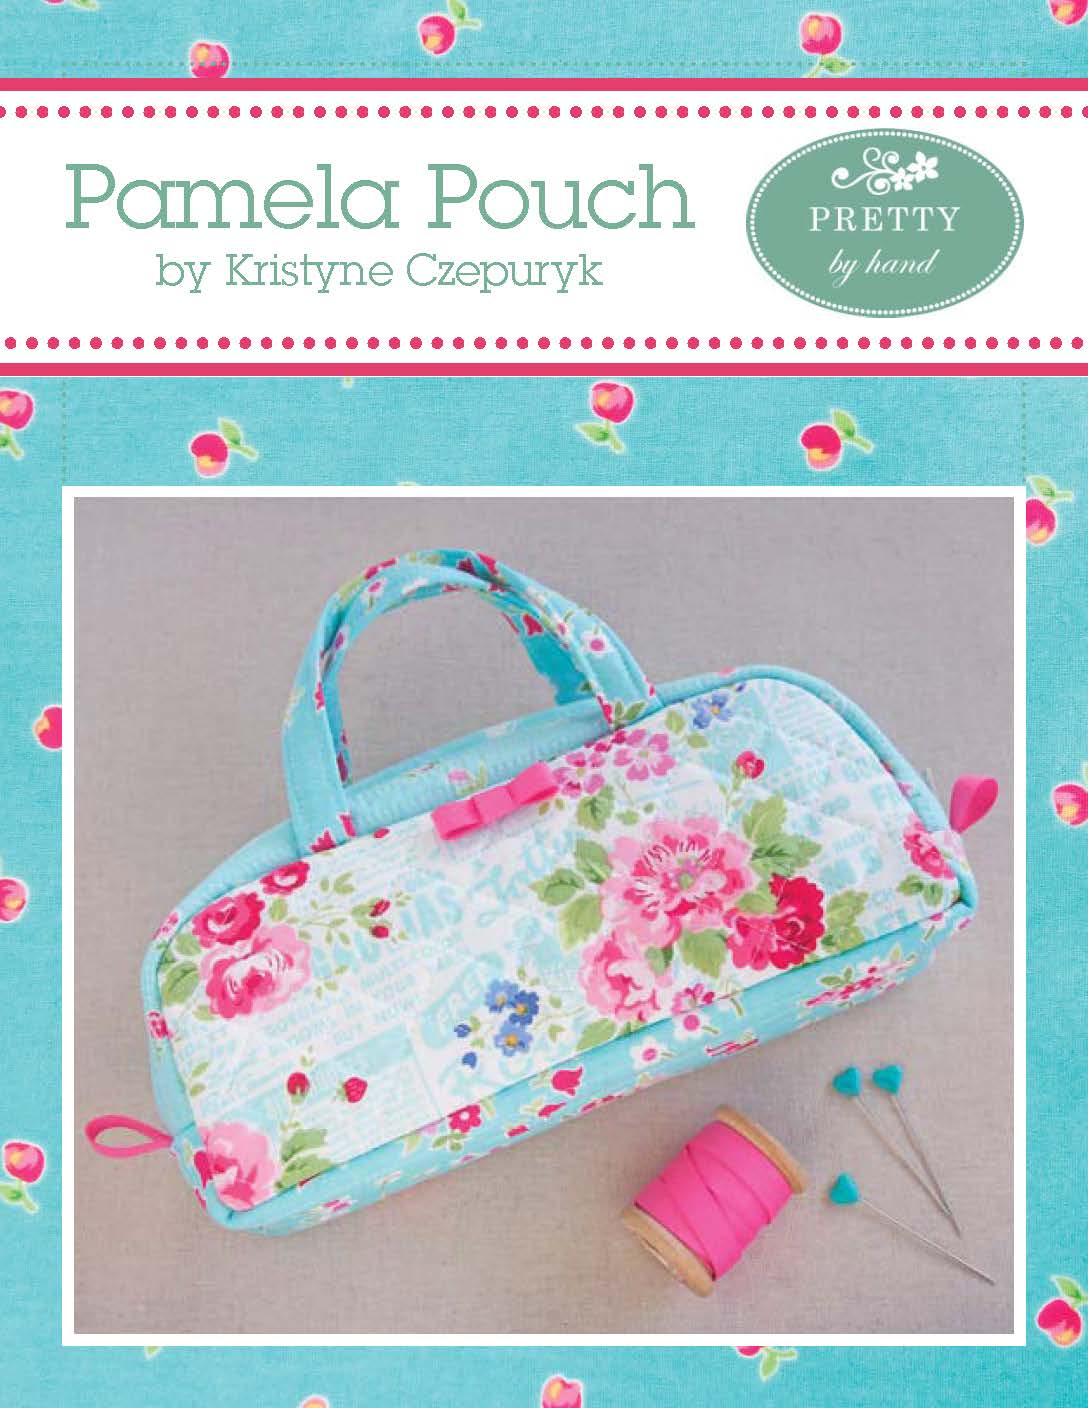
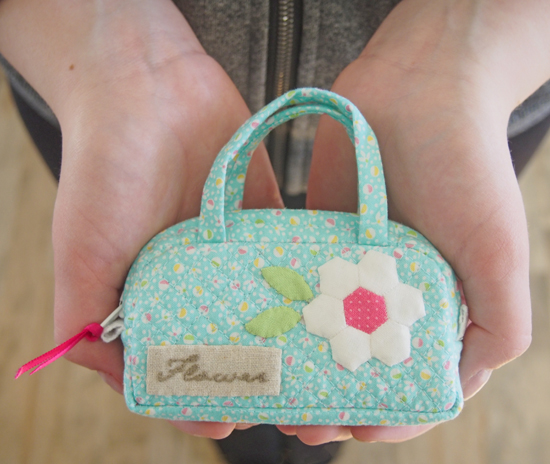
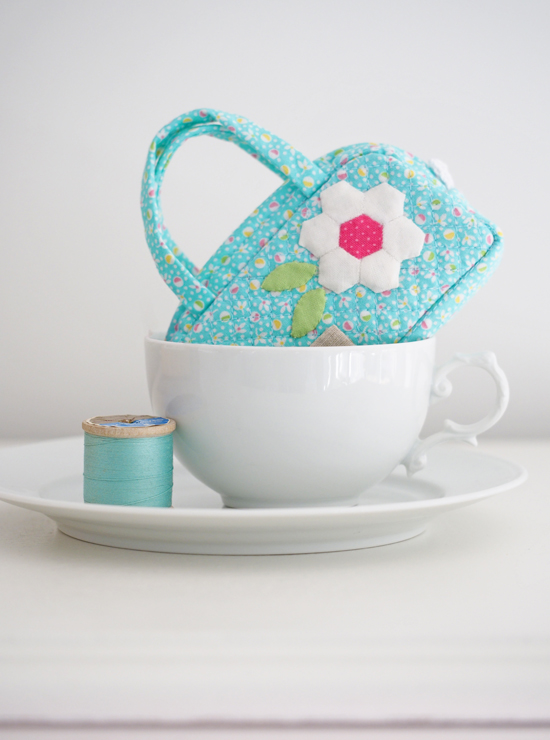
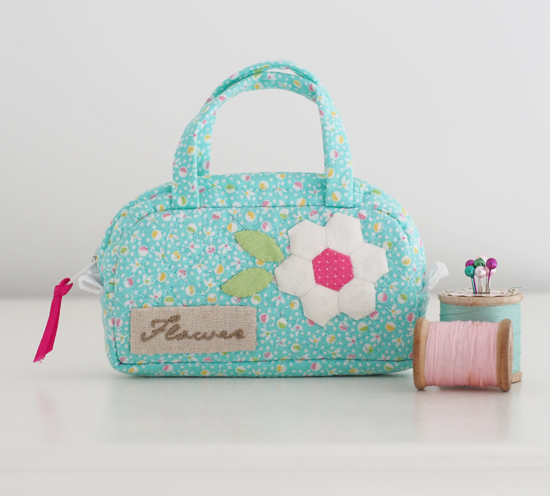
Ok.  So you know how I like little, right?  Ever since I was a kid I was drawn to small, tiny, cute, little things (brought to you by the department of the redundancy department).  Every once in a while, I find myself in the mood to replicate something I've made in miniature.  So let me introduce you to the Mini Pamela Pouch ...

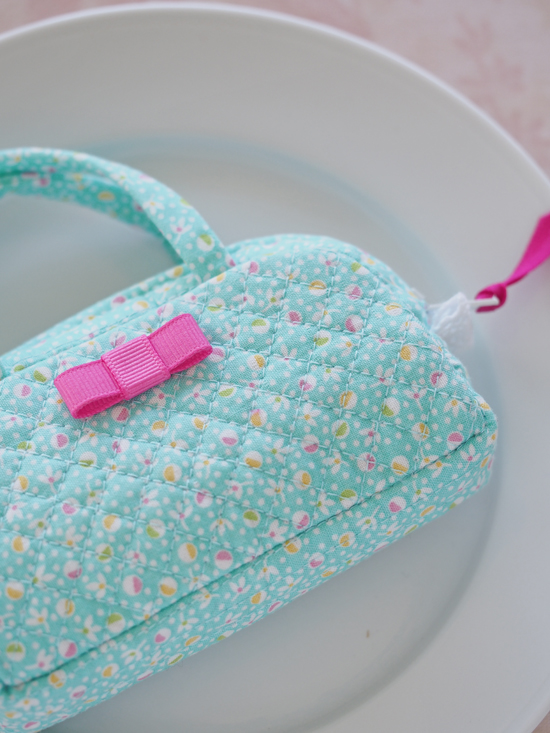
(a little bow on the back)

Isn't she cute?

I tried to take photos that would show off how small she is.  I've had people see my things online and then see them for real and remark how much smaller they are in real life.

I think this little version took me longer to make than the larger one.  I remade the hexie flower 3 times - each time a little smaller - until it was just the right size.  And I found a font online called "Jane Austen" that I used for the embroidered word.  Love that.

Well, that's all I've got for you today.  Hope you're having a lovely weekend! 

PS:  I miss you!!!!  xo

Tuesday
Mar242015

giveaway - sweetly stitched handmades

Hey there!  I was chatting with my gal pal Amy the other day and guess what ... she asked if I'd "mind" doing a giveaway of her book.  Mind?  I'd LOVE to!  I've had my copy for a little while now and I can't tell you how many times I've looked through it.  Sometimes I read it, sometimes I puruse, sometimes I'm looking for inspiration.  But it's pure delight from cover to cover.

(Pouch I made a few weeks ago from the book.)

So I'm SUPER excited about offering you a chance to win your own, SIGNED-BY-THE-AUTHOR-HERSELF copy. :)

To enter, leave me a comment (not an email) telling me what your favourite colour is.  Simple as that.  This giveaway closes on Monday, March 30th and is open to all!

Thank you, Amy!

Sunday
Mar152015

sweetly stitched handmades

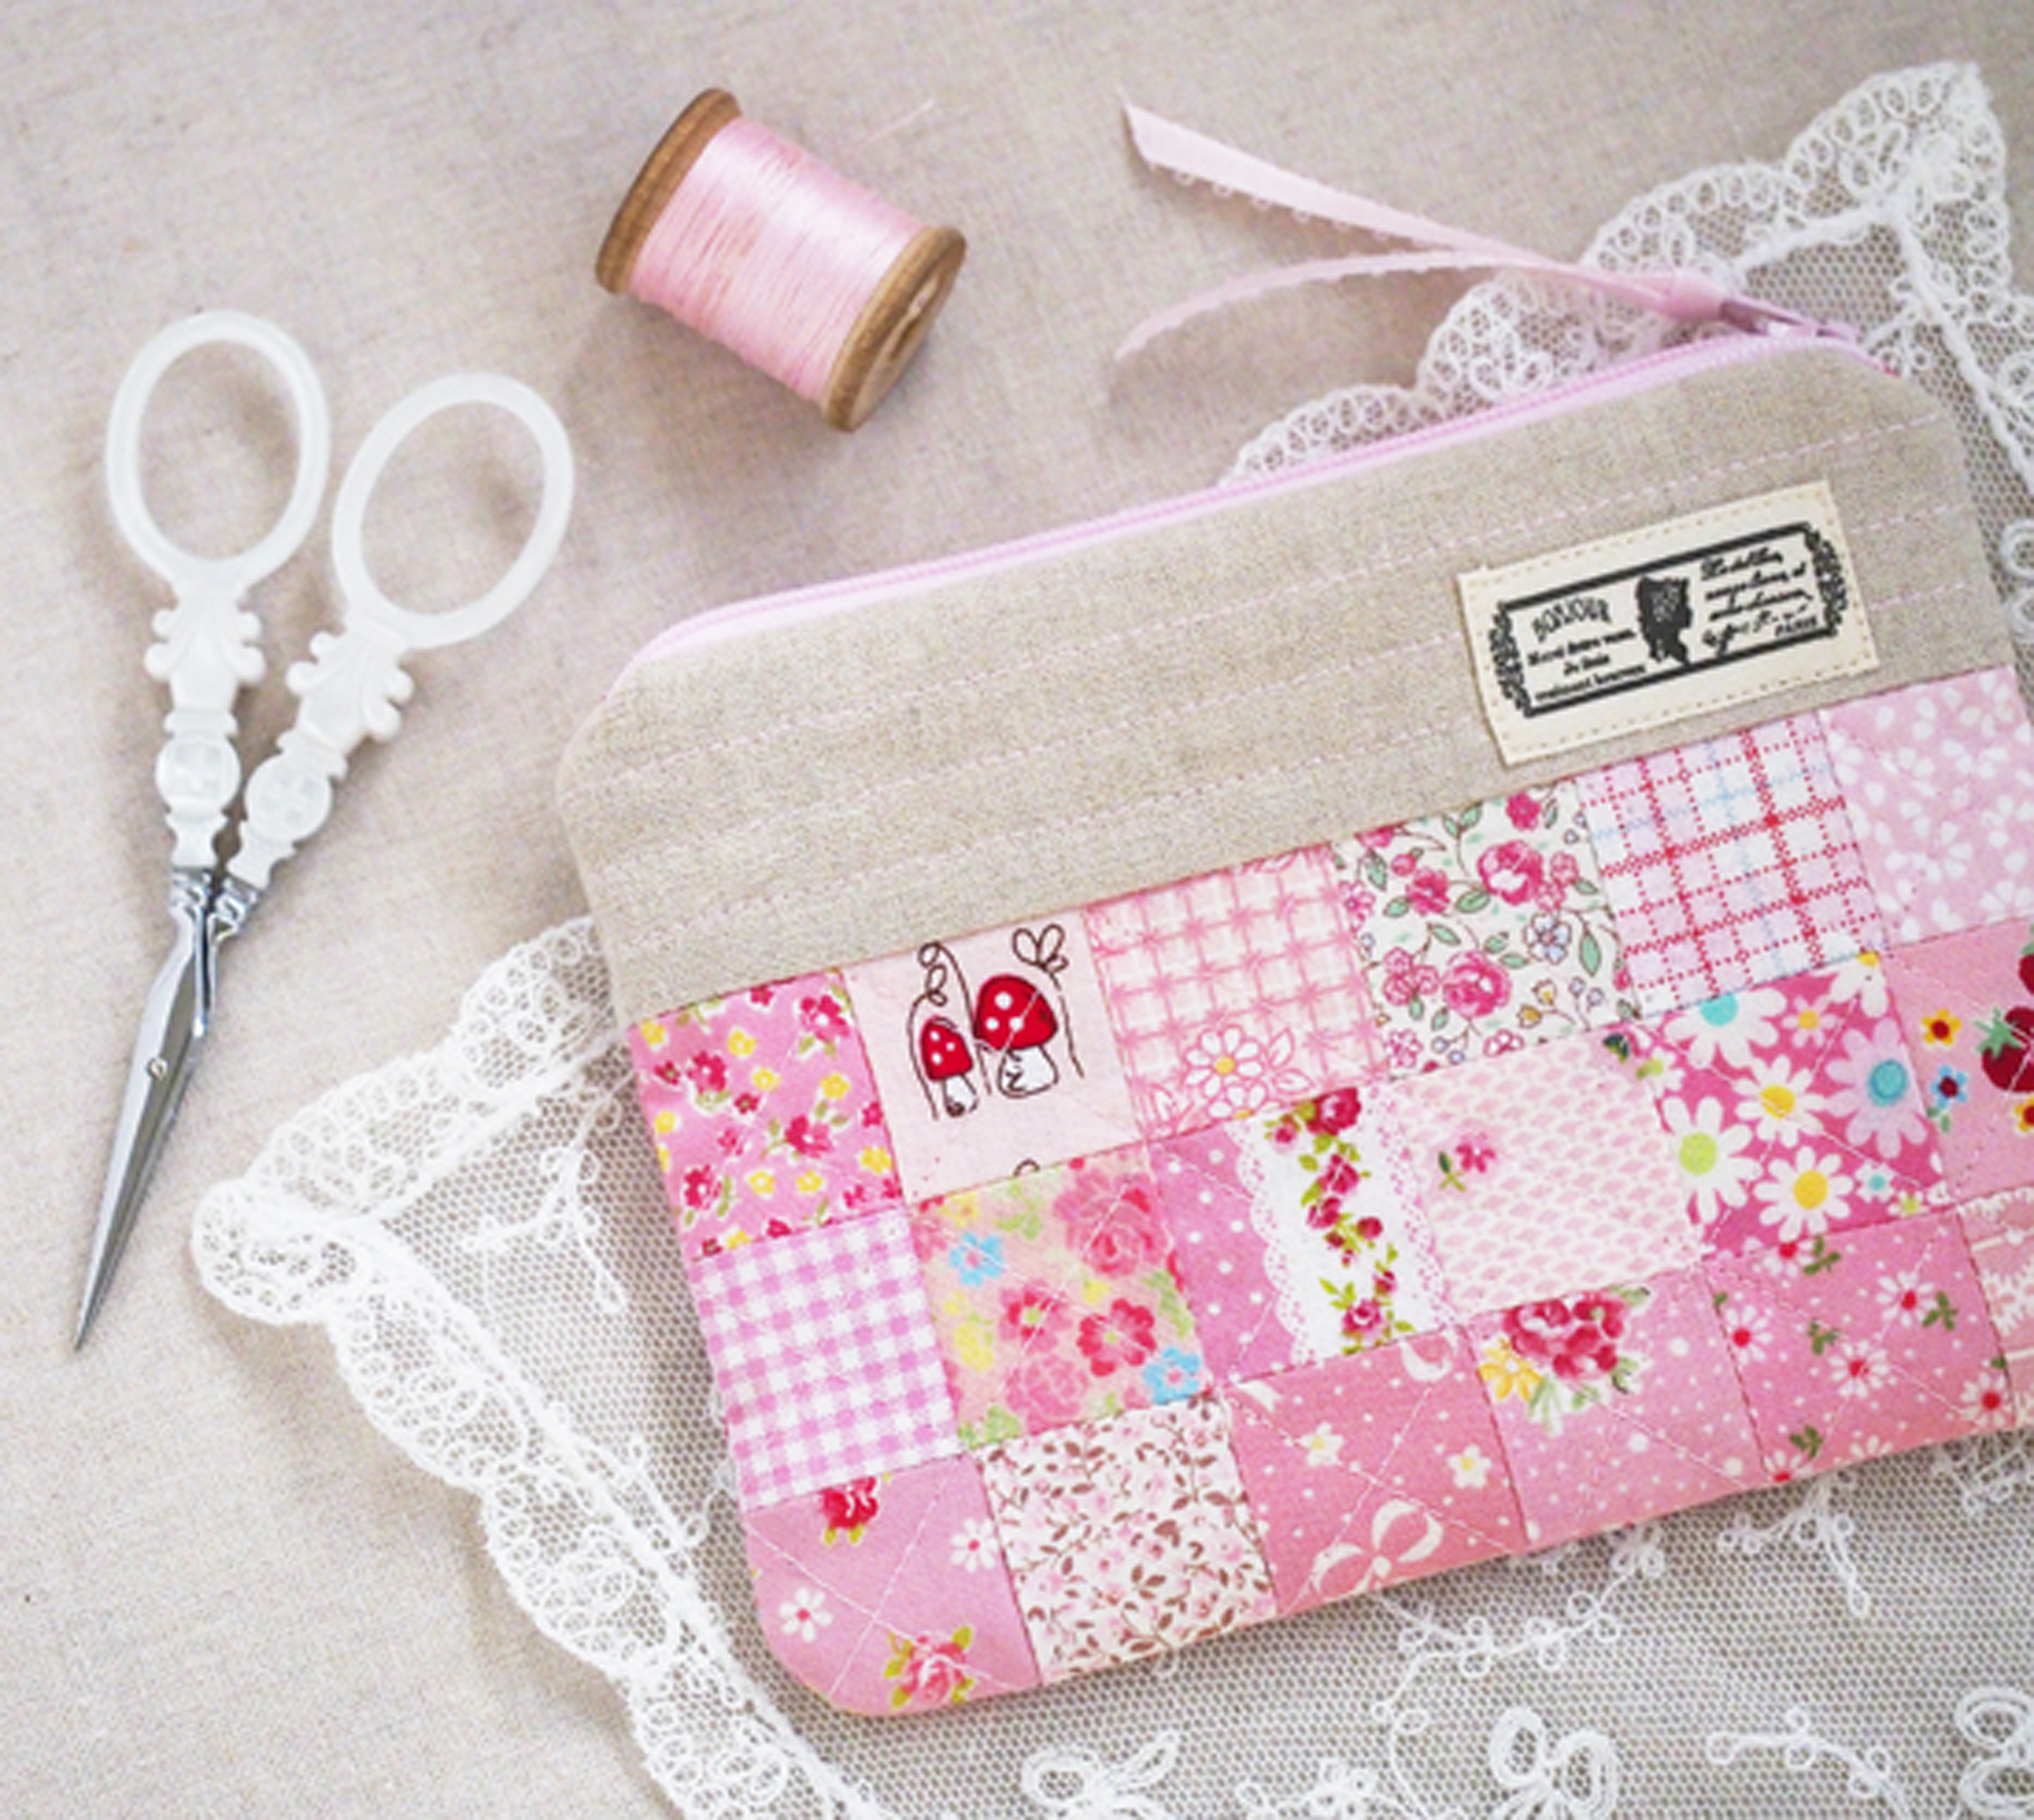
Life is fun when you have a very talented friend who writes a sewing book. :)  I managed to steal a few hours the other day to make a "simple zippered patchwork pouch" from Sweetly Stitched Handmades.  It took me longer to pull the fabrics than it did to make it! 

This case is everything you would expect from a nanaCompany creation - easy, quick, and adorable.  I'm super busy right now with, so even though I prefer the look of hand quilting - a love that Amy and I share - I cheated a little and machine quilted mine.  I cheated a bit more too with a pre-made label instead of a lovely hand-embroidered one.  Still, this pouch turned out pretty darned cute. 

Thank you, dear Amy!

Sunday
Mar012015

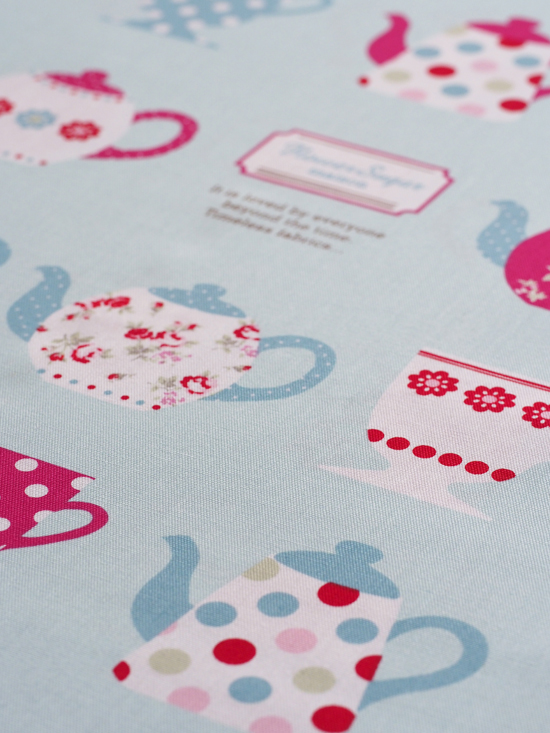
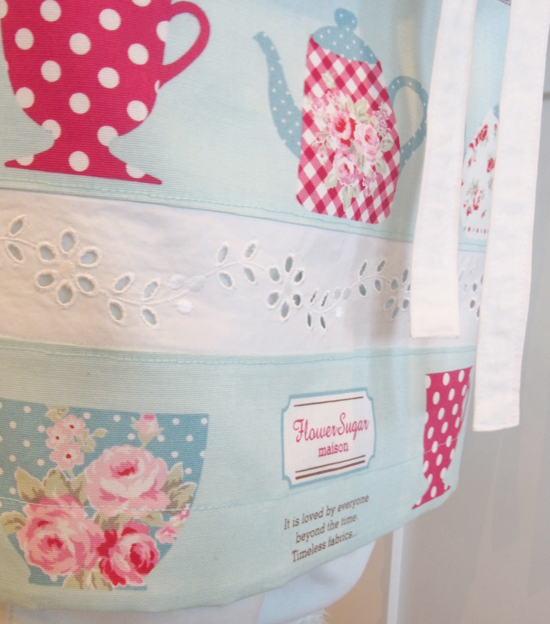
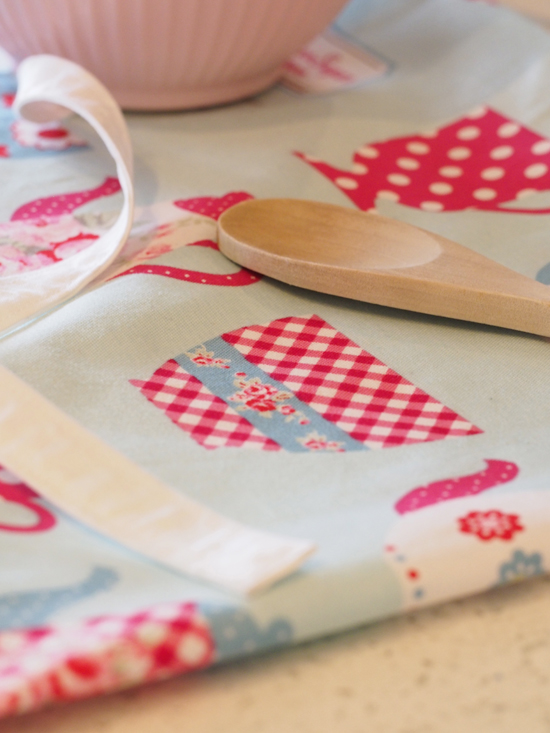
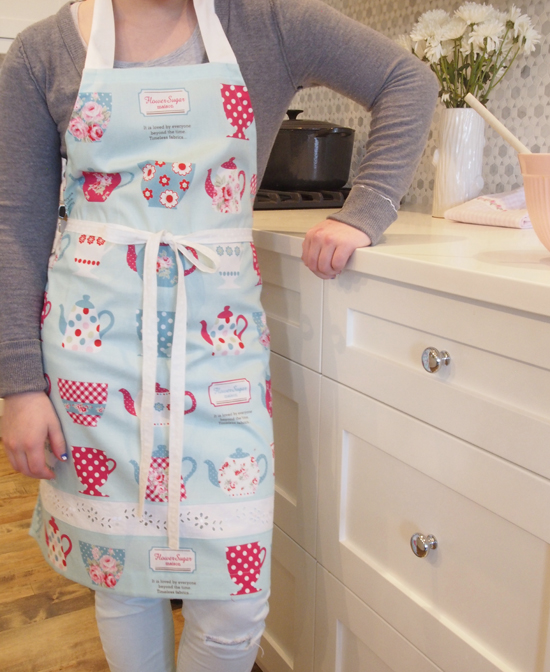
flower sugar apron

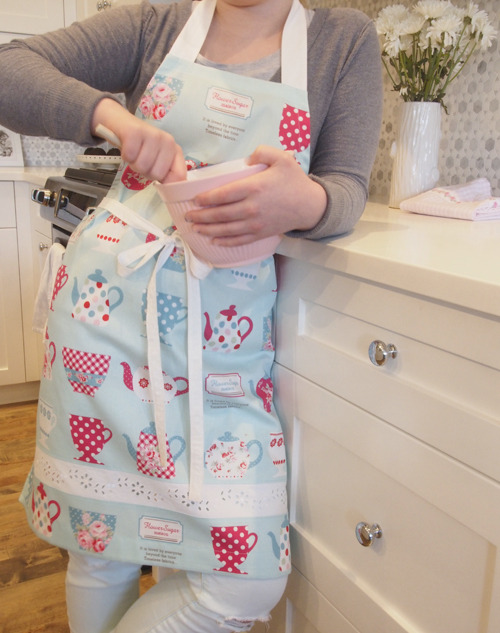
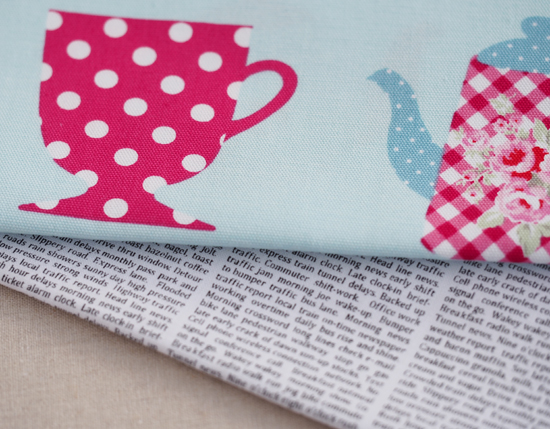
Remember this fabric?  And remember my daughter asked me to make an apron for her for Christmas?  Well, I did.  I didn't quite have it ready to put under the tree, but it was finished before the year ended.  It turned out great and my daughter LOVES it.  It's just taken me a while to convince her to model it for me. 

I made it without a pattern - it's basically fashioned after the traditional "chef's apron".  I used a white on white dot for the ties and facing.  I wasn't able to talk her into letting me use the newsprint fabric ... but she's only 11 and I made it for her so she got final veto power.

I had a pretty eyelet bedskirt on our queen bed for a long time.  When we upgraded to a king, I didn't want to get rid of it so I saved this trim.  I didn't know what I was going to do with it at the time, but when I was putting this apron together, I came across it in my sewing room and thought it would make the perfect little custom touch. Recycling at it's best. :)

Sunday
Feb222015

belated valentine's quilt, and subsequent impromptu peek inside my house (but just a little one so don't expect too much!)

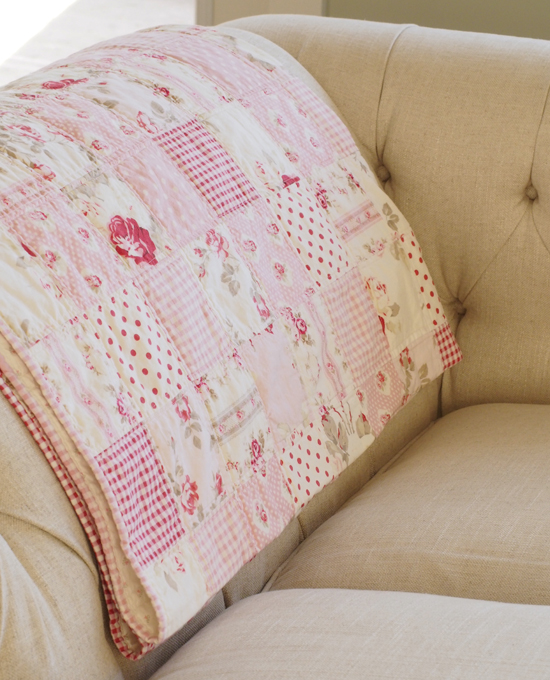
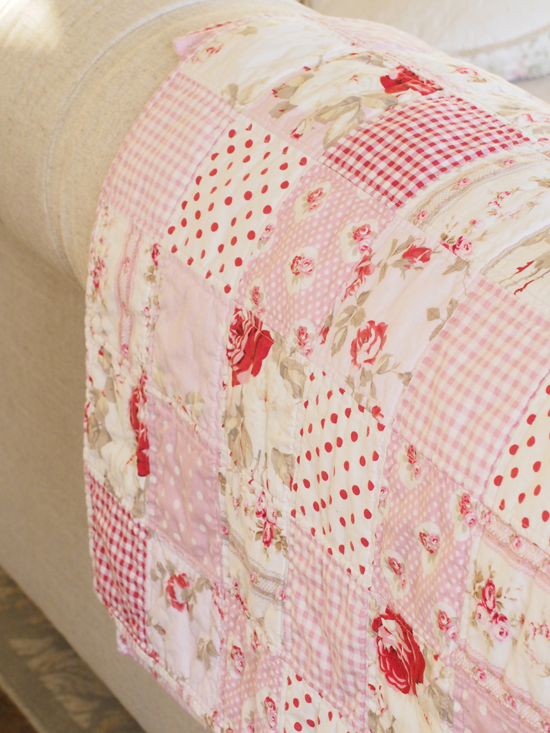
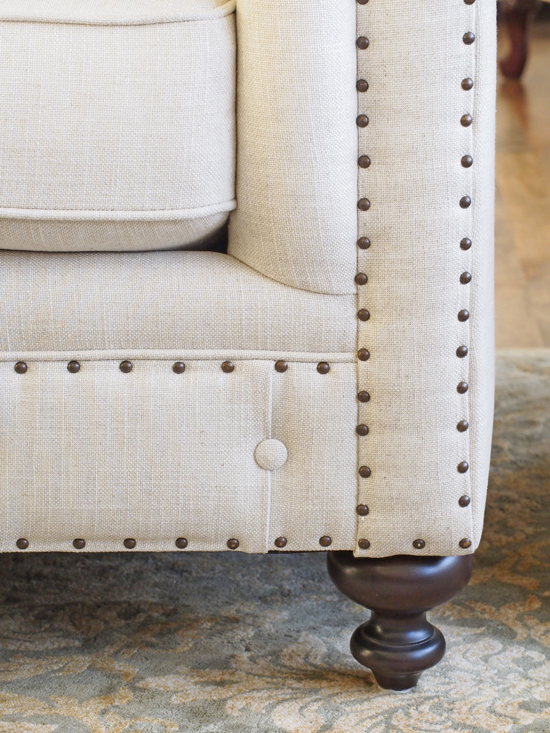
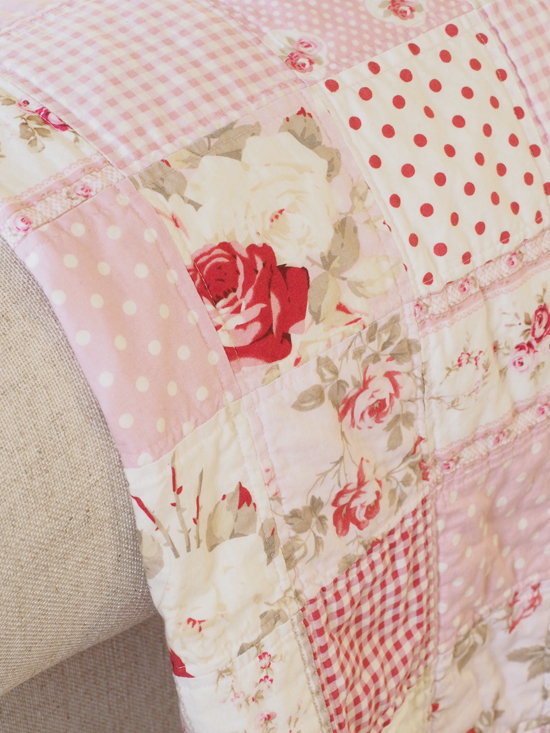
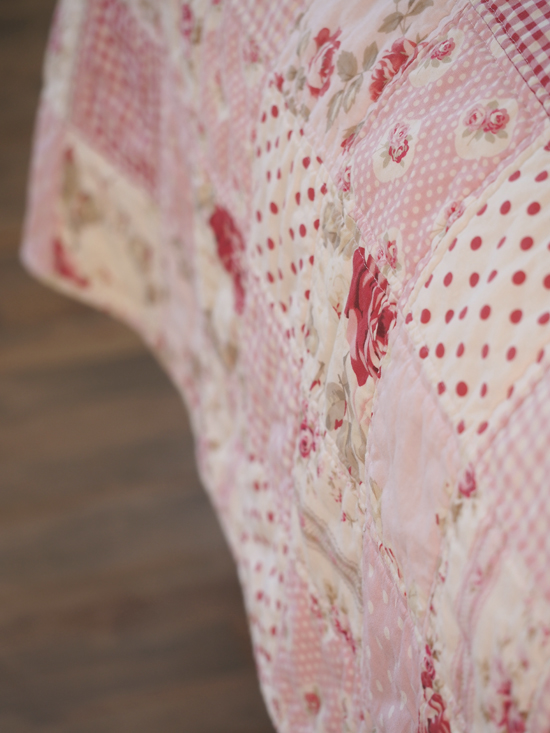
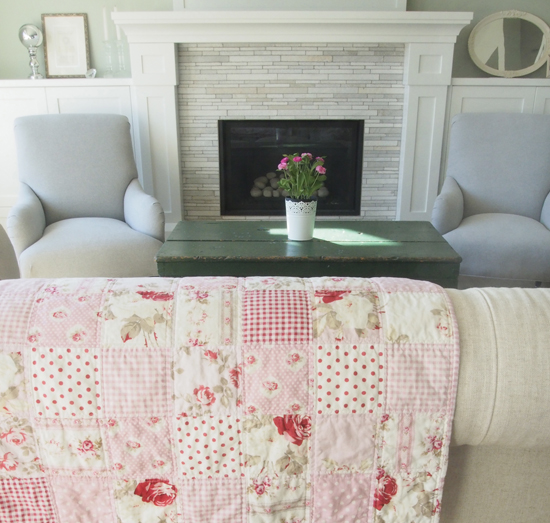
I started this quilt 4 weeks ago.  I made the top in an evening (if you follow me on Instagram, you already knew that) and top-stitched/bound it the following weekend.  I just didn't get around to blogging about it until today, when I found some time to photograph it on my new oh-my-gosh-do-I-ever-love-you-so-much-where-have-you-been-all-my-life sofa. :)

I bought a 1/2 yard of all the pink and red prints from Tanya Whelan's "Petal" collection last year with the plan to make this quilt I found on Pinterest. 
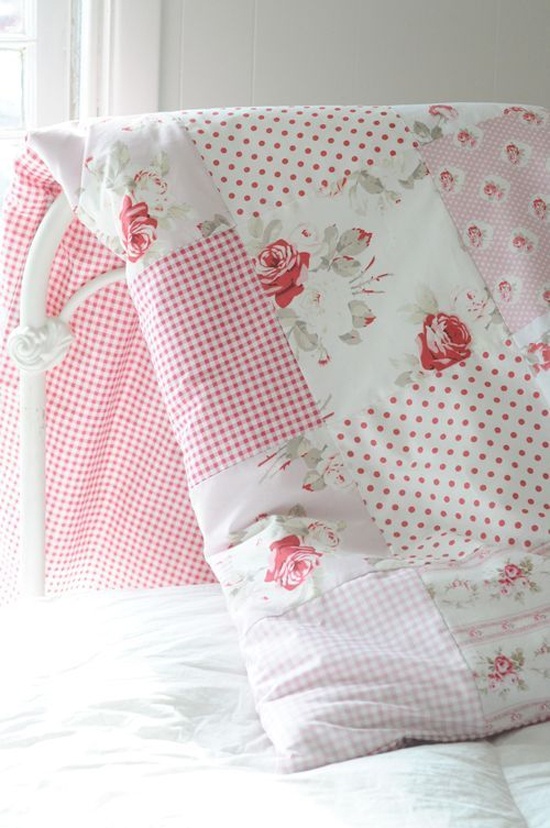
I was going to make a big quilt for my bed.  But we recently upgraded to a king bed (husband is rather tall) and I didn't have enough of this fabric for a king quilt.  I was also inspired to make it last month for 2 reasons:  Valentine's Day was coming up and I was in the mood for some seasonal decoration, and my sewing cupboards are so full I figured that if I used up this fabric there would be that much less for me to fold, stack and store.

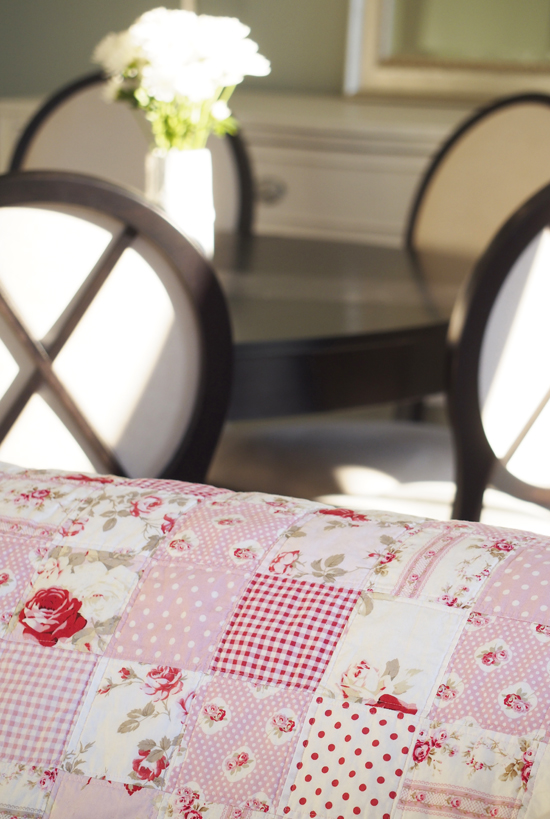
It's been ages since I made a simple, just-squares quilt.  I normally prefer smaller-scale prints, but "Petal" has such volumptuous prints that they beg for larger cuts to show themselves off.  I love this quilt.  It's the perfect sofa size and it's just the right amount of colour.  I wish I'd had enough left over to make little cushions for the gray chairs that flank the fireplace, but life will just have to go on without them. :)

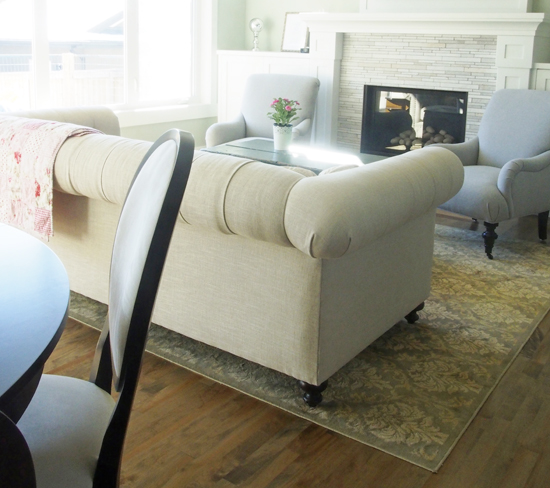
Anyhow, while I was taking pictures of the quilt, I took a few more of the main floor of our house.  I know, I promised to show you all of the house and I still will!  It's just still not quite finished and furnished the way I want it.  (Still cardboard in the windows that require privacy, I'm embarrassed to admit.  The irony of someone who has a ton of fabric and no curtains is not lost on me, I assure you.)  But we're getting close ...

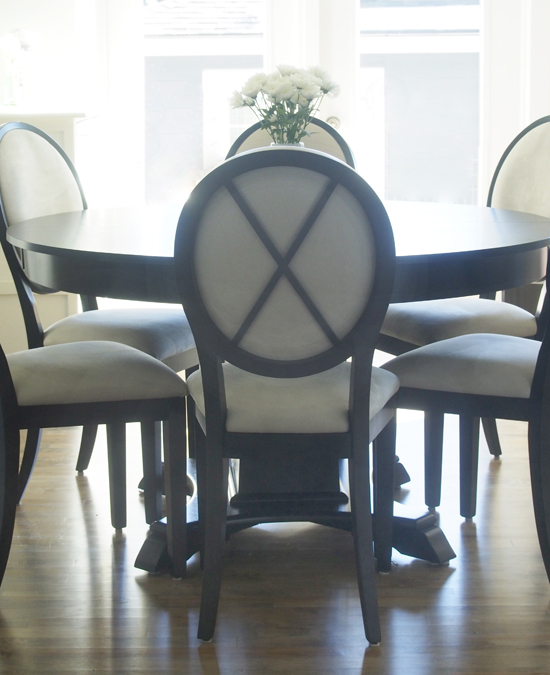
Our old dining set was a cute antique set.  And by cute I mean built for little people.  Not my tall husband.  He always looked so awkward on the little chair and lower than average table.  No one was ever really comfortable sitting there - except maybe the kids when they were smaller - and we NEVER lingered after dinner.  But our new dining set makes me deliriously happy.  We love hanging out there now.  It's beautiful, comfortable ... makes me feel like a grown up.  Between the dining set and the stately, traditional, tufted sofa, the style of the entire main floor has been elevated.  Plus I've wanted that oval/X-back chair for decades.  I'm not kidding.  I almost called this blog post, "I'm Bringing Ex-y Back"!  LOL!

Before you chide me for choosing a light upholstery for dining chairs, let me explain a few things:  I used microfiber, had them protected, got the extended warranty, and have emphatically threatened eternal dishwashing duty to anyone who dares to stain them.  So far, so good.
Ok.  Time to prep for the Oscars!  (And by prep I mean get into my favourite pjs, open the jumbo pack of Twizzlers - the red ones, of course - dump some chips in a bowl and claim the best spot on the sofa. :)