Monday
Apr292013

Wishing Doesn't Make it So

Sometimes the most beautiful results take more time and effort than I might initially want to invest.  But that's just the way it is.  And that's exactly what I said to myself as I picked up my needle and thimble to do some hand quilting. 

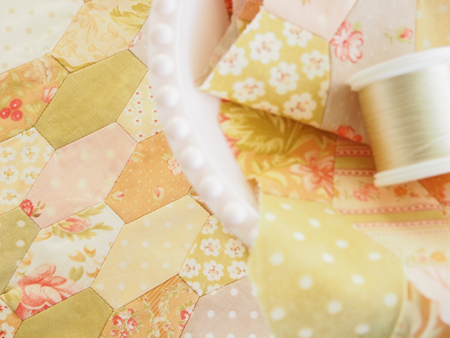
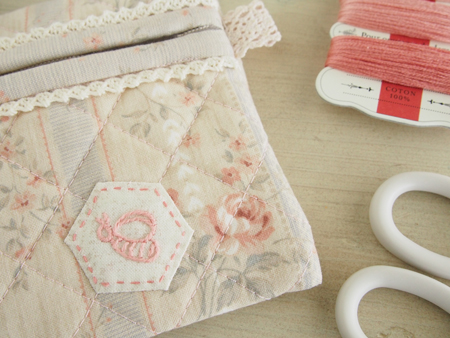
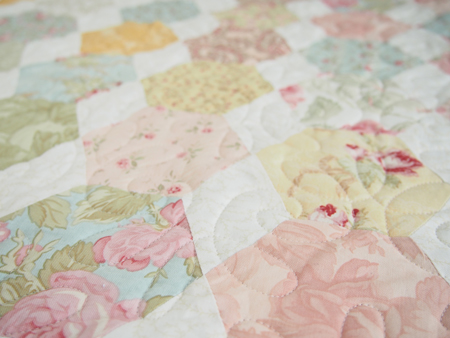
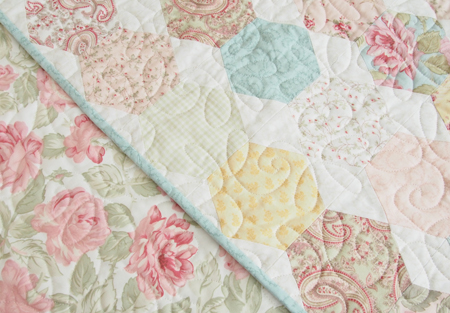
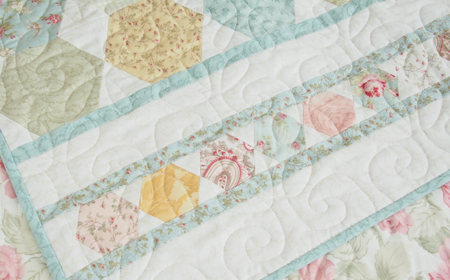
I simply couldn't think of anything I would like the look of more than hand quilted coffin/hexagons.  

I am seriously pleased with how it is turning out. :)

These small hand quilting projects always take longer than I expect, but not nearly as long as an entire quilt.  Besides, a few hours with Mr. Selfridge and I was done.

(Have you found this new British show yet?  Next best thing to Downton Abbey, I think.)

Now I need to decide on buttons or a zipper for the back closure.  Buttons are cuter, but a zipper is fast and easy.

...

...

Zipper it is!

Friday
Apr262013

Serendipity ...

"An aptitude for making desirable discoveries by accident". 

I had one of those fabulous crafty moments the other day.  It started with me not being entirely happy with my hand applique job on my Wanda pillow.  I'm chosing to blame it on the jersey knit I was appliqueing onto and not on my hasty prep work. ;)

But I didn't want to undo/redo my stitching so I decided to "embellish" my less than desireable results with embroidery instead.  The serendipitous moment happened when I came across my COSMO Seasons variegated floss in my craft cupboard while looking for something else.

Can you even believe it?  This skein has e.x.a.c.t.l.y the perfect colors.  And I love how a continuous rows of feather stitches lets the variegated nature of the floss work to its best advantage.

I've never been a huge fan of variegate - I think I was traumatized as a child with my handmade mittens and that typical crazy random design you get when you knit variegated yarn ... my poor symmetrical craving little brain couldn't understand it.  It looked all chaotic and messy to me and I despised anything variegated for a very long time.

But now I'm doing cartwheels in my head over this little detail on my pillow ... 'cause if I tried to do a cartwheel in real life it would not end well. 

For my pride. 

Or my spine.

Thursday
Apr252013

The Proof is in the Fabric

When my 11 year old daughter is a teenager in a few years with all those raging emotions and gets really mad at me because I won't let her do ... I dunno ... whatever it is I think is NOT in her best interest ... and she accuses me of not loving her, I will direct her to this post.

Why?

This right here is proof of how much I love her.

I let her use one of my prized Japanese fabric to make an alien for a science project.

Yes.I.did.

Her alien is from Saturn where it's very cold and so he needed to have blue skin.  And of ALL my blue fabrics, this beautiful Lecien print was the ONLY one that would do.  (Can't argue with her good taste.)


Only the deepest bonds of love could ever make me part with a 1/4 yard of this lovely fabric for a ... Saturnling?  Saturnian?  Saturnite?  Whatever.  You know what I mean.

Love you, Sweetheart! :)

Wednesday
Apr242013

Working on Wanda

I can't remember the last time I was so excited about a "just make it up as I go along" project.

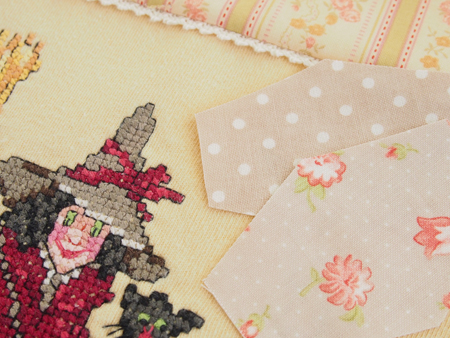
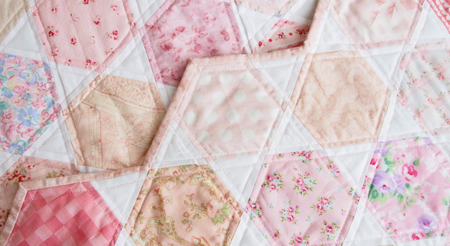
After MUCH deliberation I finally settled on this oblong hexagon for the patchwork. 

Want to know how I came to choose it?  Tee hee ... because this is a Halloween project and this shape reminds me of a coffin.  I hope you don't think that's morbid.  I thought it was funny.  Besides, how can you possibly take a pink polka dotted coffin seriously?  LOL!

Remember I started with these Fig Tree "Patisserie" scraps?

After cutting out a bunch of hexies, I realized I didn't have enough variety to make the patchwork really scrappy, so I added a few more Fig Tree fabrics, like this gray/brown from "Strawberry Fields" because it goes so well with Wanda's hat (which delights me to no end),

and a few other "Mill House Inn" prints I have hanging around.

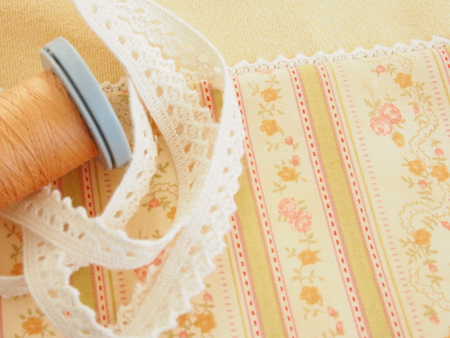
I'm also very happy with this little trim.  I didn't want to go over-the-top girly with lace, so I buried most of it in the seam allowance.

Get it?

Buried? 

Coffin? 

Halloween?

Sorry.  This is how I entertain myself. ;)

Tuesday
Apr232013

Busy as a ...

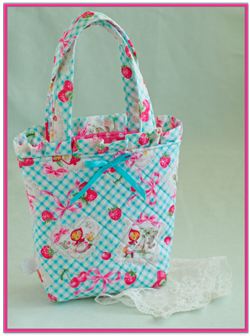
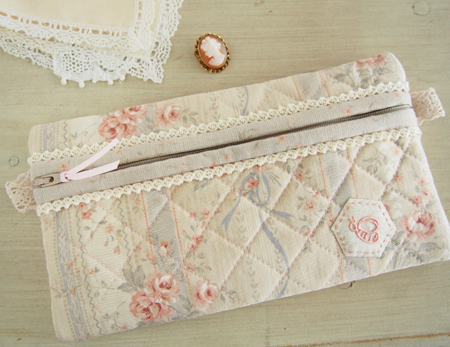
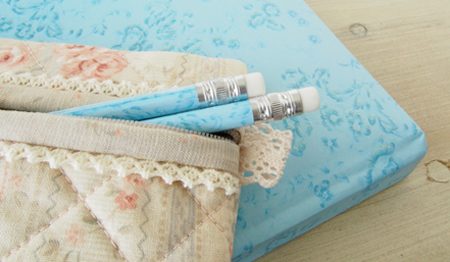
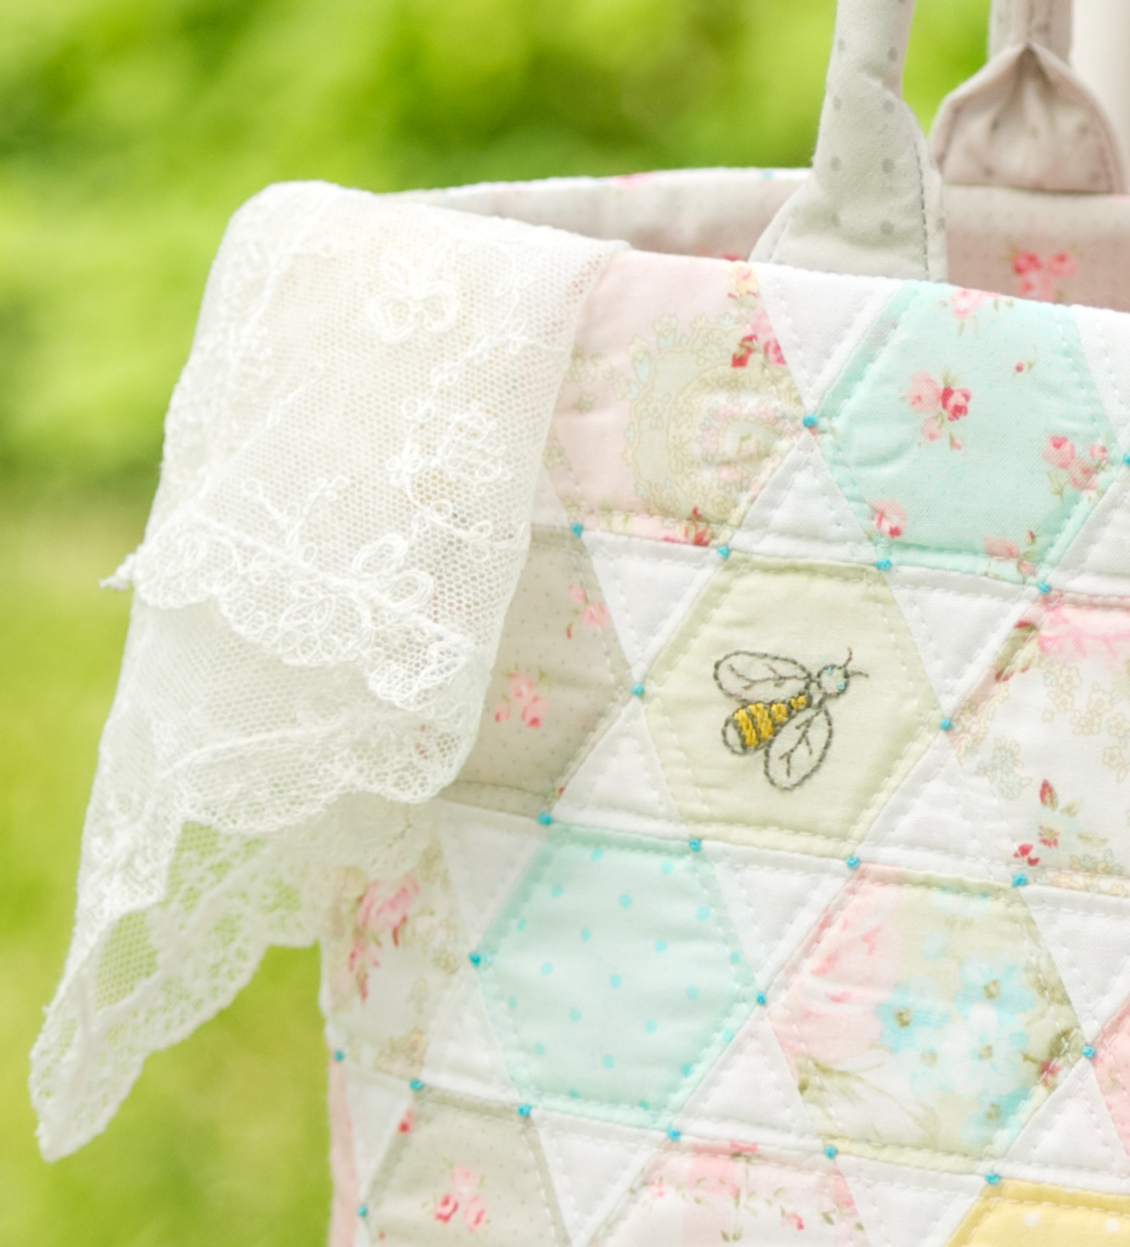
A good friend of mine had a birthday recently and I wanted to give her something useful, but really super cute & pretty.  So I made this little case for her.  (It's a modified version of my best selling Round Pencil Case pattern, available here - but instead of adding the round ends I just stitched them closed and positioned the zipper closer to the top.)

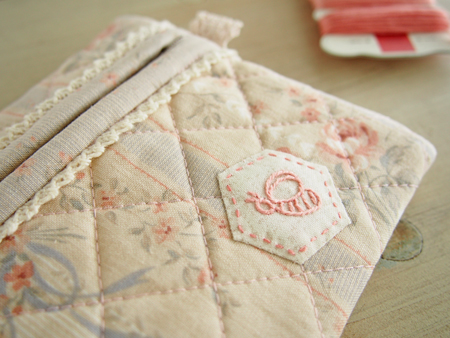
She has a romantic & shabby chic aesthetic and I thought this fabric was perfect.  She also has a thing for honey bees so I stitched up this cute little guy and used a new-to-me method of applique to attach the hexagon.  

(Have you ever tried the starch method to prep your applique pieces?  LOOOVE it!!!)  I slipped a small piece of batting underneath the hexie to make it a little bit poofy.

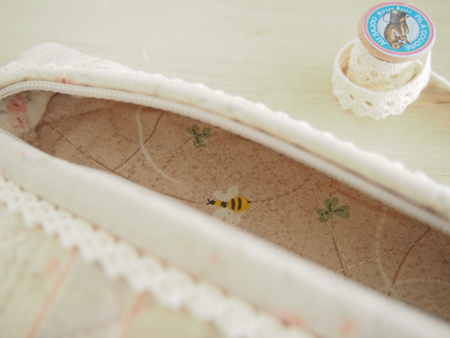
Did a little happy dance when I found this sweet Japanese bee print in my stash for the lining.

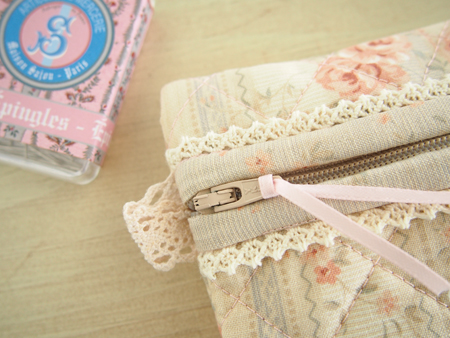
Then I added some lace trim for that extra feminine touch that is just so her.

I really do love being able to make nice things for the special people in my life. 

Happy Birthday, B!

Monday
Apr222013

Obsess Much?

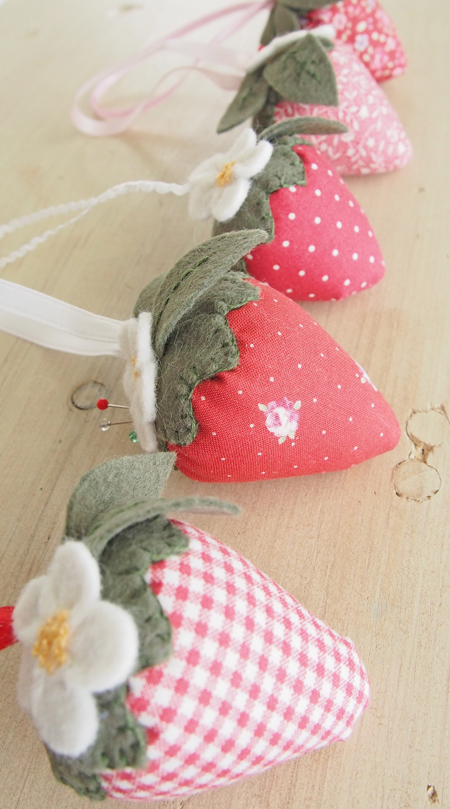
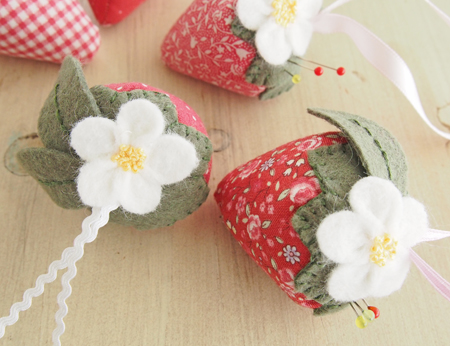
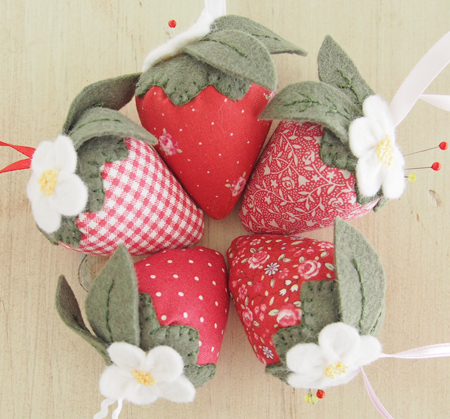
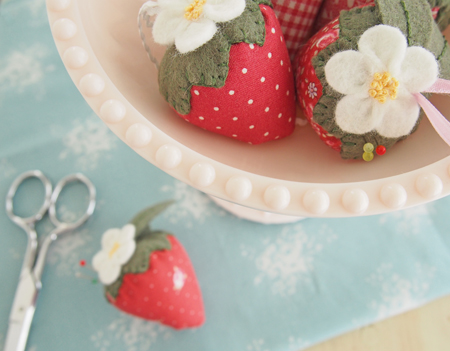
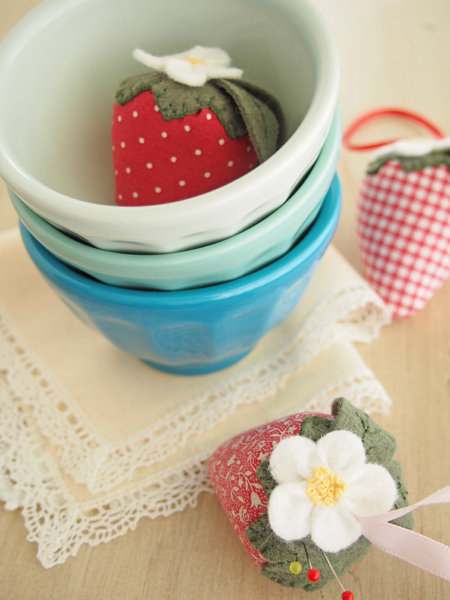
Sigh.  What can I say?  I have no defense.  I just needed to make more strawberry pincushions ...

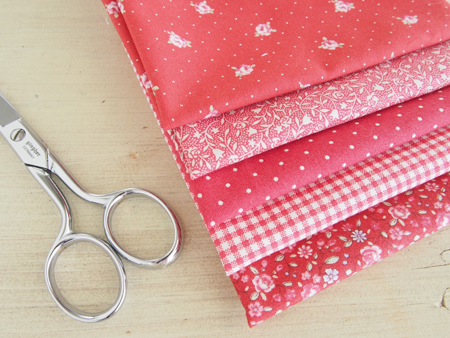
... with these beautifully coordinating Lecien "Petit Fleur" prints.

Does that make me banana nuts crazy?

Hope not.  But if it does, I'm cool with that.

I was working on these blossoms (used colonial knots for the centers this time instead of beads) while in the company of a few non-crafty friends. 

We were laughing hysterically at how weird they thought I was to actually ENJOY cutting 25 tiny u-shaped petals out of felt and fashioning them into flowers and how weird I thought THEY were for not understanding how much fun it is.  It was hilarious.

But I know you get me.  You understand that it's fun to make strawberries out of fabric & felt.  That's why you're here.  And that's why I'm here too.

Who needs a defense when you have friends who get you?

So glad we understand each other. :)

Okay.  I think I'm done with strawberry pincushions for the time being.  Don't know what I'm going to do with all NINE of them, mind you. 

But that's not really the point of this type of activity now, is it.

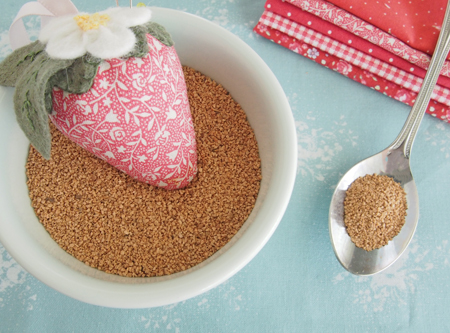
Again, I suggest this pattern for the strawberries, this tutorial for the flowers (I rounded my petals instead of making them pointy), and I stuffed mine with ground walnut shells.  If you've never tried this stuffing for a pincushion, I highly recommend it.  Ground walnut shells are available at pet stores - in the reptile bedding department. 

I know.  Gross.  But worth it.  Trust me. 

Friday
Apr192013

Wanda Gets a Long Overdue Makeover 

I didn't get a chance to take pictures of my last strawberry crop yesterday.  I promise them for Monday, kay?  In the meantime, I have this to share ...

Remember my old friend, Wanda the Witch?  She's been my Halloween tradition for about 20 years - ever since I first stitched her onto a Laura Ashley turtleneck.

Apparently I have friends who are good enough to tell it to me straight.  After the last time I mentioned her, I was "informed" - under no uncertain terms - that Wanda was NOT to be worn again ... not even for just handing out Halloween candy. 

Yes she's dated.  I won't deny that.  And she's not my style anymore.  But I'm sentimentally attached and couldn't bring myself to part with her.  So I put her back in my closet until last week when I was doing a little Spring cleaning.  I decided now was as good a time as any to give poor Wanda a new lease on life ... as a cushion cover.

I can't tell you how excited I was to discover these errant layer cake leftovers of an older Fig Tree collection "Patisserie" - they're exactly what I need for this project. 

Even the pink goes with Wanda's face.

I'm not sure what this cushion cover will look like.  My first instinct was to do the standby, ever reliable patchwork of squares.  But a wave of rebellion swept over me and now all I know is I DON'T want basic squares.

Maybe.

I think.

I dunno.

I might change my mind.

(And so the crippling indecision ensues.)

I also might add some embroidery.

Wanda has been very loyal all these years.  I want to treat her right. ;)

TGIF!

Wednesday
Apr172013

Strawberry Heaven

When I started making my strawberry pincushions, I found a few shades of green felt in my cupboard.  One was perfect for my batch of "Strawberry Fields" fabric berries. 

And there was this other green - a favorite shade of mine.  I wanted to use it for a strawberry, but had no clue what fabric would go with it.

So I waved the green felt in front of my stash and quickly settled on this very old Laura Ashley print called "Secret Garden".  I've had it forever ... if you count a few decades as forever ... and I do ... when it comes to pretty fabric I love and don't want to use. 

Eeeep!  I love this one!

I also found a lovely pink felt for the blossoms and used white beads for the centers this time.

I seriously recommend making a strawberry pincushion.  Best craft therapy going.  Heather Bailey has a great pattern, if you're interested.  And again, here's the Pinterest tutorial I used to make my flowers.

If you're still not bitten by the strawberry pincushion bug, I'm going to give it one more try ... there's a final batch waiting to be seen.

Tuesday
Apr162013

A Sweet Diversion

Ok.  You know Amy, right?  She is - for me - one of the loveliest sources of craft-y, fabric-y, sew-y, inspiration out there.  So when she posted this photo several weeks ago ...

I was hit pretty hard with a bad case of 'I NEED TO MAKE STRAWBERRY PINCUSHIONS RIGHT NOW OR I WILL SURELY DIE' itis.

Ever had one of those attacks?  Where you simply can't concentrate on anything else until you do that creative something?  You know, the kind that makes you forget to bathe or feed your family?  Yeah.  Amy does that to me every once in a while.

So I dropped everything and started making a little strawberry patch of my own.  But things got in the way and my berries sat in a corner, unfinished ... until Amy did it to me again last week with this ...

... just the inspiration/motivation I needed to get back to mine. 

I've actually wanted to make a strawberry pincushion for years.  I even tried once.  But the pattern I was using made the strawberry have a "pointy" bottom and I didn't like it.  Amy's strawberries have a nice rounded bottom.  Why didn't I think of that before?

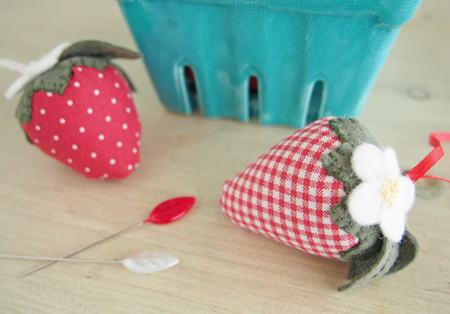
Her strawberries also have pretty blossoms.  But I've been wanting to try this tutorial I'd seen on Pinterest.  I love how they turned out, especially with the little pink beads in the center. 

Amy also reminded me that I'd bought this ceramic berry carton from Anthropologie a while ago.  (What would I do without her?!) 

I made these strawberries with my Fig Tree "Strawberry Fields" fabric scraps. 

I can be a bit of a literalist that way.

So.

You'd think I'd have scratched my must.make.strawberry.pincushions itch, right?

Well, not exactly ... I still have a few more that need to be picked. ;)

(Amy used Heather Bailey's pattern, if you're interested in making some too.)

Monday
Apr152013

Thank Heaven ...

... for little girls.  They always manage to give me a good reason to make something cute & pretty & fun, like this little purse I made last Saturday morning.

It's a birthday gift for my daughter's friend who just turned 10.

I've made dozens of these over the years.  They take me about an hour, approximately 1 FQ of fabric, a scrap of batting and a bit of ribbon or a button to put together.

Generally speaking, I don't like shopping.  This gift idea is waaay easier for me to handle than going to a toy store, wandering up and down the aisles trying to guess what the birthday girl likes and doesn't have ... ugh ... pure torture for me.

But my little purses?  They never fail to please.

As much as they are enjoyed & used by the recipient, however, my favorite thing about them is the time I get to spend collaborating with my daughters ... choosing the fabric (in the birthday girl's favorite color), deciding on the right size, finding the perfect embellishment ...

Way better than shopping, if you ask me. :)

*     *     *     *     *

Congratulations to Jacque!

You are the winner of Sew Fabulous Quilt Shop's beautiful Durham FQ bundle. 

Thursday
Apr112013

Sew Fabulous Giveaway!

Hello Everyone!  I'm very excited to feature Sew Fabulous Quilt Shop today, a terrific online source for quilters. 

They have a new and improved website which showcases tons of colorful, cute, feminine and fun fabrics.  You can shop by collection, designer, manufacturer, theme or color and they offer affordable (below MSRP) prices.  Gotta love that!  Plus, they have a new Sale every week.  This week, Salt Air by Cosmo Cricket for Moda is 25% off. 

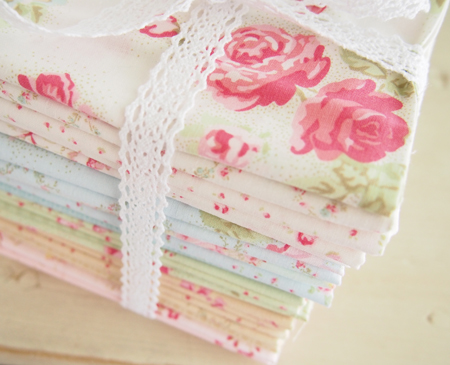
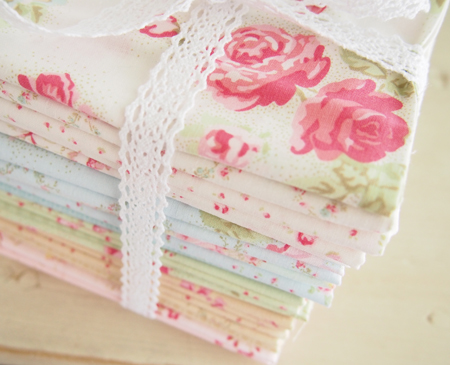
To celebrate their website makeover, Sew Fabulous is letting me play Santa by offering you a chance to win the most beautiful FQ bundle ...

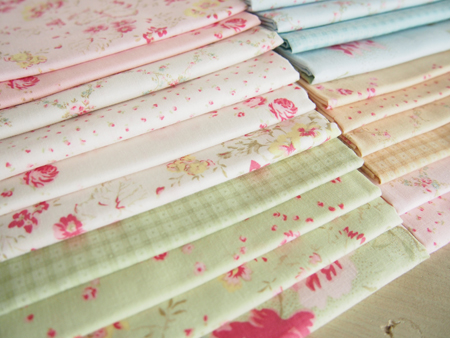
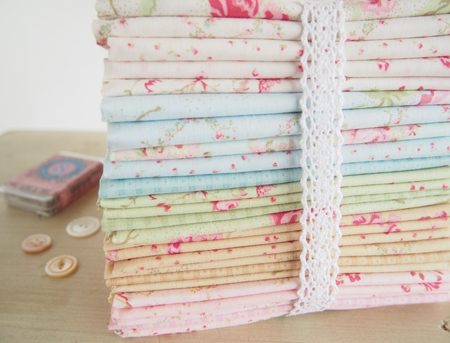
... 26 fat quarters of pure yummy prettiness!

Lecien's latest Durham collection is sooooooo dreamy ... an absolute must-have for any quilter's stash.

So of course I own this bundle.

Ok, ok ... I bought two ... don't judge ... you would too if you were me. 

But now a war is raging on inside my head about whether to keep them forever intact so I can admire them on my shelf (and maybe even pet them every once in a while), OR make something that would be nothing short of romantic and lovely and just oh so ... PRETTY.

If you would like a chance to win this bundle and join me in my struggle - unless you're super disciplined and never have trouble cutting into your favorite fabrics ... in which case you have my complete admiration and envy - please leave a comment telling me what you might make with such a bundle.  I need some ideas! 

Entries close at 8:00 pm PST on Sunday April 14th and the randomly drawn winner will be announced here on Monday.

Good luck to all of you ... and thank you Sew Fabulous Quilt Shop!

Monday
Apr082013

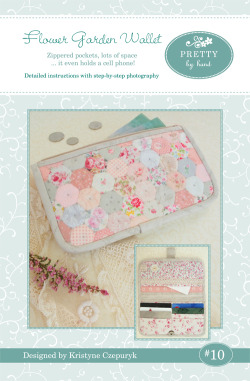
New Patterns in My Shop!

But before I get to those, let me first announce the winner of my S is for Stitch book giveaway ... congratulations Karen S of New Mexico!  And thank you to everyone who played along.  If you left comments at any of the other participating blogs for my book tour, be sure to check them too. 

Stash Books
Cluck Cluck Sew
Crazy Mom Quilts
nanaCompany
Bunny Hill Designs
Bee in My Bonnet
A Quilting Life

I'm so grateful for all your kind and lovely remarks.  And I know this sounds cliche, but I would give every single one of you a copy of my book if I could.  Truly I would.

*     *     *     *     *

Ok.  I hope you're ready for lots of pictures today because I have two new patterns to show you!  I hope you like them.

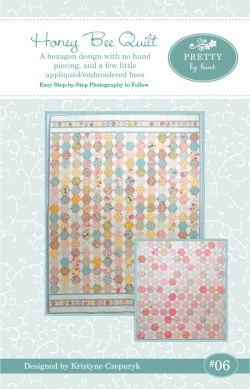
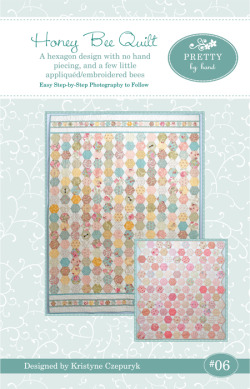
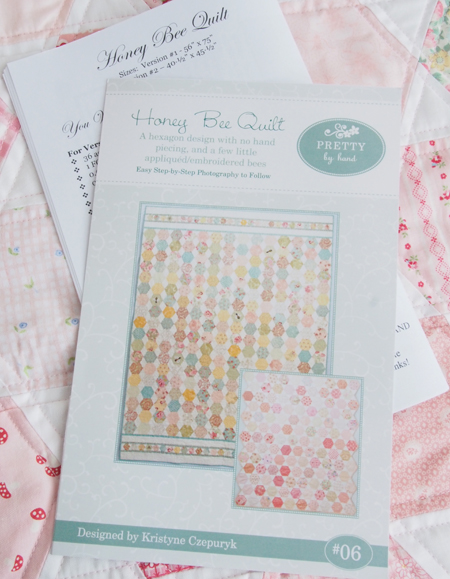
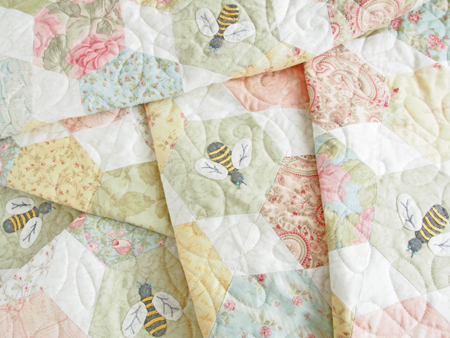
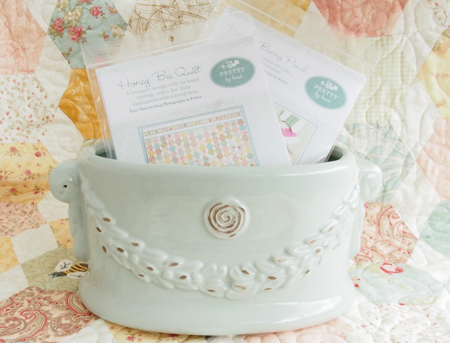
I'll start with the Honey Bee Quilt.

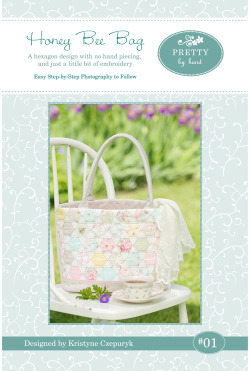
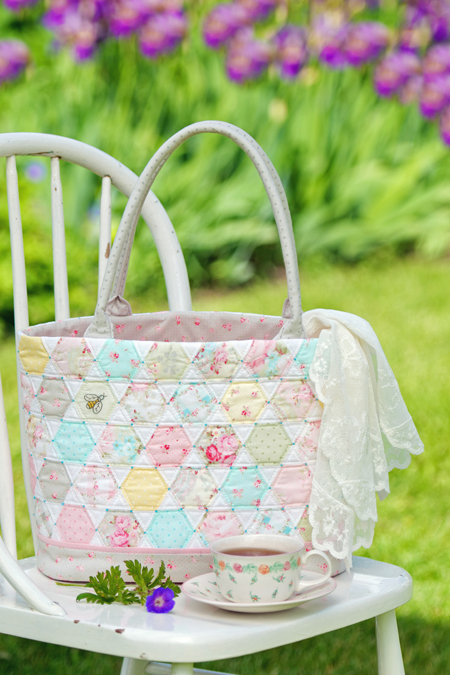
I loved my very first pattern - the Honey Bee Bag - so much (as did so many of you),

I decided to do a quilt version of it!

When I was putting it together - in my very favorite PARIS FLEA MARKET fabric by Moda - I couldn't decide if the hexagons should be stacked or staggered  ...

Or if the sides of the quilt should be straight or angled  ...

Or if there should be a little mosaic border or not ...

so to avoid having to make any of those decisions, this pattern includes all of the above!

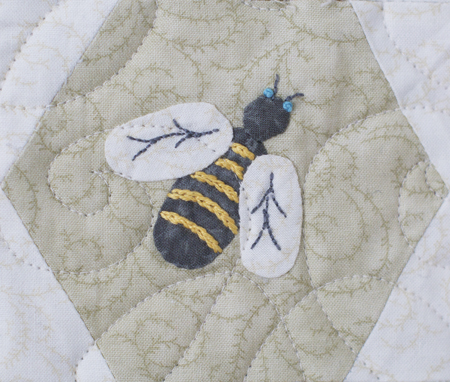
I also borrowed this little guy from the Honey Bee Bag ...

and turned him into an appliqued/embroidered detail for this quilt.  Make one honey bee,

a few,

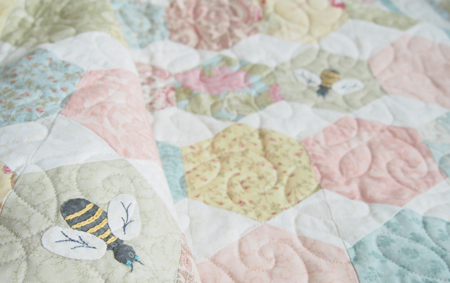
a hive,

or none at all ... whatever you like.

And as with so many great quilt designs out there, this one can be made larger or smaller very easily by adding or subtracting rows and columns.

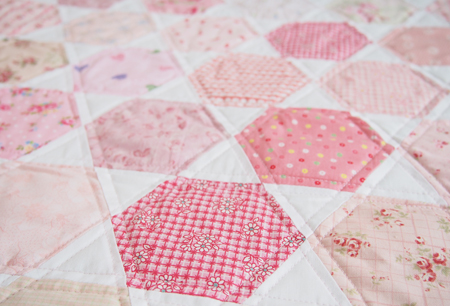
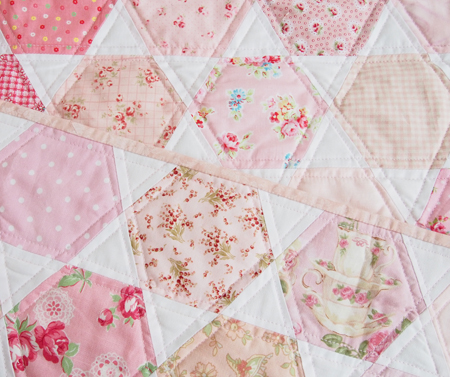
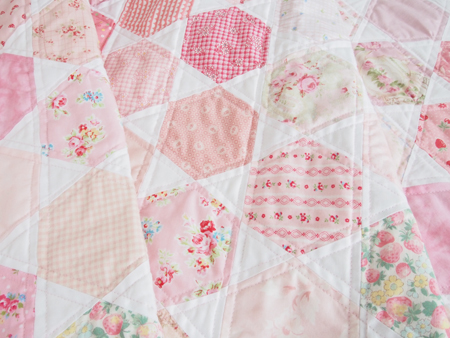
(Can you tell I dove head first into my pink scrap bin for this quilt?)


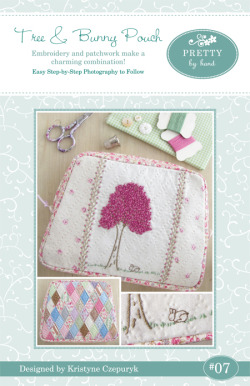
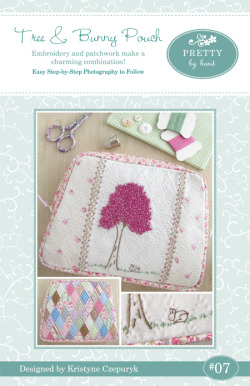
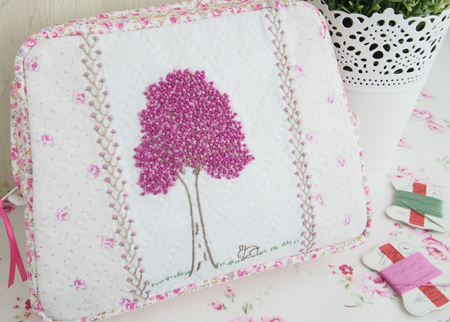
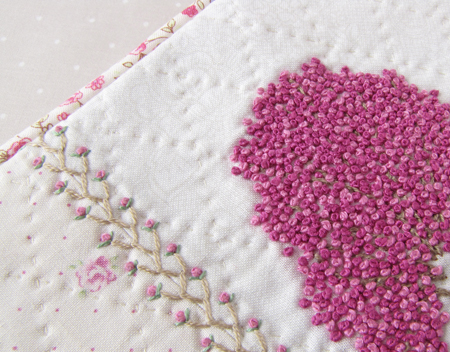
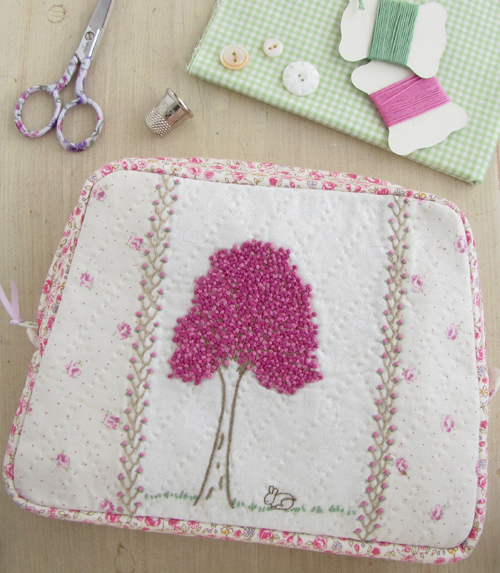
My other new pattern is the Tree & Bunny Pouch

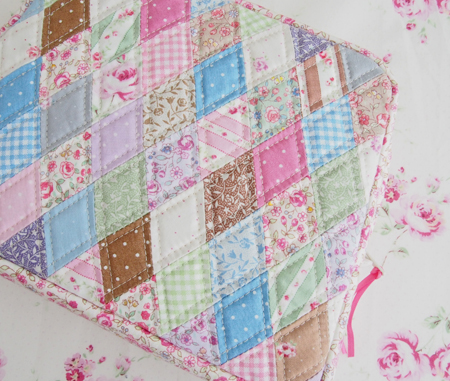
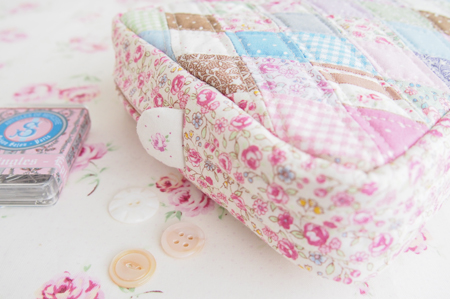
This is such a cute little project (according to all my friends who have seen it) ... (ok, and according to me too) that combines patchwork & embroidery to make a very useful zippered pouch.

I love it ... the tree all laden with fragrant springtime blossoms and the sweet little bunny munching quietly under the sheltering boughs.

I taught this pouch as a class at a local quilt shop last month. 

It was so popular a second class was offered ... and sold out too! 

If you're not into embroidery or very small patchwork ('cause I get that not everyone is) but you'd like to make this handy zippered pouch that can be used for almost anything, you can easily substitute either - or both - sides of the pouch with just a single pretty fabric. 

A few of my students did just that with beautiful results.

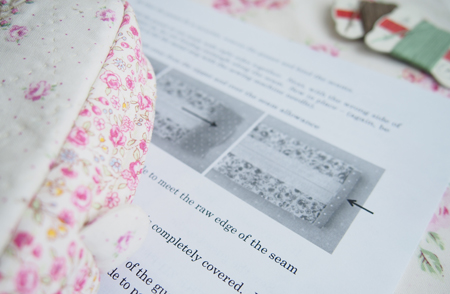
Both patterns include LOTS of photos and VERY detailed instructions. 

You can find them in my shop as PDFs and PAPER versions.

Happy Monday!

Friday
Apr052013

How to Make an Embroidered Signature Block

After I posted this photo of a quilt top I finished a few weeks ago, I got a lot of questions about how to make an embroidered signature block.
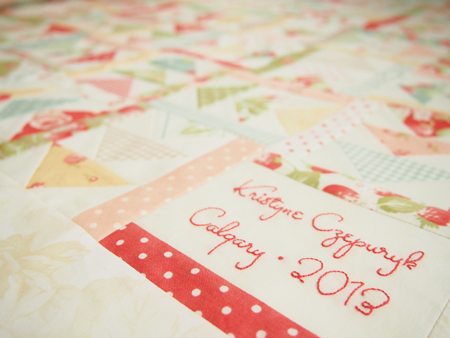
So I thought I'd write a tutorial for you.  (I've put a link under Tutorials on the right side of this page for future reference.)

No, I confess this is not my handwriting. 
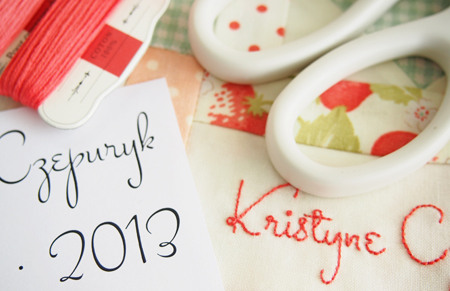
My handwriting is terrible.  I blame it on college note-taking in the "olden days" before laptops when all we had was paper and pens.

Yes, I could take my time and write out something semi-decent.  But it never looks nice enough to me.

Ironically, however, I encourage other people to use their own handwriting because ... well, I think we can all agree that it's more ... special, right? 

(And yes, I am familiar with the definition of the word "hypocrate".) 

I love seeing things written by my own ancestors.  But I'm just not proud enough of my own penmanship to want to immortalize it with embroidery.

So I cheat - just a little bit - and use computer fonts. If you'd like to cheat too, here's how.
First, I think it's important to note that fonts have personalities.  Non-crafty people think the idea of fonts having personalities is ridiculous.  They don't get it.  Kinda like how I don't get chemistry or football or jazz music, I suppose.  But fonts can convey mood, style and tone.  I'm not kidding.  So use them to your advantage.

I always start with the fonts on my computer.  But when I get an idea for a look that can't be represented by one of those fonts, I go Googling for "free fonts".  The stuff that's out there!  Whoa!  Sometimes it takes a while to find the right font if you've got something specific in mind. 

Also try searching for fonts on Pinterest.  There are lots of font boards over there too, and many of the original posts also have links to the font source.

Inspired by the colors in the fabric - especially the blue/green and tomato red - I started looking for a font with a fun, retro vibe.
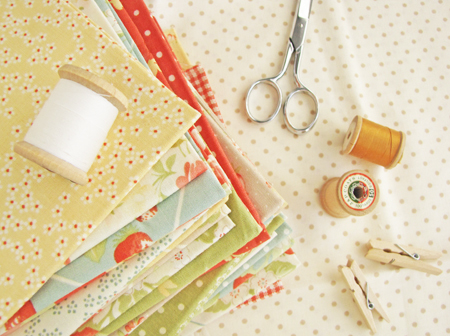
I decided on a 50s /60s era style that reminded me of a diner ... or the tv show "Bewitched".  I found this font called Stalemate, downloaded it, opened Word on my computer, typed my text onto 2 lines, centered them, adjusted the font size to fit my block and printed it on regular paper. 
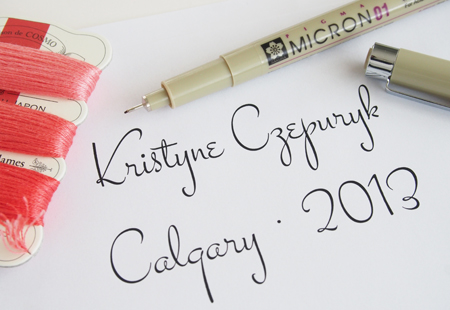
Voila!  My customized embroidery template.

Then I used a Micron Pigma Pen to trace my design onto the fabric.
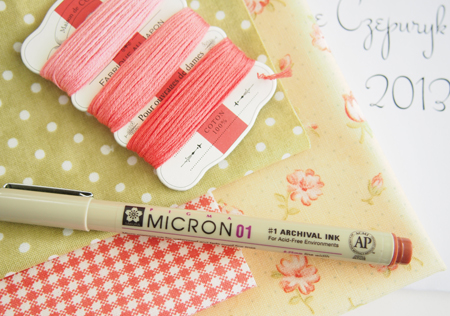
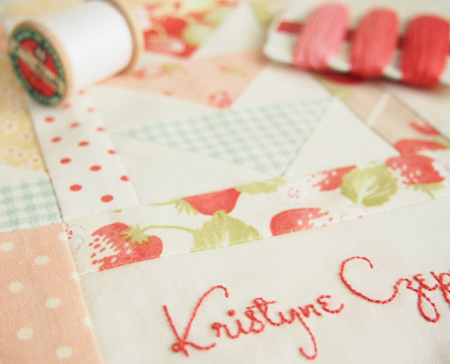
I could have matched my embroidery floss to any color found in the quilt.  But I wanted my stitches to be bright and the words easy to read, so I went with the red. 

When choosing a font to embroider, size matters!  The smaller the font - and the less space you have to apply your text onto the fabric - the simpler it should be. 

Now I prefer stitching with 2 plies of floss most of the time.  If I have a large, thin font, I might go with 3 plies.  Or if I have a tiny, delicate font - like I used here for my Farmer's Wife quilt - I'd use a single ply.
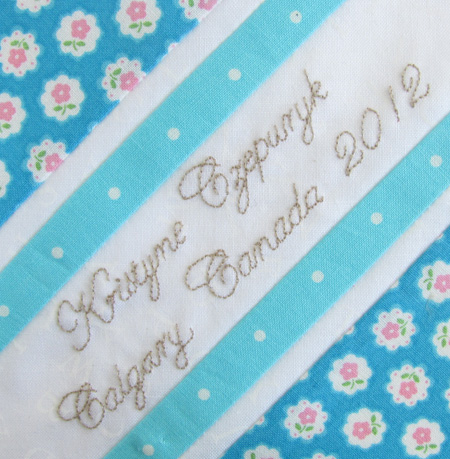
My best advice is to really study the letters in a font, see how much detail they have and decide how much work you want to put into stitching them.  My signature block here didn't take much work at all - one clean font, one color of floss, one easy stitch, one plain fabric ...
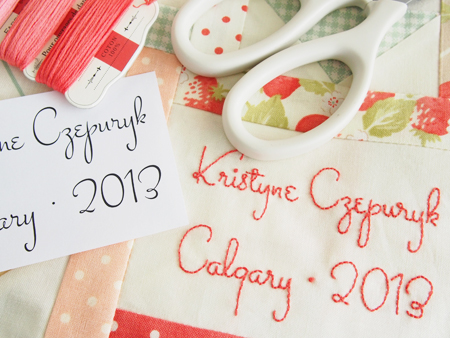
I hope I've convinced you that clean and simple doesn't mean a complete yawnfest either.  I think this font has loads of personality and interest.  I like the character it adds to my quilt.  And I like that my "label" has become part of the quilt top, instead of being hidden on the back.

Hope you find some stitching time this weekend.  Maybe dig out a quilt that hasn't been labelled yet ... ;)

Thursday
Apr042013

Sorry if this is like totally super boring ...

... but some of you seem really interested in our little construction project.  So for those of you who are, here's a quick update. ;)

Nothing happened for a few weeks.  We had a some issues that needed a committe to sort out and it's amazingly difficult to get me, my husband, the contractor, the architect AND the heating/plumbing guy all together. 

But I think we got it all figured out.  So right now our house looks like a whole lotta this:

(Dining room that will really be a music room ... how snobby does THAT sound!  LOL!  But it's the best place on the main floor for our piano ... so music room it is.)

Kitchen and eating area, leading to a back deck.  You guys, I've NEVER had a deck or porch or balcony or anything like this before.  I can't even open most of the windows in my current house because they were all nailed/painted shut by the previous owners! 

I think I might force my children to eat their Cheerios out there in the dead of winter with their toques & mitts ... JUST BECAUSE WE CAN!  (kidding)

Fireplace will go here,

where the children can thaw themselves after their Canadian al fresco breakfast.  (See, I just had to look up if it's spelled El or Al fresco - 'cause you never see it written anywhere around these here parts!)

This is pretty much all of the second floor

Laundry room (gotta look for more teeny tiny laundry rooms on Pinterest!)

But here's the best part ...

my sewing room ...

I hope!

*          *          REMINDER          *          *

Today is the last day to enter all the blog giveaways for my book! 

Stash Books
Cluck Cluck Sew
Crazy Mom Quilts
nanaCompany
Bunny Hill Designs
Bee in My Bonnet
A Quilting Life
Pretty by Hand

Winners will be announced on Monday.  Good luck!

Monday
Apr012013

What Do You Get When You Cross an Embroiderer with a Hole in Your Jeans?

You get a pretty new pair of pants!

I've seen many versions of this idea on Pinterest and - despite my strong aversion to mending - have been waiting very patiently for someone in my house to rip their jeans so I could give this a try. 

And by someone I mean not my husband.  I don't think he'd appreciate this sort of ... "fashionable solution" to a hole in his pants.  Just 'cause I can get him to eat from a lacy pink placemat doesn't mean he'll wear my embroidery!  Haha!

To do this mending job:

  • make a "patch" by fusing lightweight interfacing to the wrong side of a piece of fabric (I used regular quilting cotton) and trim it with pinking shears
  • pin the patch behind the hole with the right side of the fabric showing through
  • freestyle random cross and star stitches - with 3 plies of floss - around the tear

Quick, easy, and totally fun.

And my daughter loves it (although she wishes the hole was bigger so she could see more of the pretty patch underneath ... I'm thinking the washing machine will take care of that).

I gave her carte blanche for fabric & color choices and she went for a subtle amethyst Japanese print.  I'm sure she'll pick something brighter next time ... she's already asked if I can fix all her future jean holes this way.

I've also mended leggings with machine applique ... (posted here).

No one is more surprised than me to discover that mending can be fun.

Sunday
Mar312013

Easter Wishes

Thursday
Mar282013

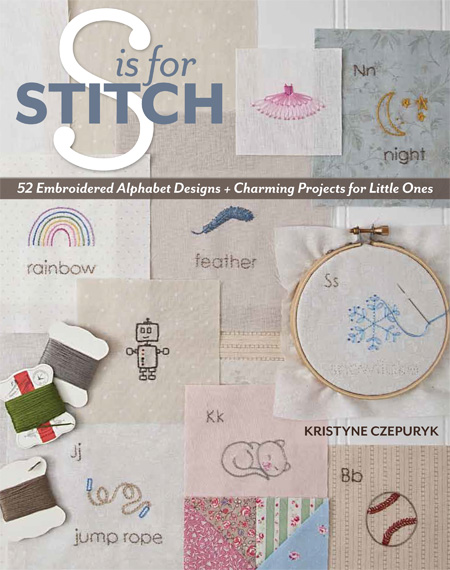
Day 8 - S is for Stitch - AND a Giveaway!

Today's the last day of my book tour and so I guess it's my turn. 

I can't exactly "review" my own book ... that would be weird.  But I can share with you some behind the scenes stuff. 

The 26 girl alphabet designs were purely labours of love for my daughters.  I had absolutely no intention of turning them into a book.  I didn't have a blog and didn't know I was going to start a pattern company.  And since I've never taken art or design classes of any kind, I certainly didn't feel qualified to write a book.

But one thing led to another and my just for fun project became a book.

I didn't want S is for Stitch to be another "here are some designs and instructions" sort of craft book.  So I wrote much of the text as if I was having a conversation with you - my imaginary readers.  But it was all about the technical side of embroidery and not so much about the creativity.  And when I was reviewing an early draft of the book - all organized and laid out with the "how to's" - I thought it was missing something and found myself wanting to share more personal information.  I really wanted to connect with people like me - people who have a creative spirit, but who don't feel "qualified" to design. 

My solution was simple:  beside every one of the 52 designs in the book, I wrote a little something.  Because, as it turns out, even though I wasn't formally schooled as a designer I have somehow learned a few things over the years about how to make embroidery interesting ... and pretty ... and easy to stitch.


Sometimes I wrote about what I was thinking that dictated my design decisions:


Sometimes I wrote about "arty" techniques I used to achieve certain features:


Sometimes I wrote about exploiting specific stitches:


Sometimes I wrote about how you can change my designs to make them your own:


Sometimes I wrote about how I made the girl quilt very personal for my daughters and me:


And sometimes, when I was at a complete loss for something to say, I just wrote ... something!  LOL!

I hope my little anecdotes make the book interesting and informative. 

And now how - exactly - does one end a book tour?

Tada?

The End?

Oh.  Right.  A giveaway!  You didn't think I'd forget, did you? ;)

Please leave me a comment (with your name and a valid email address!) telling me which one of the above anecdotes you like best and you'll be entered to win a copy of S is for Stitch!  If you are a US resident, you'll be sent a hard copy of the book.  If you live elsewhere, you'll receive an eBook.  All the giveaways close Thursday April 4th and the winners will be announced on Monday, April 8th.

I really hope you enjoyed these special peeks into my book and that you're totally motivated to pick up a needle and get stitching!

And a great big thank you from the bottom of my heart to Stash Books, Allison H, Amanda, Amy, Anne, Lori & Sherri for playing along.  Couldn't have done this without you! xo 

Wednesday
Mar272013

Day 7 - S is for Stitch Book Tour

The first thing that comes to mind about my next guest is how we met - in a random line at Quilt Market last year.  I'd been keeping my eye out for her all day because I knew she was somewhere in the crowd.  Then all of a sudden, there she was - right behind me!  That was such a fun moment for me finally getting to tell Sherri in person how much I admire her and enjoy her blog.  I never miss a post.  Ever.

The impression you get from her blog is that she's kind, sweet, lovely ... all those things.  And I promise you she is all that and then some.

Without further ado, I'm so pleased to send you over to A Quilting Life to see what Sherri thinks about S is for Stitch.

Tuesday
Mar262013

Day 6 - S is for Stitch Book Tour

Today the lovely and talented Lori Holt of the empire known as Bee in My Bonnet is sharing her thoughts on S is for Stitch.  Seriously, this gal is a prolific pattern designer, blogger, fabric designer with Riley Blake, stitcher, template creator ... row-a-long-er ... what doesn't she do?!

And it seems her daughter is following in her mother's footsteps ... you have GOT to see what she's making!

Monday
Mar252013

Day 5 - S is for Stitch Book Tour

Hello Everyone!  I hope you're enjoying my book tour and entering all the giveaways for a chance to win a copy. ;)  Here again is the list of blogs where you can enter:

Stash Books
Cluck Cluck Sew
Crazy Mom Quilts
nanaCompany
Bunny Hill Designs (today)

Still to come:

Bee in My Bonnet - March 26
A Quilting Life - March 27
Pretty by Hand - March 28

So what would you do it you've had the privilege of knowing one of the quilting industries leading ladies?  You know, someone who designs incredible quilts and things of patchwork, applique AND embroidery?  Oh, and also happens to be a MODA fabric designer?

If you're me, you ask her if maybe she might want to review your book.  And if you're super lucky - as it seems I am - she will say yes!

But beyond her obvious talents, Anne Sutton is one of the nicest people I know.  Straight up - I'm honoured that Anne is a fan of my book.  Hop on over to her blog and see what she has to say!